How to Prevent Brownies from Getting Hard Edges When Baking
Learn how to bake brownies with soft, tender edges instead of dry, hard crusts. Simple fixes like pan choice, oven temperature, and a water bath make all the difference.
Read MoreBrownies are the go‑to comfort food for many of us. Whether you like them dense and chocolatey or light and cakey, the basics stay the same: good chocolate, butter, sugar, eggs, and a little flour. In this guide we’ll break down the steps that make brownies turn out right the first time, how to avoid the common slip‑ups, and the best ways to store them so they stay moist for days.
Start with high‑quality chocolate. Melt it gently with butter over a low heat or in short bursts in the microwave. This keeps the fat from separating and gives a glossy batter. Once melted, let the mix cool just enough that a spoon won’t melt the sugar when you stir it in. Whisk sugar and eggs together until the mixture looks a bit pale and thick – this adds air and makes the crumb tender. Add the chocolate‑butter blend, then sift in flour and a pinch of salt. Fold gently; over‑mixing creates a tough texture.
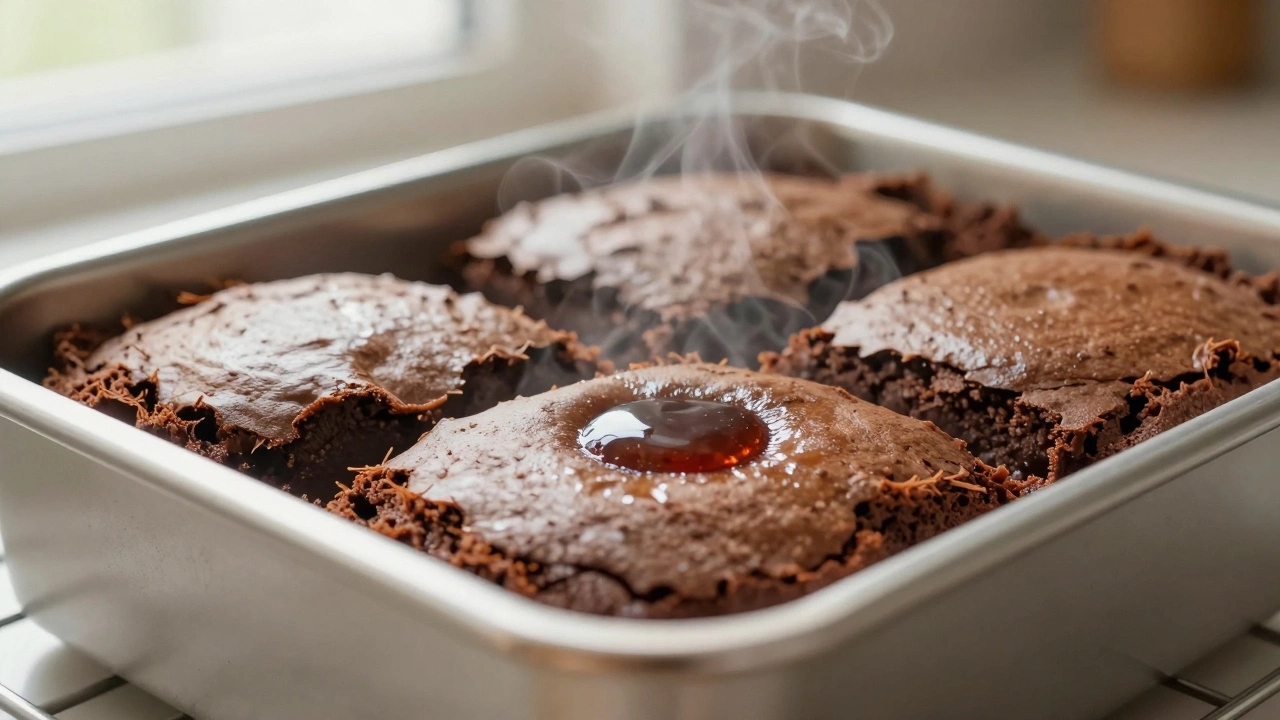
One of the biggest brownie myths is that you must bake them “wet” in the pan. In reality, a well‑greased or parchment‑lined pan does the job. Bake at 350°F (180°C) for 20‑25 minutes for a fudgy center, or a few minutes longer if you prefer a more cake‑like bite. The edges should be set and slightly crisp, while the middle still jiggles a little when you tap the pan – that’s the sign of a moist interior.
Cool brownies completely on a wire rack before you wrap them. If you cover them while still warm, steam will make the crust soggy. Once cool, place a sheet of parchment between layers and store the stack in an airtight container. At room temperature they stay soft for up to four days. For longer storage, freeze individual squares wrapped in foil or plastic wrap, then toss them in a zip‑bag. They’ll keep for three months and thaw quickly in the microwave.
If a brownie feels dry after a few days, a quick fix is to brush the top with a bit of simple syrup or drizzle melted chocolate before reheating for 15 seconds in the microwave. The extra moisture revives the crumb without making it soggy. Also, remember that brownies improve in flavor after a night in the fridge – the chocolate settles and the texture becomes even richer.
Beyond the classic version, you can add nuts, caramel swirls, or a scoop of peanut butter before baking. For a gluten‑free twist, swap regular flour for a blend of rice and potato starch; the result is just as tender. Whatever variation you try, keep the basic bake time and cooling steps the same, and you’ll end up with brownies that taste like they came from a bakery.
So next time you’re craving that chocolate fix, follow these simple steps, store the leftovers right, and you’ll have perfect brownies ready whenever the mood strikes. Happy baking!
Learn how to bake brownies with soft, tender edges instead of dry, hard crusts. Simple fixes like pan choice, oven temperature, and a water bath make all the difference.
Read More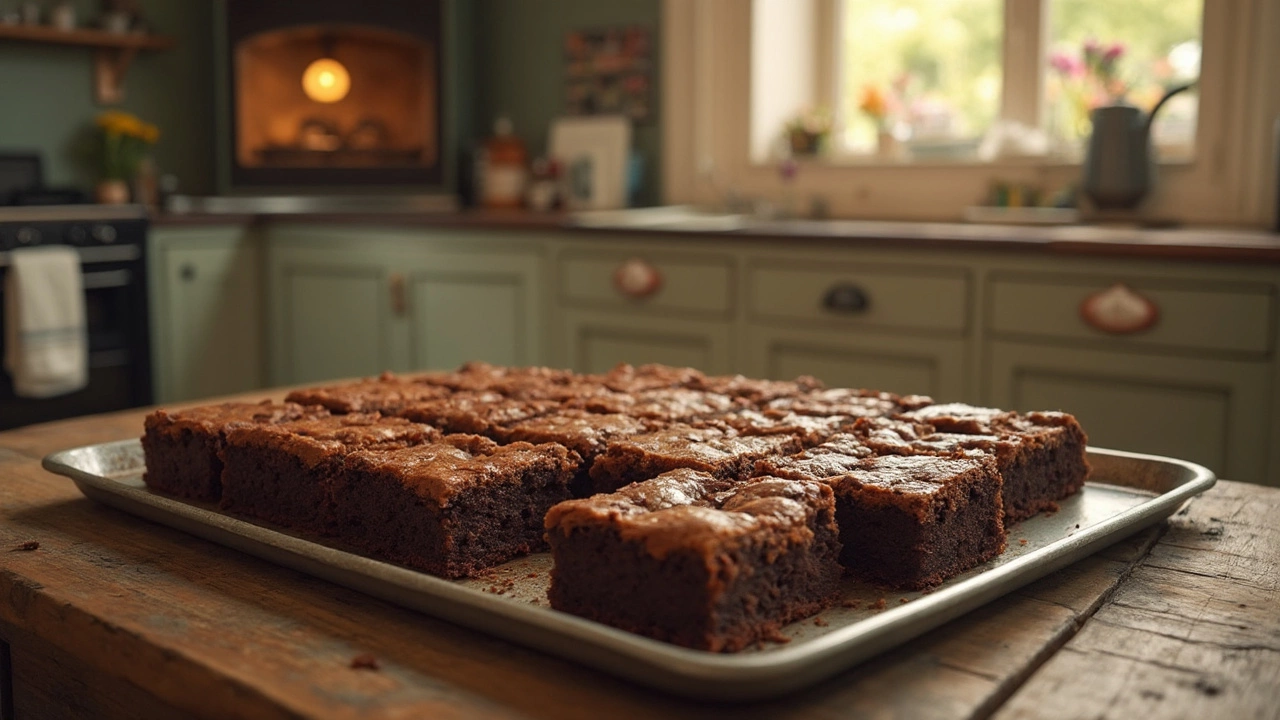
Overbaking brownies can ruin the texture and flavor, making them dry and crumbly. This guide dives into the real reasons brownies get overcooked, from oven quirks to mixing mistakes. Learn practical ways to spot the perfect doneness without fancy tools. Follow these easy tips for rich, moist brownies every single time.
Read More
Ever been in the middle of baking and realized you're out of toothpicks? You're not alone. This article shares practical methods to check if brownies are ready without poking holes in them. Learn about look, touch, smell, and timing for perfect brownies every time. Real kitchen tips for real life, no fancy gadgets needed.
Read More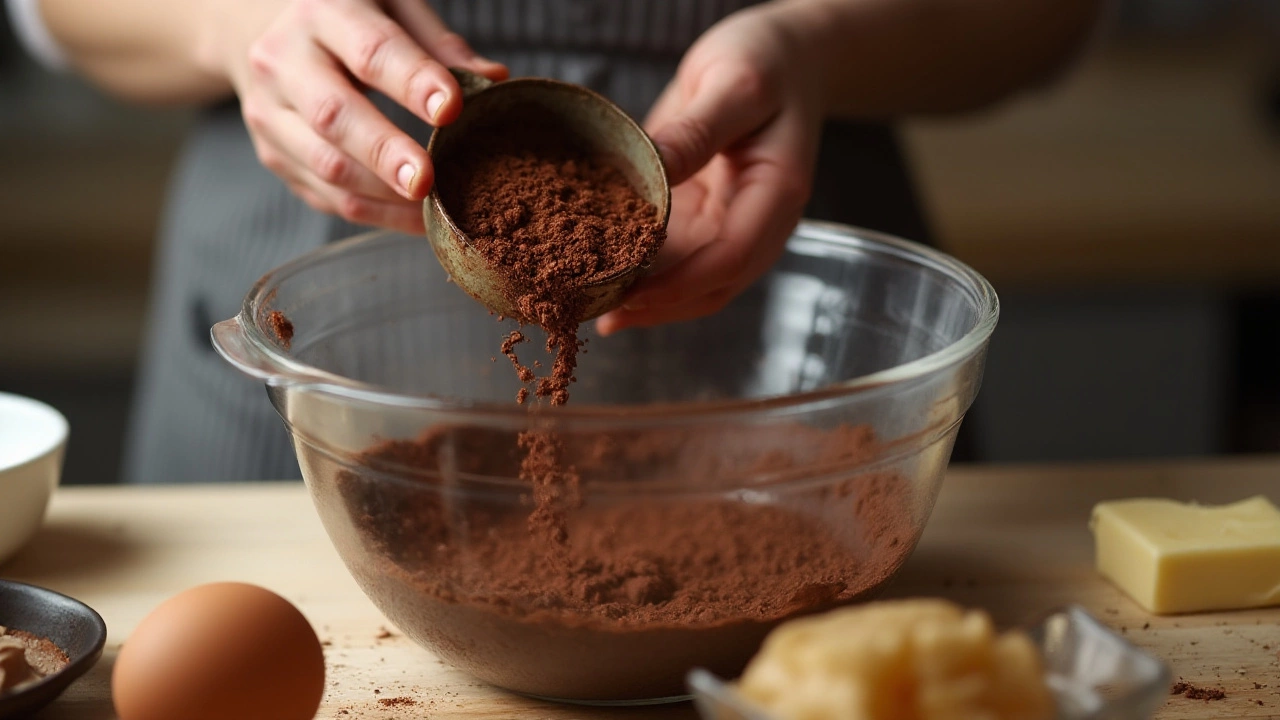
Brownies are beloved for their rich, fudgy textures, but they can sometimes turn hard after baking. This article explores why this happens and provides practical tips to maintain moist, soft brownies. We'll look at different factors, such as ingredients and baking times, that affect brownie texture, and offer solutions to ensure perfect results every time.
Read More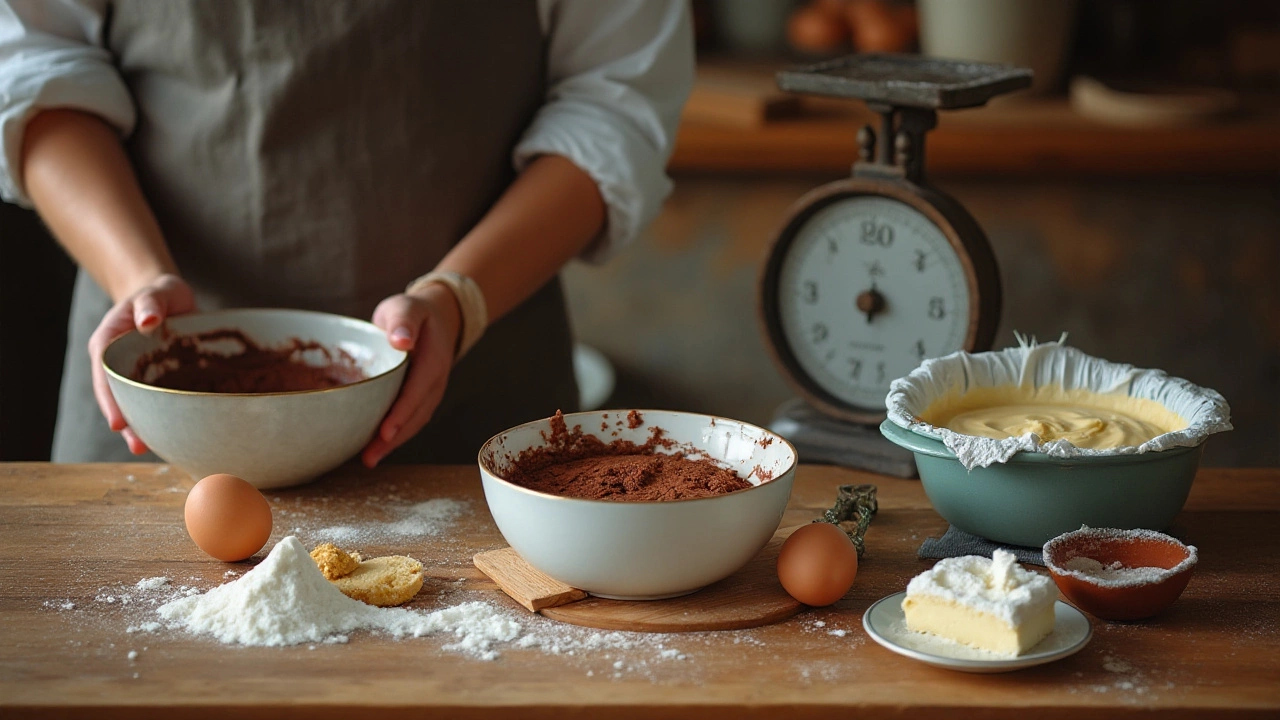
Brownies and cakes, both beloved desserts, differ in texture, ingredients, and baking techniques. While brownies are rich and dense, cakes tend to be light and fluffy. The variance lies largely in the amount of flour, sugar, and fat used. Explore the delectable world of these treats, understanding their unique characteristics and how to perfect them in your kitchen. This guide provides insights and tips to distinguish and master these delightful creations.
Read More
Achieving that perfect, fudgy brownie texture is an art, but maintaining it is where many home bakers struggle. This guide explores the secrets to keeping your brownies moist and soft long after they come out of the oven. Learn about the ideal ingredients, storage techniques, and heating tricks that ensure freshness. With these tips, your brownies will stay deliciously indulgent for days.
Read More