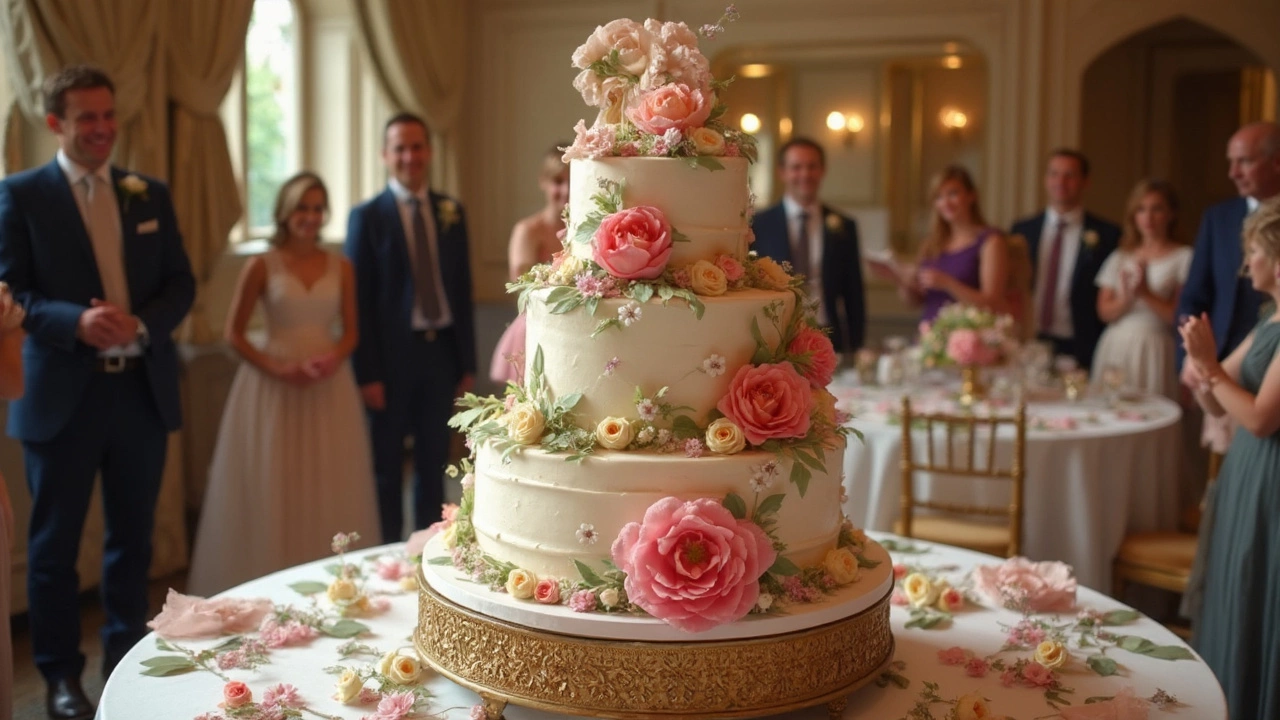
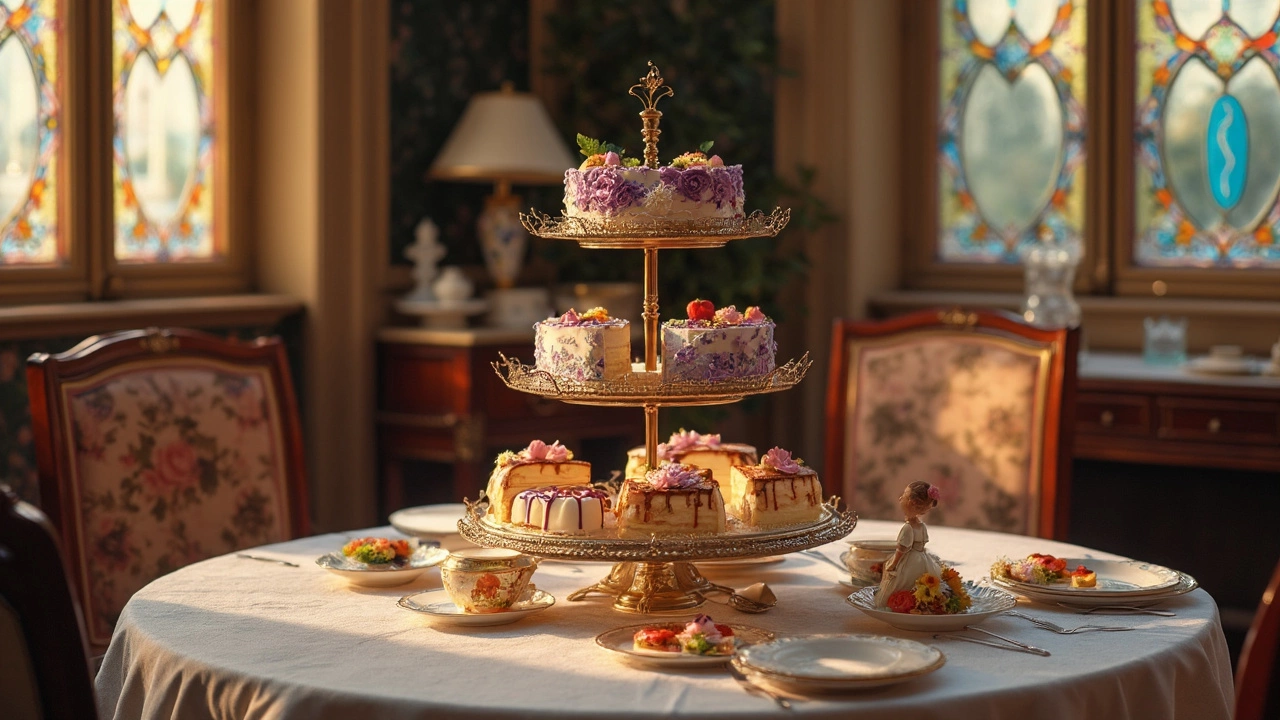
Cake Decorating Made Easy: Practical Tips for Wow‑Factor Desserts
If you’ve ever stared at a plain sponge and thought, “That could look better,” you’re in the right place. Decorating a cake doesn’t have to be a fancy art class – a few basic tools and tricks can turn any bake into a show‑stopper. Below you’ll find the most useful ideas that work for chocolate lovers, beginners, and anyone who wants a pretty cake without the stress.
Essential Tools You’ll Actually Use
First thing’s first: gather a small kit. A good offset spatula, a set of sturdy piping bags, and two or three coupler tips (a round 1‑M and a star 2‑M work for most designs) are enough. Don’t buy a giant stand mixer just for frosting – a hand mixer does the job. A turntable makes smoothing easier, but a simple plate works fine if you spin the cake by hand.
For chocolate fans, a small heat‑proof bowl and a microwave‑safe container let you melt chocolate quickly. A palette knife helps you spread ganache or buttercream evenly. You’ll be surprised how often you reach for these items; they’re the backbone of smooth finishes.
Step‑by‑Step Decorating Process
1. Prep the cake surface. Trim uneven tops with a serrated knife, then apply a thin “crumb coat.” This is a light layer of frosting that locks crumbs in place. Chill for 10‑15 minutes – it makes the next layer smoother.
2. Choose your base frosting. For chocolate cakes, a dark chocolate buttercream adds depth. Mix softened butter, powdered sugar, cocoa powder, a splash of milk, and a pinch of salt until fluffy. Adjust consistency with a little milk for piping or more sugar for a firm finish.
3. Spread and smooth. Use your offset spatula to dollop frosting around the edges, then glide the tool along the sides. A turntable lets you rotate the cake while you smooth, giving a professional look without extra effort.
4. Pipe simple designs. Fill a piping bag with buttercream and practice a few rosettes on parchment first. A single swirled star or a basic rosette line along the border looks elegant. If you’re feeling adventurous, try a drizzle of melted chocolate or a handful of shaved chocolate curls on top.
5. Finish with texture. Sprinkle toasted nuts, edible gold dust, or fresh berries for contrast. Even a dusting of cocoa powder can add a subtle finish that ties the whole cake together.
Remember, the key is to keep each step tidy. Clean your spatula between layers, and don’t rush the chilling stages – a firm base prevents cracks when you add the final frosting.
With these basics, you can tackle anything from a birthday chocolate cake to a simple vanilla layer cake that looks bakery‑ready. Try one tip at a time, and soon you’ll develop your own style. Happy decorating!