Fake Cakes: Simple Steps to Make Props That Look Like the Real Deal
Ever needed a cake that looks perfect on camera but won’t melt under hot lights or get sliced? Fake cakes are the answer. They’re cheap, reusable, and can be as fancy as you want. Below are the basics you need to start making convincing cake props with everyday items.
Choose Your Base Material
The first decision is what you’ll build the cake on. Most hobby bakers use a sturdy cardboard tube, an empty cake box, or a stack of foam boards. Cut the sides to the height you need, then cover the whole shape with a thin layer of plaster cloth or papier‑mâché. Let it dry completely – this gives you a hard shell that won’t wobble when you move it.
If you want a lighter option, try a pool noodle split in half. It already has a rounded shape, so you only need to sand the ends smooth and add a base for stability. This method works great for tiered cakes because you can stack the noodles like real layers.
Shape and Texture the Surface
Real cakes have a soft, slightly uneven texture. To mimic that, spread a thin coat of modeling paste or cake frosting silicone over the dried shell. Use a spatula or your fingers to create gentle ridges and peaks – think of the way a hand‑whipped frosting looks when it’s spread. Let the paste set, then sand it lightly with fine‑grit sandpaper to smooth any harsh spots.
For a smooth fondant finish, roll out a sheet of oil‑based modeling clay. Press it onto the surface, smoothing with your hands. The clay holds its shape and can be tinted with acrylic paints to match any cake color.
Color and Decoration
Paint is the secret weapon for realism. Acrylic paints mix well and dry fast. Start with a base color that matches the cake flavor you’re imitating – pale yellow for vanilla, chocolate brown for chocolate, etc. Add a touch of white or a darker shade in random spots to create a natural “baked” look.
For frosting, use a mixture of white acrylic paint and a bit of water. Dab this onto the cake with a soft brush to get that fluffy appearance. If you want buttercream swirls, use a thicker paint mix and a small round brush to draw the classic rosette patterns.
Decorations like sprinkles, edible glitter, or fondant flowers can be glued on with a dab of craft glue. Because you’re not dealing with food, you can use any tiny embellishment you have on hand – beads, sequins, or even tiny plastic toys for a fun twist.
Finishing Touches and Practical Tips
Once the cake looks good, add a sturdy base. A wooden board or a sheet of MDF works well. Secure the fake cake with hot glue or double‑sided tape so it doesn’t tip over during a photo shoot.
Store your fake cake in a dry place. The paint may chip if it gets knocked, so handle it gently. When you need a fresh look, just sand a little more and repaint – the surface takes new layers like a real cake.
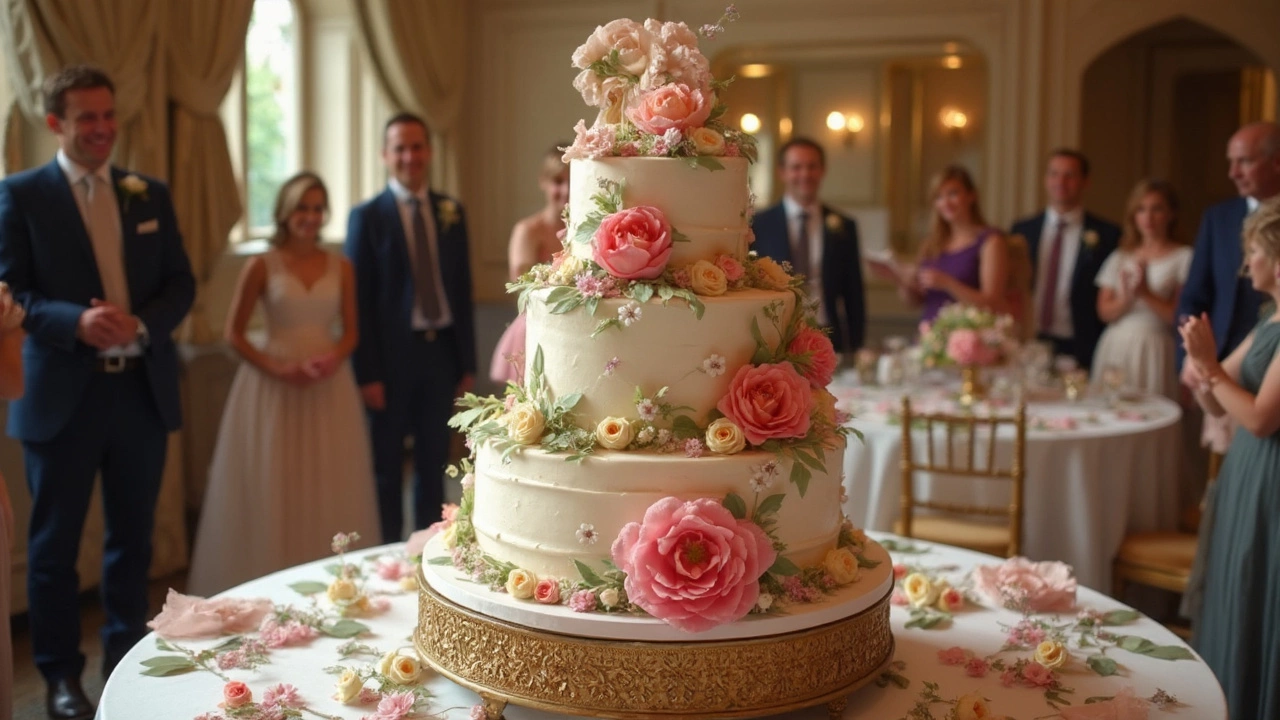
Fake cakes are perfect for weddings, birthday photos, or teaching kids how to decorate without the mess. They also save money when you need a massive cake that would be expensive to bake and transport.
Now you have all the basics. Grab a cardboard tube, some acrylic paint, and start experimenting. With a little practice, your faux desserts will fool anyone who sees them – and you’ll enjoy the creative process without the calories.