Fudge Texture: Quick Tips for Perfectly Smooth, Firm Fudge
If you’ve ever cut into a block of fudge and found it too soft, too hard, or oddly grainy, you’re not alone. The texture of fudge is a delicate balance of sugar, fat, and heat. In this guide I’ll break down the main factors that shape your fudge and give you practical fixes you can use right away.
What Controls Fudge Texture
The first thing to understand is that fudge is essentially a candy made from a cooked sugar syrup mixed with chocolate and butter. Here are the three biggest levers you can pull:
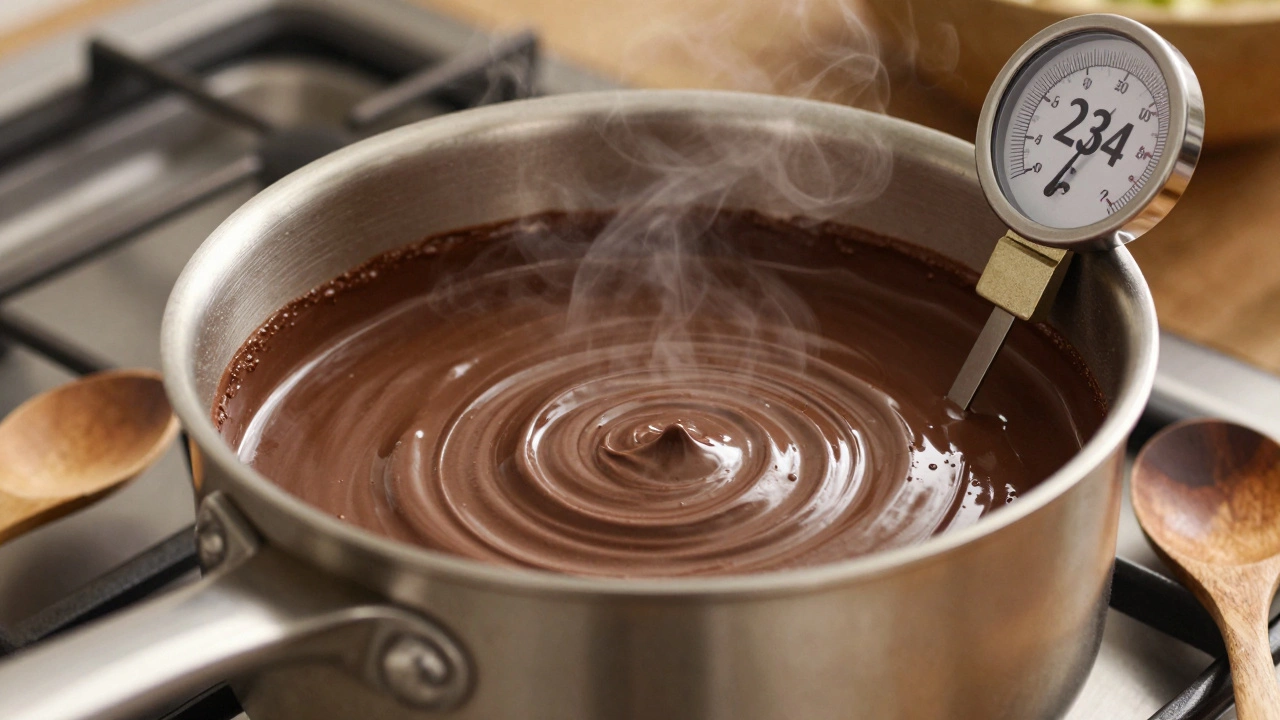
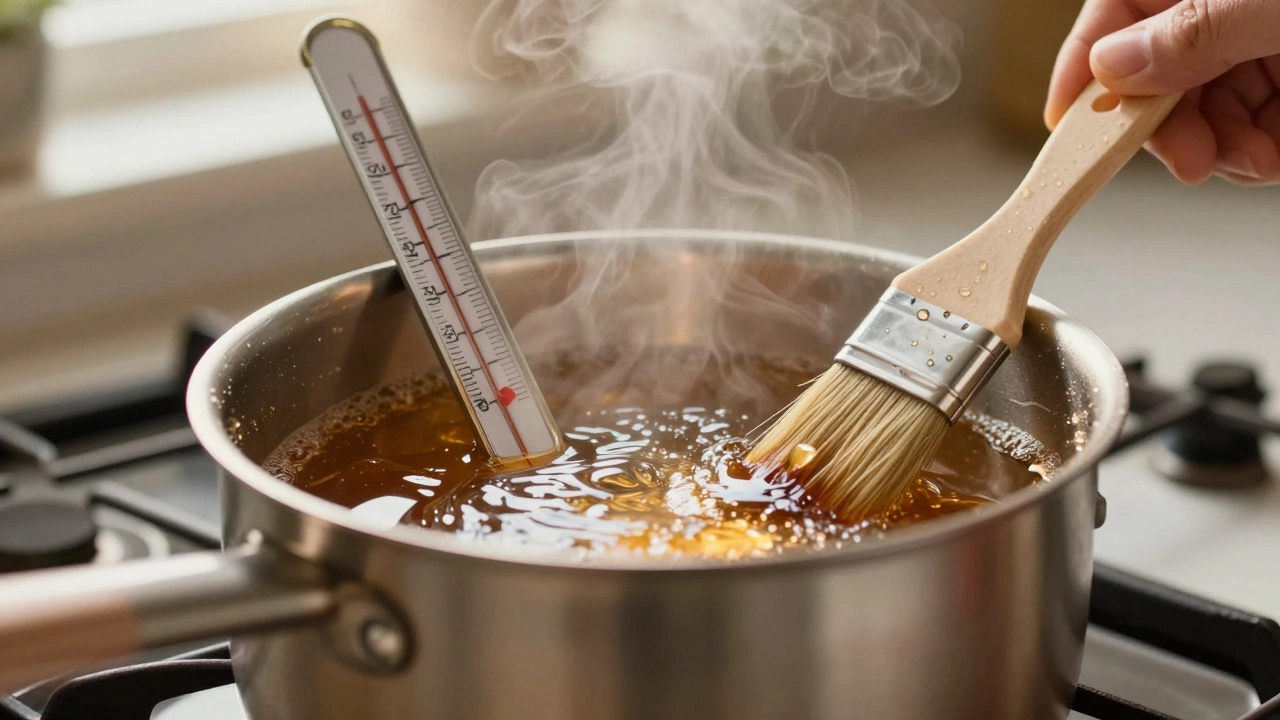
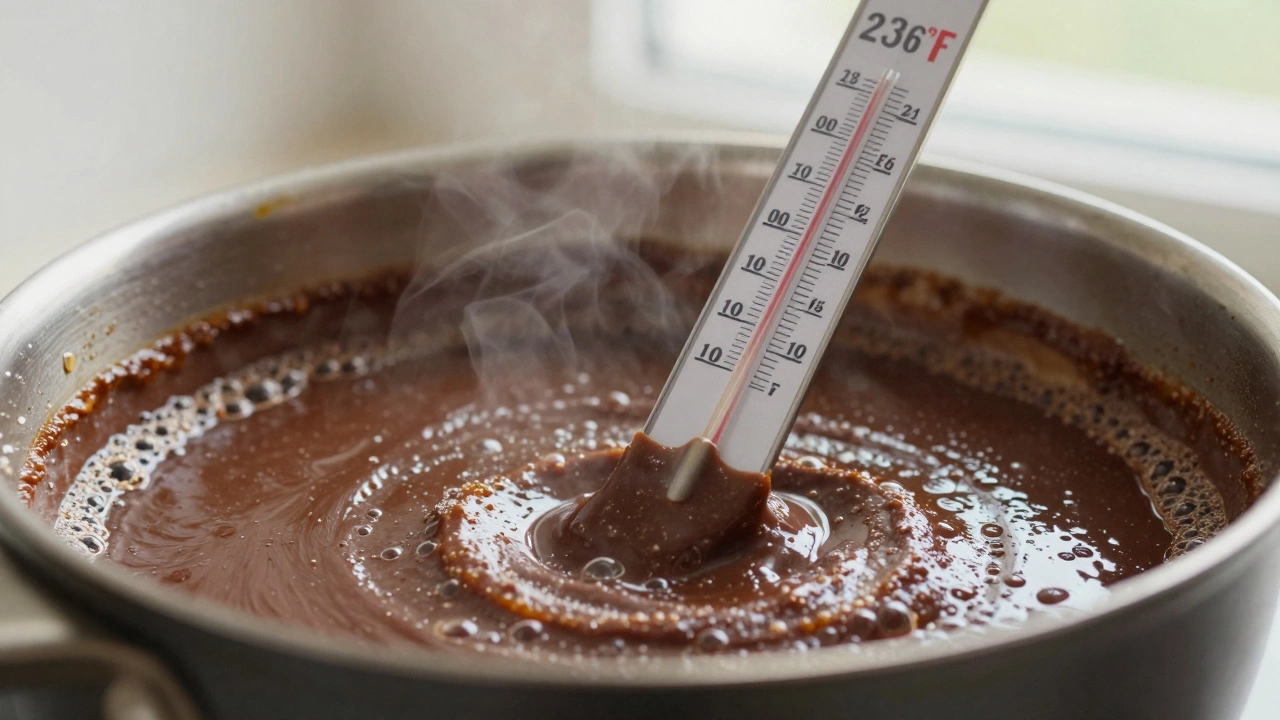
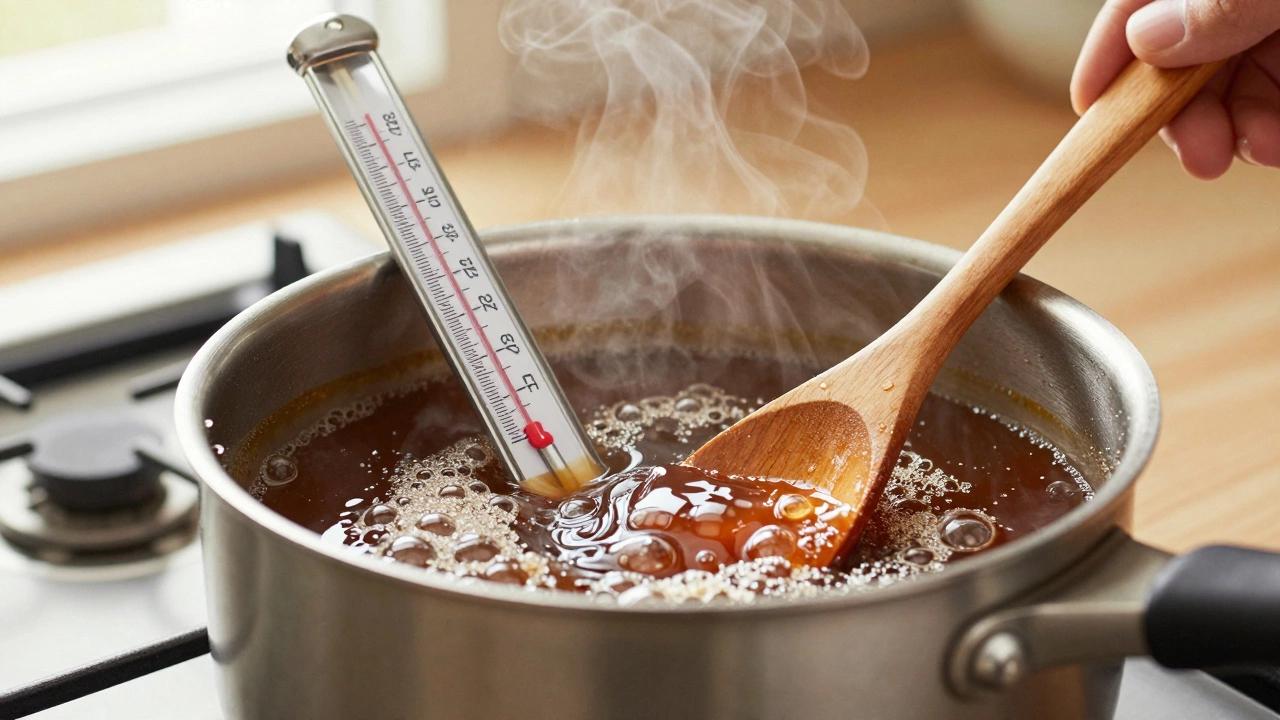
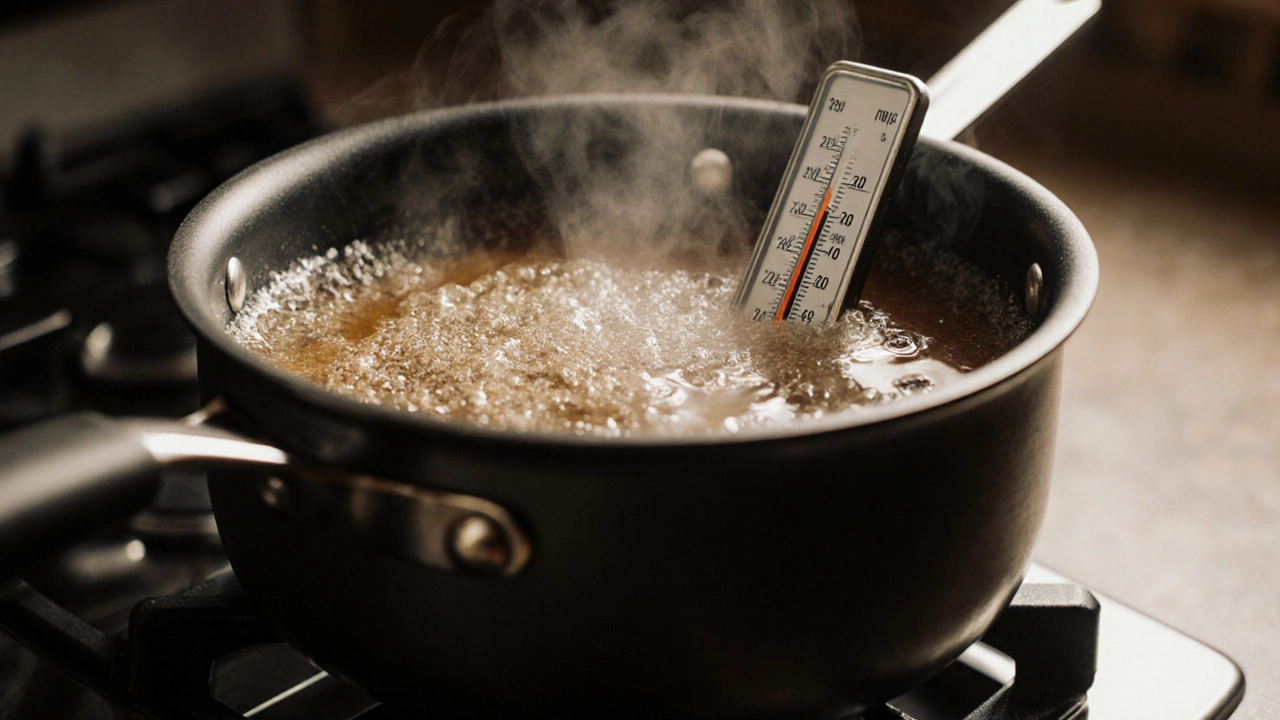
- Sugar and the “soft‑ball” stage: Most fudge recipes call for the syrup to reach the soft‑ball stage (around 235‑240°F / 112‑115°C). If the temperature is too low, the fudge stays soft and won’t set. Too high, and you’ll end up with a hard, brittle piece.
- Fat content: Butter, cream, or even a splash of milk adds richness and helps create that characteristic melt‑in‑your‑mouth feel. Skipping or reducing the butter can make fudge dry and crumbly.
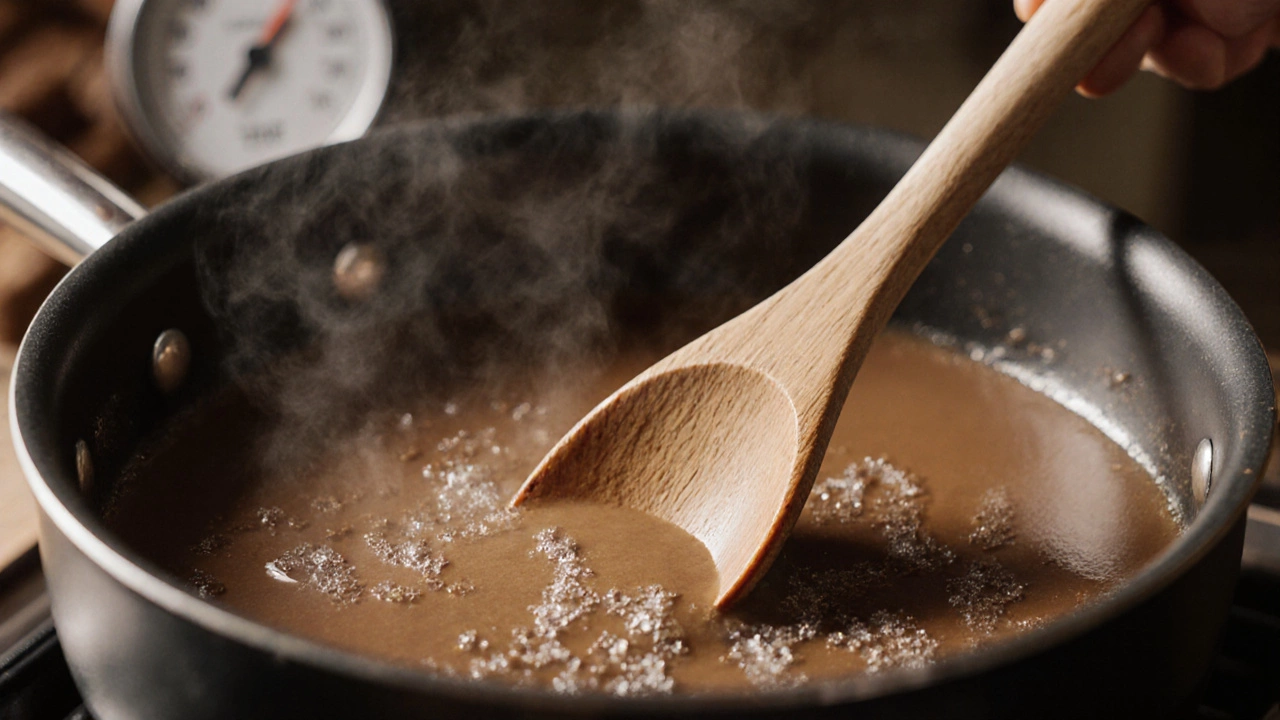
- Stirring and cooling: After the syrup hits the right temperature, you must let it cool to about 110°F (43°C) before beating. Stirring too early creates a grainy texture; stirring too late can leave a glossy, too‑soft piece.
Temperature is the most common culprit, so a reliable candy thermometer is worth the investment. Keep an eye on it, and note the exact moment the syrup hits the soft‑ball stage.
Fix Common Texture Problems
Now that you know the basics, let’s tackle the issues you might run into.
Soft or gooey fudge: This usually means the syrup didn’t reach a high enough temperature. If you’re cooking on a stovetop, raise the heat slightly and watch the thermometer. If you’ve already poured the mixture, you can gently re‑heat it on low, bring it back to the soft‑ball stage, then let it cool and beat again.
Hard, crumbly fudge: Over‑cooking is the main cause. The sugar has turned into a hard crack stage. Unfortunately you can’t reverse it, but you can salvage the batch by adding a tablespoon of butter and a splash of cream, then beating until smooth. The added fat softens the texture.
Grainy or sandy fudge: This happens when the syrup is stirred before it cools enough, causing sugar crystals to form. The fix is to melt the grainy fudge gently over low heat, stir constantly until glossy, then let it cool to the right temperature before beating again.
Our detailed post “Homemade Fudge Not Hardening” walks through these steps with photos, so check it out if you need a step‑by‑step visual guide.
Another quick tip: use a pinch of corn syrup or a splash of cream of tartar. Both help prevent crystal formation, giving you a smoother final product.
When you’re ready to set the fudge, spread it in a greased pan and let it sit at room temperature for at least two hours. If your kitchen is warm, pop the pan in the fridge for a shorter set‑time, but avoid over‑chilling because that can make the outer layer too firm.
Remember, practice makes perfect. The first batch might be a little off, but each attempt teaches you how your stove and thermometer behave. Keep notes on temperature, cooling time, and stirring speed – those details will help you dial in the ideal texture every time.
With these simple adjustments you’ll be cutting clean, glossy fudge squares that melt on the tongue, not in the hand. Happy candy‑making!