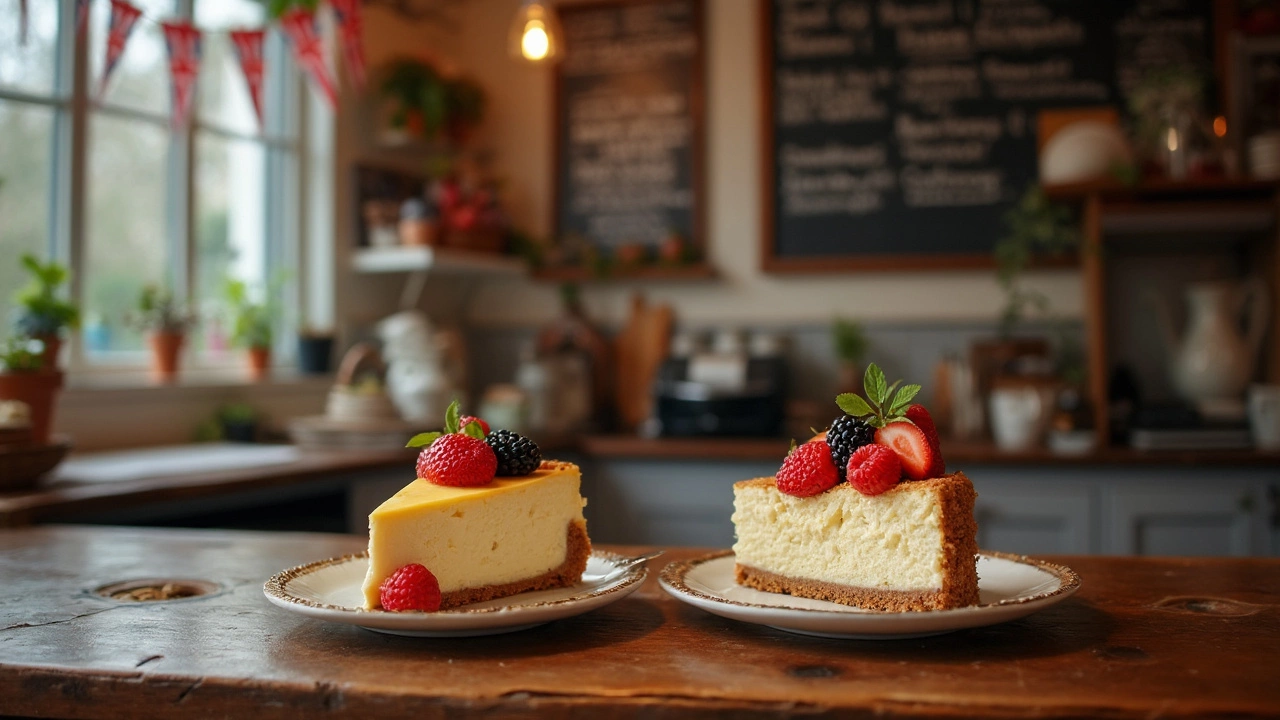
Philadelphia Cheesecake – Creamy, Simple, and Delicious
If you’ve ever loved the smooth, tangy bite of a store‑bought cheesecake, you can get that same magic in your own kitchen. The secret is using good cream cheese, a sturdy crust, and a few easy tricks that keep the filling silky without cracking.
Basic Ingredients and Tools
Here’s what you really need: 2 ⅔ cups (about 600 g) of full‑fat cream cheese, softened; ¾ cup (150 g) sugar; 2 large eggs; 1 teaspoon vanilla extract; ¼ cup (60 ml) sour cream; and a graham‑cracker crust (or digestive biscuits, crushed with melted butter). A 9‑inch springform pan, a mixing bowl, an electric mixer, and a water bath will make the job painless.
Step‑By‑Step Method
1. **Prep the crust** – Mix 1½ cups crushed biscuits with ⅓ cup melted butter. Press the mix into the pan’s base, then chill while you work on the filling.
2. **Beat the cheese** – Using a hand mixer, beat the softened cream cheese until it’s smooth. Add sugar and vanilla, continue mixing for another minute.
3. **Add eggs** – Crack in the eggs one at a time, mixing on low speed after each addition. Over‑mixing can trap air, which leads to cracks later.
4. **Finish with sour cream** – Fold in the sour cream gently. This adds a subtle tang and keeps the texture moist.
5. **Bake with a water bath** – Place the springform pan in a larger roasting tray. Fill the tray with hot water halfway up the sides of the pan. Bake at 325 °F (160 °C) for 45‑55 minutes, until the edges are set but the centre still jiggles slightly.
6. **Cool slowly** – Turn the oven off, leave the door ajar, and let the cheesecake cool for an hour inside. Then chill in the fridge for at least 4 hours, preferably overnight.
That’s the core recipe. From here you can swirl in fresh berry puree, drizzle caramel, or sprinkle chopped nuts. If you prefer a no‑bake version, just skip the oven and set the batter in the fridge for 6‑8 hours; the texture will be lighter but still delicious.
**Pro tip:** To avoid cracks, run a thin knife around the edge of the pan right after the cheesecake comes out of the oven. The heat will cause the cake to pull away slightly, leaving a clean edge.
**Storage:** Keep the cheesecake covered in the fridge for up to five days. For longer keeping, wrap it tightly and freeze for up to two months; thaw in the fridge before serving.
Enjoy your homemade Philadelphia cheesecake with a cup of tea, a dollop of whipped cream, or just on its own. It’s a crowd‑pleaser that looks fancy but takes just a couple of hours of hands‑on time.