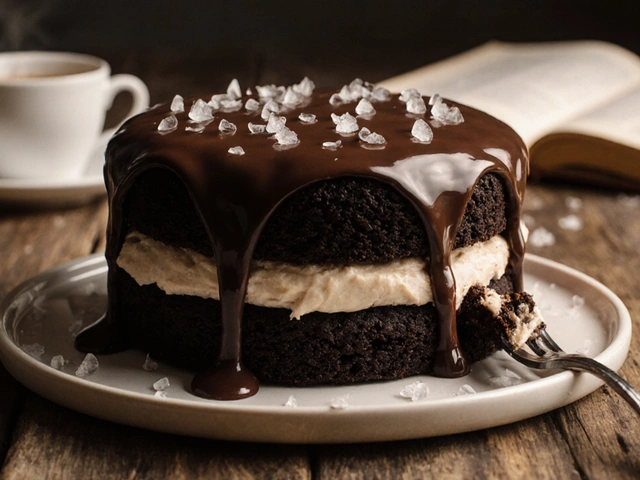
Ah, the sweet, decadent world of fudge! There's something truly magical about a perfectly crafted piece, its texture smooth, its flavors exploding on your tongue. Yet, what is it that makes fudge blissfully creamy instead of awkwardly grainy? For many home confectioners, cracking the code to silky-smooth fudge can feel elusive. But fear not—understanding a few fundamental principles can make your fudge dreams come true.
Crafting fudge that doesn't have a gritty texture is often about mastering a blend of precise techniques and understanding the ingredients. From managing sugar crystals to achieving the right cooking temperature, each step is a dance of culinary science.
With these insights, you'll be equipped to create a harmonious symphony of flavor and smoothness in your next batch of fudge. Let's dive into the mix, shedding light on the mysteries that transform a simple sugar mass into a signature sweet treat that everyone loves.
- The Science Behind Fudge Texture
- Selecting the Right Ingredients
- Mastering the Cooking Process
- The Importance of Temperature and Timing
- Cooling and Crystallization Techniques
- Troubleshooting Common Fudge Problems
The Science Behind Fudge Texture
Crafting a batch of fudge that emerges from the pot as creamy and smooth often feels like a sweet kitchen triumph, yet the secret lies deeply entwined with science. At its core, achieving a texture that glides across the palate without a hint of graininess begins with the understanding of sugar crystallization. Sugar, a fundamental component in fudge recipes, behaves much like a complex yet fascinating dance partner. As sugar dissolves in the boiling cream, it reaches a state where interfering crystals, if allowed to form uncontrolled, can spell doom for your confection. It's the rate and control of these crystals that determine whether your homemade fudge will end up smooth or tragically gritty.
Temperature control plays a starring role in this sugary symphony. The heated mixture must reach a precise heat - typically around 234 to 237 degrees Fahrenheit - to ensure that the sugar is fully dissolved and, post-cooling, does not revert to its crystalline form. This is where a candy thermometer becomes an invaluable ally. In fact, many seasoned confectioners advise warming the fudge just enough to dissolve the sugar but not so intensely as to caramelize or burn the mixture.
"Precision in the kitchen, much like precision on stage, is key," said renowned chocolatier Sarah Adams in an interview with Culinary Craft. "Missing just one degree can mean the difference between a clear note and a missed tone."
The resting phase, or cooling stage, is equally crucial. If fudge begins to cool too quickly without gentle agitation, it will harden in a grainy texture. Stirring the fudge mixture as it cools down ensures that smaller, more uniform sugar crystals form, contributing to the smooth, velvety texture that dreams are made of. The mixture should ideally be beaten until it loses its gloss, a tell-tale sign that indicates the right crystallization. Pay attention to ambient factors too; a humid kitchen can add unexpected challenges, causing sugar to absorb more moisture than intended.
Understanding these processes, one can see why making smooth fudge is both an art and a science, a delicious intersection of technique and technicality. Each batch of fudge is a canvas, a dance of timing and temperature that invites the baker to explore, experience, and savor the world of confections in its most refined form. With these insights into the science of fudge, what once seemed daunting can transform into an enlightening, delightful kitchen adventure.
Selecting the Right Ingredients
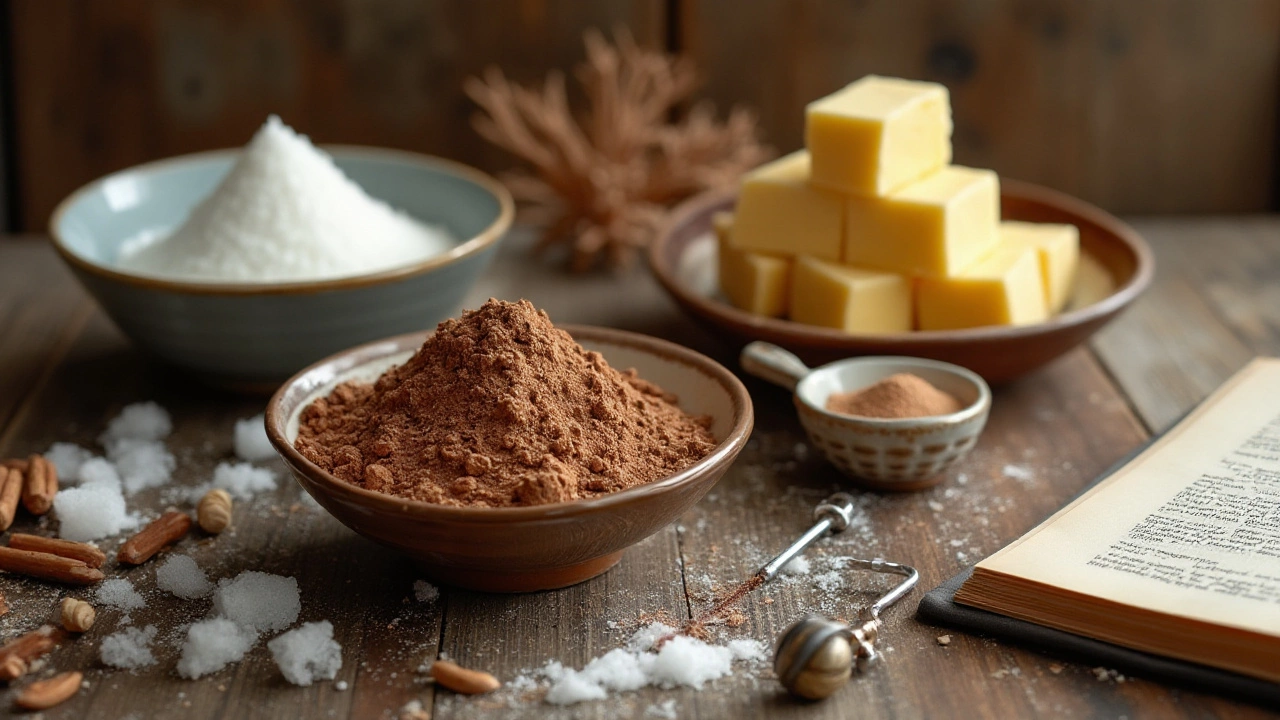
Creating the perfect non-grainy fudge relies heavily on choosing the right ingredients. Each component plays an essential role in the texture, flavor, and consistency of the final product. Unsurprisingly, the best fudge recipes often begin with high-quality sugar. Granulated sugar is standard, but beware of using coarser varieties that can lead to a gritty texture. The type of sugar, its level of refinement, and its ability to dissolve smoothly are critical considerations. For the aspiring confectioner, it's crucial to measure accurately, as even a slight imbalance can tweak the chemistry, affecting your signature smoothness.
Butter or a rich cream also contributes significantly to fudge's character. It imparts not just the creaminess but also helps to amalgamate all the elements seamlessly. When selecting butter, go for unsalted varieties to maintain control over the end taste—remember, salt's presence in fudge is subtle yet transformative. Using fresh, high butterfat or cream adds richness, without which the fudge can fall flat, no matter how sweet. Additionally, many experts suggest using unsweetened chocolate or a high-quality cocoa powder. These provide a depth of flavor that counters the sugar's sweetness without overshadowing it.
"When it comes to making fudge, the ingredients are like actors in a play," says renowned pastry chef Domenique Ansel. "Every part must perform its role perfectly to create a delectable synthesis that audiences love."
Nothing beats the truth behind quality vanilla extract in bringing a depth of flavor to your fudge. It's often considered the unsung hero among fudge ingredients. Opt for real vanilla extract over imitation to avoid a synthetic aftertaste. The subtle yet profound influence of genuine vanilla allows the sweet undertones to shine through. Another noteworthy component is a dash of salt—even in sweet confections, salt can enhance and balance flavors, providing a taste contrast that highlights sweetness without overpowering.
Finally, the optional addition of nuts should be contemplated carefully. While they can add a delightful crunch and flavor complexity, choosing them means a careful selection of type and quality. Almonds, pecans, and walnuts are popular choices. Lightly toasted nuts can amplify their flavor, offering a compelling contrast to the smooth fudge. Seeing the synergy between these ingredients, one realizes that crafting smooth fudge is not just about mixing but about understanding the subtle science of each component's interaction.
Mastering the Cooking Process
Creating a perfectly textured fudge is as much about the cooking process as it is about selecting quality ingredients. The key is to carefully manage heat and time, transforming a simple mixture of sugar, butter, and milk into a confection that boasts a velvety finish. To start, understanding the science behind sugar is paramount. Sugar, when dissolved in a liquid and heated, begins a fantastic transformation phase. However, it requires a delicate balance—too little heat and the sugar doesn’t melt properly, too much and it recrystallizes, causing that unwanted graininess.
The cooking phase of making homemade fudge is where many learners stumble, as perfection lies in the nuances. Ideally, one should use a heavy saucepan that evenly distributes heat, avoiding hotspots that could lead to crystal formations. Bring the mixture to a boil over medium heat. It’s crucial not to rush as a vigorous boil could cook the sugars unevenly. Once boiling, refrain from stirring, as stirring can induce unwanted grainy crystals to form. This is an exercise in patience and control, allowing the mixture to reach the desired temperature, usually between 234°F and 240°F, known as the soft ball stage.
“Cooking with sugar is a realm where patience is not just a virtue—it is the ingredient,” notes famous chocolatier Kanami Bando.
Utilizing a candy thermometer ensures that you hit this mark precisely. However, for those without a thermometer, there’s a time-honored test where a small amount of the boiling mixture is dropped into cold water; if it forms a soft, flexible ball, you’ve hit your target. At this point, the mixture is more than just boiled sugar—it’s an almost fudge ready solution waiting to be cooled and stirred to creamy perfection.
Once the mixture has achieved the right temperature, the next step is to carefully manage the cooling without interference. Pour the mixture onto a buttered surface, often a marble slab or a lined pan. It should then cool undisturbed until it reaches about 110°F. This is a crucial rest period where the mixture solidifies, yet remains elastic enough to be beaten or mixed into the desired creamy texture.
In this vital phase, many factor in the magic of flavors—whether it's vanilla, nuts, or chocolate chunks, enhancing the primary flavors of the original recipe. Stirring post-cooling is where the fudge gains its distinctive creamy consistency. Proper stirring at this stage breaks down remaining sugar crystals, ensuring the fudge is neither grainy nor brittle, but a perfectly satiny confection—classic qualities of a non grainy fudge.
The Importance of Temperature and Timing
Temperature and timing are the silent artisans behind every non grainy fudge success story. The glistening smoothness of a decadent bite relies heavily on your ability to coax sugar molecules into submission, guiding them into a perfect crystallization process at just the right moment. Sweet success hinges on cooking your fudge mixture to the magical ballpark of 234 to 237 degrees Fahrenheit (approximately 112 to 114 degrees Celsius). This range allows sugar to form just the right size of crystals; if the mixture is undercooked, the sugar will remain gritty, whereas overcooking leads to a rock-hard result.
The art of timing intertwined with this temperature can make or break your quest for perfect homemade fudge. Stirring together ingredients at the wrong moments or failing to let the mixture cool adequately can yield a sticky or grainy fudge. As Robert Allen, a notable confectionery expert, famously remarked, "Cooking fudge is akin to conducting a symphony, where every ingredient and every second play a critical role in the final harmony of taste and texture."
Mixing the right way is more about cues than clocks. Listen to the fudge, it has secrets to share.His words emphasize that, while time is a factor, the visual and tactile cues from your mixture—like the velvety sheen or the slight loss of gloss—should guide you.
After reaching the ideal temperature, precision cooling is key in your fudge recipe. Pouring the mixture into a pan without disturbance allows it to set correctly. It's important to remember that fudge is not merely about temperature but also patience. The cooling process should be gradual, allowing crystalline structures to stabilize well. If your fudge cools too rapidly, these structures become chaotic and bulky, leading to a gritty texture. To ensure the best results, keep your workspace at a stable temperature, free from drafts and drastic temperature changes. A good tip is to cover your pan with a clean towel, creating a gentle buffer.
To tackle common missteps, understanding temperature dynamics and learning to work with them is fundamental for anyone keen on mastering homemade fudge. The balance between temperature and timing can truly transform your confectionery endeavors. Below is a handy table that illustrates common problems and solutions related to temperature and timing in fudge making:
| Problem | Solution |
|---|---|
| Gritty Texture | Check cooking temperature; ensure it has reached at least 234°F |
| Fudge Not Setting | Allow more time to cool, maintain ambient temperature |
| Hard and Brittle Fudge | Lower cooking time if exceeding 237°F |
| Sticky Fudge | Stir for longer until less glossy and more satin-like |
Remember, the dance between sugar and heat is a delicate one—master it, and you'll be rewarded with the smoothest fudge every time.
Cooling and Crystallization Techniques
The journey to achieving silky-smooth fudge isn't complete until you master the subtle yet crucial step of cooling and crystallization. Once the bubbling mixture has reached the heavenly stage of 234-237°F, precision in lowering its temperature becomes your best ally. The process of cooling must be handled with care to encourage the right crystal formation without turning the entire endeavor into a granular mass.
The first rule of thumb is patience. Resist the urge to stir the fudge immediately once it's off the heat. Stirring too soon can introduce unwanted air bubbles and encourage large sugar crystals to form, which are the very culprit of a grainy texture. Place the pan of hot fudge in a draft-free area and allow it to cool undisturbed until it reads around 110°F on a candy thermometer. At this temperature, the mixture should be lukewarm but still pliable enough to start beating.
Now comes the art of beating the fudge. This step is crucial as it determines the size of the sugar crystals. Beating or stirring the homemade fudge with a wooden spoon or an electric mixer on low speed until it loses its sheen and thickens is key. This encourages the formation of small, consistent sugar crystals, yielding the creamy texture desired. A good rule is to keep stirring until it begins to set; this can be anywhere between 10 to 20 minutes, depending on your batch size and room conditions.
Some artisans of sweets swear by adding a smidgen of corn syrup or cream of tartar to the mixture at the beginning of the process to aid in achieving the right crystal size.
"Great fudge texture lies in control over crystal size," notes The Culinary Institute of America's Chef Kimberly Brock Brown; "Incorporating these ingredients helps hinder the sugar’s natural tendency to form larger crystals," she adds.
Special environments, like cooler rooms or using a marble slab, can also aid in optimizing the cooling and crystallization process. By ensuring your workspace isn't overly warm and humid, you can avoid introducing conditions that favor the nastier, larger sugar crystals. Some expert confectioners employ the use of candy marbling—we think of it as fudge’s magical final step—where the mixture is poured onto a pre-cooled marble surface, which rapidly extracts excess heat, bringing the fudge closer to setting quickly and allowing the small crystal network to develop nicely.
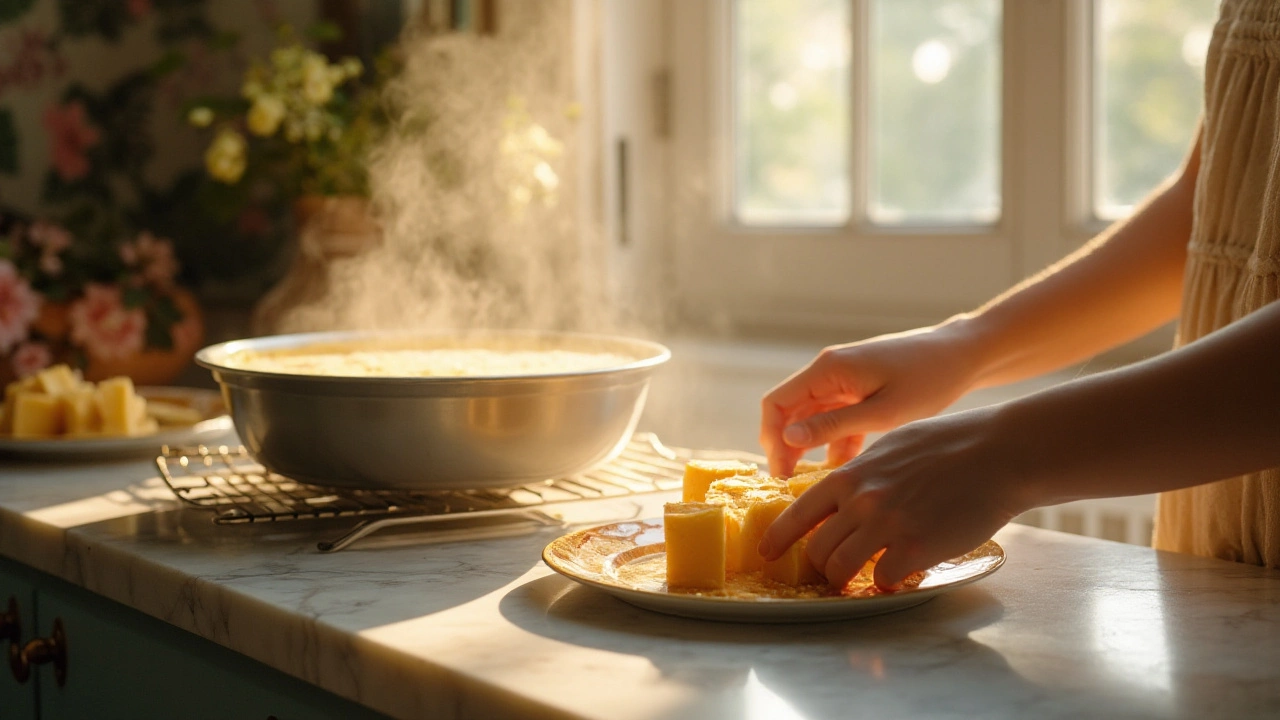
Once your fudge has reached the perfect consistency, pour it into a pre-greased pan (consider lining it with parchment for easy removal later). Stay alert to potential mistakes at this stage; rushing the pour can deflate your dreams of non grainy fudge by introducing air again when it should now be setting quietly. Allow the fudge to cool completely for at least three hours at room temperature or even overnight before cutting into squares. This patience rewards you with not just taste but consistency throughout every bite!
Troubleshooting Common Fudge Problems
Even the most experienced fudge enthusiasts encounter troubles now and then. Perhaps the most common issue is the dreaded graininess. This gritty texture often results from rogue sugar crystals multiplying inside your mixture. But why does this happen? It usually comes down to stirring, especially while the fudge is cooling. To avoid this, ensure that your sugar is fully dissolved at the beginning. Utilize the back of a spoon, drizzle some mixture on a plate, and rub it with your finger. If it feels smooth, you’re on the right path, but if it's sandy, heat it a bit more until smoothness shines through.
Another common pitfall is fudge that doesn’t set firm. This often happens when the mixture isn't cooked to a high enough temperature. Investing in a reliable candy thermometer can save you much trouble. You’re aiming for around 234 to 238 degrees Fahrenheit. As a rule of thumb, observing the soft ball stage is another option—drop a portion into icy water, and it should form a soft ball. Too hard, and it’s overdone; too soft, and you'll need extra heating.
Sometimes, fudge can turn out dry and crumbly, a result of overcooking. A bit of moisture, such as a few drops of milk or cream, can attempt to reconstitute its texture. Be patient and add very sparingly; you don’t want to swing to the opposite problem of fudge soup. Slow and steady wins the texture chase. Also, avoid over-stirring during the early stages, especially once the fudge starts cooling; that can also contribute to dryness due to premature sugar crystallization.
Let’s not forget the greasy top layer dilemma, where butter separates from the main mass. This can emerge from improper mixing. Always blend vigorously and ensure that all components integrate completely before setting it aside. There's an art to blending, and practice makes perfect. Stir in a consistent figure-eight motion until a noticeable sheen goes through the whole batch.
“A little patience and a bit of science turn everyday cooking into something magical,” says Mary Berry, distinguished baker. The aim is to transform setbacks into sweet learning curves. Every challenge resolved brings you one step close to a flawless fudge experience.
And if you’re wondering when the best time to cut your fudge is, do wait till it's fully set. The impulse to carve into prematurely might leave you with sticky, uneven squares. Once firmed up, use a sharp knife first heated in hot water for clean, sublime slices. Remember, the path to non-grainy, smooth fudge often comes down to attentiveness and a keen eye on temperature.

