How to Control Meringue Texture for Perfect Results
If you’ve ever wondered why some meringues crumble while others stay chewy, you’re not alone. The texture comes down to a few key steps you can tweak in the kitchen. Below are the most practical tips to get the crunch you want or the soft, marshmallow‑like bite you crave.
Ingredients and Mixing Basics
Start with fresh egg whites at room temperature. Warm whites whip faster and trap more air, which means a higher rise and lighter texture. Add a pinch of cream of tartar or a few drops of lemon juice – the acid stabilises the foam and prevents weeping.
When it comes to sugar, use superfine caster sugar. Its tiny crystals dissolve quickly, giving a smooth, glossy finish. If you see grainy spots, keep whipping a little longer until the sugar melts completely. That’s the difference between a gritty bite and a silky mouthfeel.
Crisp vs. Soft Finishes
For a classic, dry‑crisp shell (think Pavlova), bake at a low temperature – around 90‑120°C (200‑250°F) – for a long time. The heat slowly dries the meringue without browning it. Keep the oven door slightly ajar using a wooden spoon; the steam escape helps the interior stay airy while the exterior gets that satisfying snap.
If you prefer a soft, marshmallow centre, raise the temperature a bit (150‑160°C or 300‑325°F) and shorten the baking time. This creates a slightly chewy outer layer while the inside stays moist. You can also finish the meringue under the broiler for a few seconds to add a light golden top without drying the core.
Testing the texture is simple: tap the surface. A crisp meringue will sound hollow; a soft one will give a gentle give. Trust your ears and your fingertips – they’re the best guides.
Common Mistakes and Quick Fixes
Grease on the bowl or whisk steals air, resulting in a flat, dense meringue. Always use clean, completely dry equipment. If you accidentally add yolk, the foam will collapse; discard the batch and start fresh.
Over‑whipping creates grainy, dry peaks that turn rubbery when baked. Stop when the whites form stiff, glossy peaks that stand up on their own. If you’re unsure, lift the whisk – the peaks should hold their shape without wobbling.
Humidity is a silent texture killer. On humid days, store your meringues in an airtight container with a slice of bread; the bread absorbs excess moisture and keeps the meringue crisp.
Storing and Using Your Meringues
Let baked meringues cool completely in the oven with the door closed. This gradual cooling prevents cracks. Once cool, store them in a single layer in a dry jar. They’ll stay crunchy for up to a week.
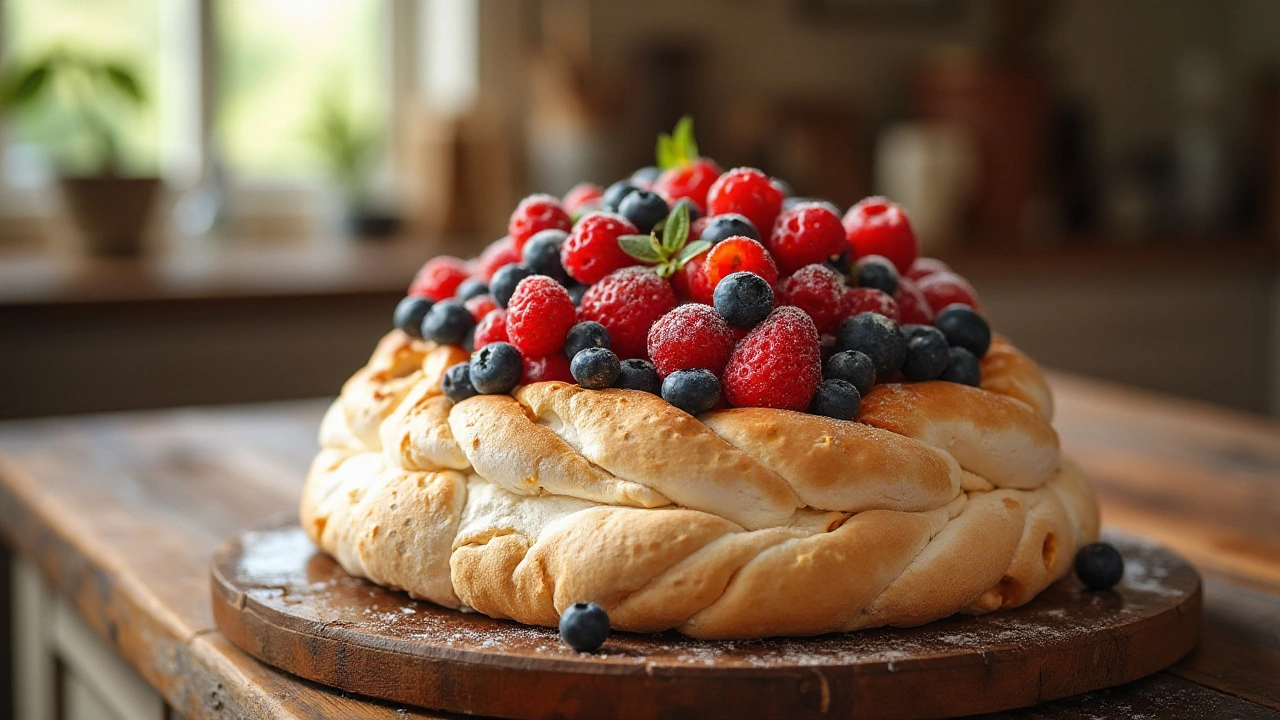
Use crisp meringues to top pies, ice cream, or as edible décor. Soft meringues work great as a base for fruit tarts or layered desserts where you want a bit of give. Pair them with fresh berries, whipped cream, or a drizzle of chocolate for instant wow factor.
With these straightforward adjustments, you’ll master every type of meringue texture you need. No more guessing – just consistent, delicious results every time you whip up this classic sweet.