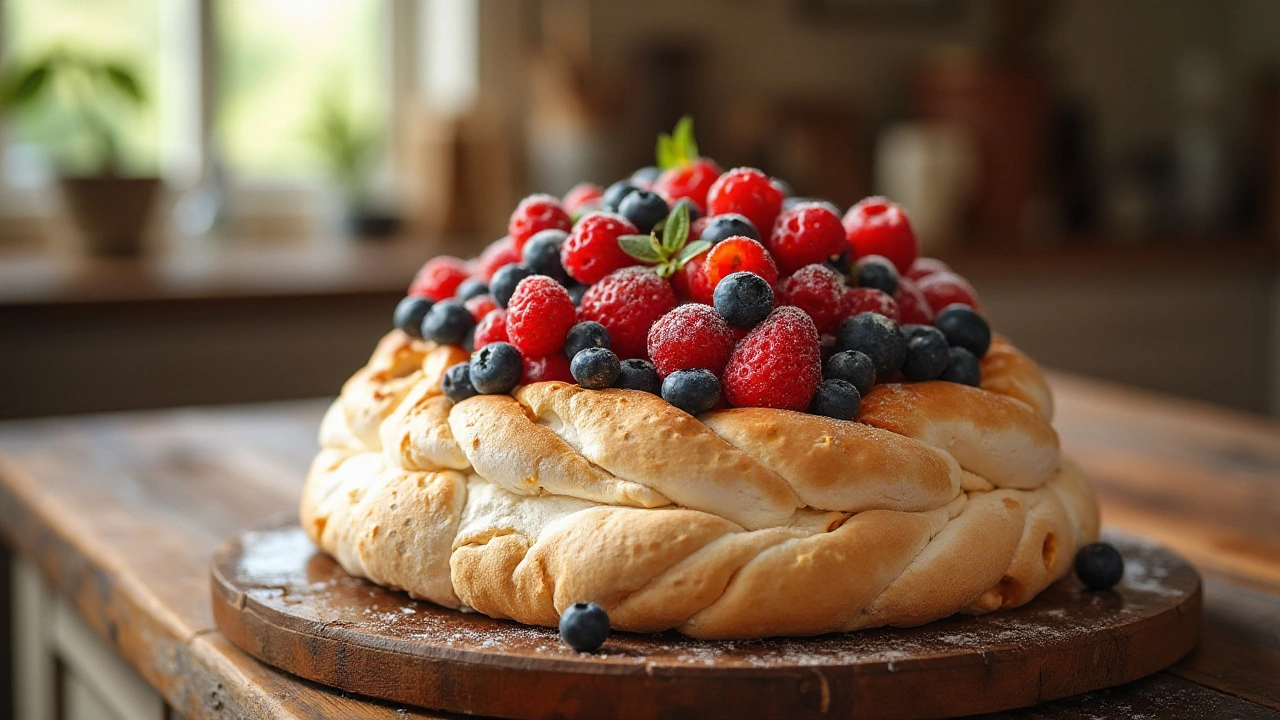
Making a pavlova go crispy is often like chasing a mischievous butterfly; frustrating yet tantalizingly close. This dessert, with its roots entangled in tales from New Zealand and Australia, demands not just precision but a bit of patience and heart. Achieving that divine crunchy exterior with a soft, marshmallow-like center is an accomplishment many bakers aspire to master.
To ensure your pavlova emerges from the oven with the perfect level of crispness, it's crucial to understand both the role of your ingredients and the environment in which your dessert transforms from raw meringue into a beautiful crisp shell. From properly beaten egg whites to the timing nuances during baking, every step makes a difference.
- Understanding Meringue Basics
- Essential Ingredients for Crunchiness
- Baking Techniques for Crispy Results
- Common Mistakes to Avoid
- Troubleshooting and Tips
Understanding Meringue Basics
To achieve the perfect pavlova, it's crucial to grasp the fundamentals of meringue. At its core, a meringue is a delicate dance between sugar and egg whites. When you whip egg whites, air is whisked in, creating a foam. This foam comprises countless bubbles held together by proteins. The intricate network of proteins stabilizes these air bubbles, giving meringue its structure. The key here is balance; over-whipping causes a brittle mix, while under-whipping leads to a runny mess. Understanding these subtleties is the first step towards a crispy pavlova.
The ingredients used play a pivotal role as well. While the charm of meringue is its simplicity, consisting mainly of sugar and egg whites, it's crucial to pay attention to the sugar type. Fine sugar, often termed caster sugar, dissolves more readily, ensuring a smooth texture. Surprisingly, a dash of acid, like vinegar or cream of tartar, often makes its way into meringue recipes. Acid helps strengthen the meringue, ensuring it retains its structure. And while it's tempting to overlook salt, just a pinch brings out the delicate sweetness of the sugar, making the flavor of your pavlova truly shine.
An expert once said,
"The success of a meringue is as much about the process as it is about the products." - Julia Child.This wisdom holds as true today as it did decades ago. Preparation, she suggests, is crucial. Before you even think about whipping those whites, make sure your bowl and beaters are squeaky clean. The tiniest residue of fat can deflate your meringue faster than you can say pavlova. While stainless steel or glass is preferable for mixing, plastic can harbor hidden oils that hinder perfect peaks.
The process of beating the egg whites involves several stages, beginning from frothy beginnings to glossy peaks. As you start, you'll notice that the mixture evolves from a frothy foam to soft peaks and finally to stiff peaks. Soft peaks form when the meringue bends over when the beater is lifted. Achieving stiff peaks means that the meringue stands tall without bending. However, a critical checkpoint is stopping just before it turns dry. A glossy, stiff peak is a good indication that your meringue is ready, but watch closely; overbeating will cause the meringue to lose its shine and stability. These steps might seem basic at first, but understanding them in detail is fundamental to the art of pavlova recipe creation.
Did you know that sugar helps stabilize the whipped egg whites? This phenomenon occurs because sugar dissolves and surrounds the air bubbles, fortifying the structure. In fact, a meringue's glossy sheen and solid structure owe much to the sugar you've added. However, with sugar, patience is a virtue. Adding it too quickly can hinder the mixing process. Introduce sugar slowly, spoon by spoon, ensuring it's fully incorporated before adding the next spoon. This slow incorporation encourages the sugar crystals to dissolve, thereby ensuring your mixture remains velvety and lump-free. It's an exacting task but one that pays vast dividends for a crispy pavlova.
Essential Ingredients for Crunchiness
Let’s delve into the magical world of pavlova recipe ingredients to uncover the secret to achieving that elusive crispy texture. At the heart of this crispy delight is the humble egg white, which accounts for the base of the meringue. The way you treat these egg whites will directly affect the end result. Freshness is key; fresh eggs tend to bind together better, creating stronger protein bonds necessary for stability. When gently beaten into stiff peaks, they trap the air that’s crucial for puffing up and maintaining the structure during baking.
Sugar, the sweet seducer of the culinary world, plays a dual role here. Beyond sweetness, sugar dissolves into the egg whites, helping to stabilize and dry out the mix for that coveted crunchy shell. However, the type of sugar matters significantly. Many bakers find that superfine sugar, often called caster sugar, dissolves the quickest, leaving the meringue smooth rather than gritty. Be patient while adding it in—slow and steady with a fine drizzle, allowing it to fully integrate with the beaten whites.
There’s another underappreciated ally in your pantry—cornstarch. It works quietly to absorb excess moisture, ensuring your creation holds its form. When used in conjunction with vinegar, a dash of this magical ingredient helps to set the meringue by forming a crisp crust while keeping the interior soft. These two often-overlooked ingredients contribute to the texture balance that makes a pavlova unique.
A quote from celebrated pastry chef Yotam Ottolenghi captures the essence of meringue perfection:
Meringue is best baked slow and low—the secret is in the patience of the cook.
Of course, just as with any culinary endeavor, the quality of ingredients is paramount. Opt for organic eggs if possible, as they often yield a brighter, fuller flavor. Also, explore pure vanilla extract rather than imitation for an aroma that gently enhances the taste. It’s these careful considerations and slight tweaks that cumulatively push an ordinary pavlova to greater heights of confectionary art. A few keen ingredient choices can truly transform your pavlova, making its snap and crackle the talk of any celebration table.
In essence, understanding these meringue texture components and how they interact lays the groundwork for creating that dream pavlova with the desired crunchiness. Every step in your baking adventure counts, from sourcing the freshest eggs to the methodical mixing of ingredients. Don’t hesitate to experiment a little within these guidelines to discover a signature version of your own that never fails to amaze.
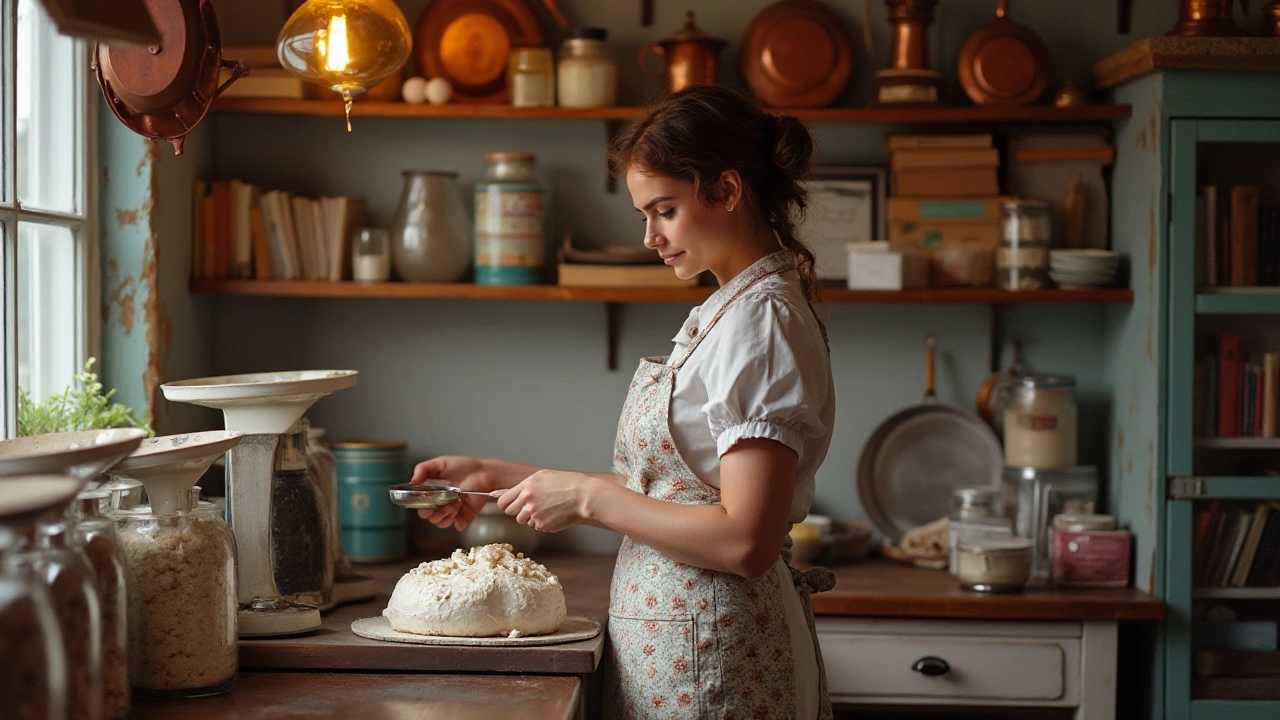
Baking Techniques for Crispy Results
The art of creating the perfect crispy pavlova lies not only in your ingredients but also in how you utilize your oven. To get that crunchy exterior, start by preheating your oven to the recommended temperature, typically around 300°F (150°C). The preheat step is crucial to ensure an even distribution of heat. Once your oven is ready, reduce the heat to around 250°F (120°C) right before placing the pavlova inside. This method of starting high and then lowering the heat creates the right conditions for a crunchy outer layer while preserving the softness inside.
When placing your meringue in the oven, use parchment paper to prevent sticking and ensure even baking. The baking time is another factor that influences the crispiness of your pavlova. A pavlova generally bakes between 60 to 90 minutes. A helpful trick is to bake until it appears firm when lightly touched and then turn the oven off, allowing the meringue to cool inside the oven with the door slightly ajar. This cooling method prevents quick changes in temperature, reducing the risk of a chewy texture and helping maintain that desired crunch.
"Success in getting a pavlova right involves a delicate balance of heat and a keen sense of timing," says renowned pastry chef Claire Hartson. "The beauty of a pavlova is not just its appearance, but the satisfying texture contrast between the crisp shell and its soft center."
Understanding the humidity factor is another essential element for achieving a crispy pavlova. Humidity is the sworn enemy of a perfect pavlova because it encourages sugar to absorb moisture, leading to a tackier structure. Baking on a dry day is advisable, but if that's not an option, consider using a dehumidifier in your kitchen or ensuring your windows are closed against outside moisture. As a practical measure, consider using a fan setting on your oven to promote even heat circulation, enhancing the crispy texture of your pavlova.
| Oven Temperature | Time |
|---|---|
| 300°F (150°C) | Preheat Only |
| 250°F (120°C) | 60-90 Minutes |
Another insider tip is adjusting the sugar content in your meringue. High sugar levels result in greater moisture retention, which can hinder achieving a crunchy texture. To avoid this, ensure that your sugar is fully dissolved in the egg whites. An easy way to test this is by rubbing a small amount of the mixture between your fingers – if it feels grainy, keep mixing. While sugar is essential for stabilizing your meringue, striking the right balance ensures optimum outcomes, both in taste and texture. With these baking tips, you can confidently venture into pavlova making, embracing both its challenges and sweet rewards.
Common Mistakes to Avoid
Crafting a crispy pavlova is an art that requires attention to detail. One common mishap is over-whipping the egg whites. It’s easy to get carried away, but over-whipped egg whites can lead to a pavlova with a grainy texture rather than the desired smoothness. Think of it as a balance; achieving stiff peaks is key, but the gloss should not be compromised. Once you notice that the egg whites are standing up firmly after the whisk is lifted, you must stop whipping immediately to maintain that perfect meringue texture.
Another frequent mistake is adding sugar too rapidly. Introducing sugar too quickly can destabilize the meringue. The process of adding sugar should resemble a gentle snowfall, gradually incorporating it into the egg whites. Once sugar is added, checking for its dissolution is crucial. The best way to verify this is by rubbing a small bit between fingers; if it feels gritty, it needs more whisking. Take your time with this step, as rushing it affects the end result significantly.
The impact of humidity on pavlova is often underestimated. A humid kitchen can wreak havoc on a meringue’s structure, causing it to become soggy. Pavlova's crispness relies heavily on a dry environment. Consider baking your treat on a clear day or using a dehumidifier to maintain the ideal conditions. Anecdotal wisdom from experienced bakers suggests, "A sunny day is best for a pavlova play." Clearly, mise en place matters, beyond simple impatience, and knowing how to avoid pitfalls can transform your baking from fraught with frustration to a reflection of finesse.
Another subtle blunder involves parchment paper misuse. Bakers sometimes forget to flip over the sheet after tracing a circle for guidance. This oversight can cause pencil or pen markings to transfer onto the pavlova, which is quite unappetizing. Always ensure your pavlova rests atop the unmarked side of parchment paper. Furthermore, baking time and temperature hold enormous sway over the crispiness. Be wary of underbaking; a pavlova should appear dry to the touch yet still a bit soft inside, which is an art in timing.
Troubleshooting and Tips
When the promise of a perfect pavlova lies within your reach, yet the result is less than desirable, a few gentle prompts and nudges can steer you back on track. One of the common frustrations with pavlovas is their tendency to end up more chewy than crispy, or even collapsing under their own weight. Understanding why your meringue misbehaves is the first step in making peace with it. The crispiness of a pavlova largely depends on the moisture level in both the mixture before baking and the environment it is baked in. To make sure your pavlova doesn't turn soggy, consider the humidity of your kitchen. As baking on a rainy day can sabotage the dryness of your shell, choosing a sunny, dry day is like setting the stage for a culinary triumph.
A pavlova's failure to crisp might also be due to insufficiently beaten egg whites—a critical element in achieving that sought-after structure. Getting them stiff enough to hold peaks is crucial. A turn to a high-speed setting in your mixer can make all the difference, whipping the whites until your reflection can practically bounce off them. And when folding sugar into the egg whites, never rush; gradually add just a little at a time, pausing to fully incorporate before reaching for more. This slow incorporation process ensures the sugar dissolves fully, preventing it from weeping out during baking.
Temperature also plays a critical role in the pavlova’s journey to crunchiness. After baking, turning off the oven but leaving the pavlova inside to slowly cool provides a gentle transition that can prevent cracks and ensure a stable texture. If you're tempted to rush things and remove it immediately, you might find yourself facing a crumbled disappointment. Instead, patience will preserve that hard-earned crunchy shell. Speaking of shells, make sure they're free of grease; even the tiniest residue can disrupt the magic of a meringue. Clean your mixing bowls and utensils meticulously to keep them grease-free.
If you're seeking additional insight, renowned baker Mary Berry once mentioned, "The key to a perfect pavlova is patience. Let it cool in the oven completely to avoid any sudden changes in structure."
Lastly, once your pavlova is perfect and stunning, don't let storage become its downfall. Humidity can be its nemesis even after it's baked, so store it in a cool, dry place, never the fridge, where condensation can destroy the texture. If you have time, prepare your pavlova close to serving so it retains that fresh crisp quality that chefs aspire to highlight in this classic dessert.

