Fudge Hardening Time Estimator
Estimated Hardening Time
0 hours
Based on your settings
Why this time?
- Temperature Room temperature is ideal for best texture
- Humidity Humidity slows crystallization
- Pan Size Thinner pans set faster
- Method Room temperature is recommended
Ever made a batch of fudge, poured it into the pan, and then stared at it for hours wondering why it’s still sticky? You’re not alone. Fudge doesn’t harden like candy bars or chocolate chips. It needs time, the right temperature, and a little patience. If your fudge is too soft, grainy, or won’t set at all, the problem isn’t your recipe-it’s likely the timing and cooling process.
How long does fudge normally take to harden?
Most fudge recipes need 2 to 4 hours to fully harden at room temperature. But this isn’t a fixed clock. The exact time depends on your kitchen’s temperature, the ingredients you used, and how you cooled it. In a cool, dry room (around 68°F or 20°C), fudge usually firms up in about 3 hours. If it’s warm or humid, it could take 5 hours or more.
Some people rush the process by putting fudge in the fridge. That’s fine-but it changes the texture. Fridge-set fudge hardens in 1 to 2 hours, but it can become overly firm, lose its creamy mouthfeel, or even develop condensation that makes the surface sticky later. For the best results, let it set at room temperature.
Why does fudge take so long to harden?
Fudge isn’t just melted chocolate. It’s a sugar crystal structure formed by careful heating and cooling. When you boil the sugar, butter, milk, and chocolate mixture, you’re creating a supersaturated sugar solution. As it cools, sugar crystals form slowly and evenly. That’s what gives fudge its smooth, melt-in-your-mouth texture.
If you cool it too fast-like tossing it into the freezer-the sugar crystals form too quickly and too small. The result? Grainy, crumbly fudge. If you don’t cool it long enough, the sugar doesn’t fully crystallize. That’s why it stays soft or sticky.
This process is why fudge can’t be rushed. Unlike brownies or cookies, you can’t test it with a toothpick. You have to wait.
What factors affect fudge hardening time?
- Room temperature: Below 70°F (21°C) is ideal. In summer or tropical climates, it may take 5+ hours.
- Humidity: Moisture in the air can prevent fudge from setting. If it’s rainy or damp, use a dehumidifier or air-conditioned room.
- Ingredients: Recipes with more cream or milk take longer to set than those with condensed milk or evaporated milk. Chocolate with higher cocoa butter content (like dark chocolate) sets faster than milk chocolate.
- Pan size: Pouring fudge into a deep 8x8-inch pan takes longer to cool than spreading it thin in a 9x13-inch pan.
- Cooling method: Room temperature = best texture. Refrigerator = faster but riskier. Freezer = not recommended unless you’re in a hurry and don’t mind texture loss.
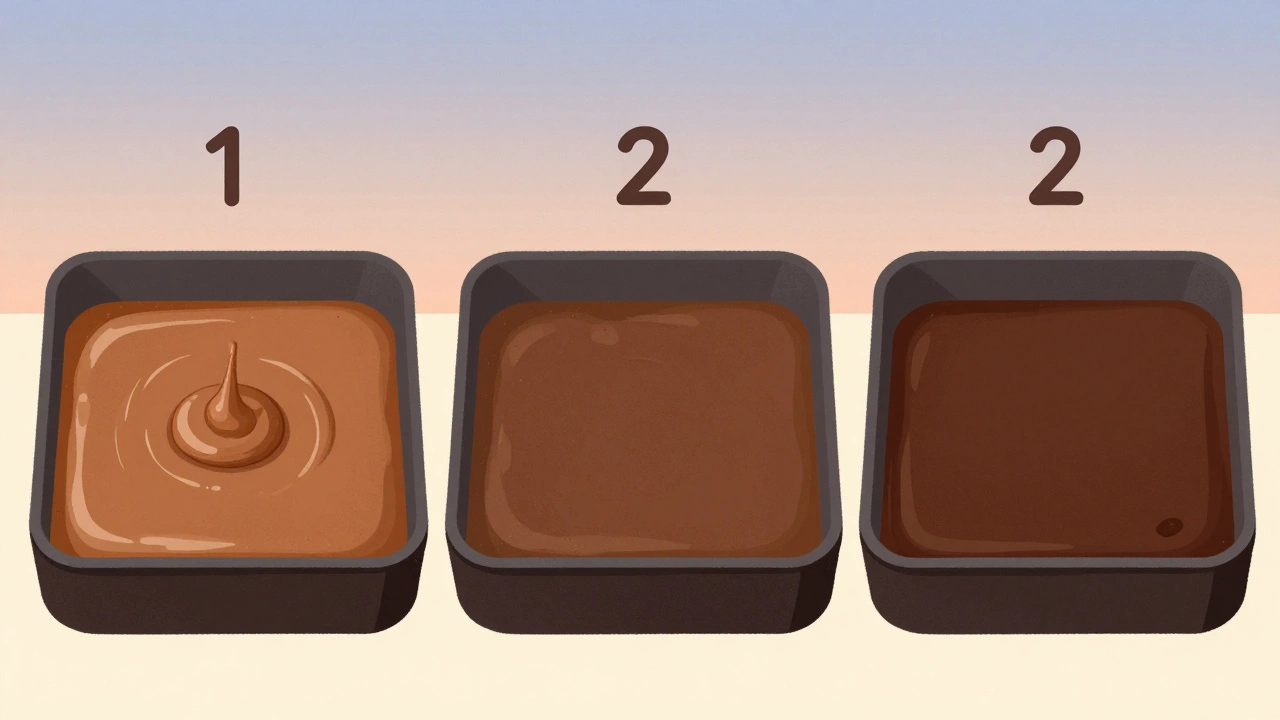
How to tell if your fudge is ready
You can’t cut into it too soon. Wait until the surface looks dull, not shiny, and feels firm to the touch. Gently press the center with your finger. If it leaves no indentation and feels solid, it’s ready. If it’s still soft or sticky, give it another hour.
Some people use the cold water test: drop a small spoonful of hot fudge mixture into a glass of ice water. If it forms a soft ball that holds its shape, it’s at the soft-ball stage (234-240°F / 112-116°C). That’s the ideal point to remove it from heat. But this only works during cooking-not after pouring into the pan.
What if your fudge never hardens?
If your fudge is still soft after 6 hours, something went wrong. Here’s what to check:
- Did you cook it long enough? Fudge needs to reach 234-240°F (112-116°C). If you didn’t use a candy thermometer, you might’ve undercooked it. Undercooked fudge = sticky mess.
- Did you stir it after cooking? Once you take the mixture off the heat, stop stirring. Stirring while cooling causes sugar crystals to form too early, making it grainy.
- Did you use the right chocolate? Chocolate chips don’t melt the same way as baking chocolate. They contain stabilizers that prevent proper setting. Use bars of chocolate labeled for baking.
- Was the pan greased? If you didn’t grease the pan, the fudge may stick and seem undercooked. It’s not-it’s just clinging to the surface.
If you’re sure you cooked it correctly, let it sit longer. Sometimes, fudge just needs more time. Leave it overnight. It might surprise you.
Pro tips for perfect fudge every time
- Use a candy thermometer. It’s the single most reliable tool. Guessing by color or texture is risky.
- Line your pan with parchment paper. It makes removal easy and prevents sticking.
- Don’t scrape the sides of the pot when pouring. Bits of sugar stuck to the sides can cause crystallization.
- Let the fudge cool undisturbed. Even a slight shake can ruin the texture.
- Store it in an airtight container at room temperature. Fudge lasts 2-3 weeks if kept dry.

Can you speed up the process?
You can put fudge in the fridge to set faster-but only after it’s been at room temperature for at least 1 hour. This helps the surface set first, reducing condensation. Then, refrigerate for 1-2 hours. Take it out 30 minutes before cutting to let it soften slightly. That way, you get clean slices without crumbling.
Never freeze fudge to set it. Freezing changes the fat structure in the chocolate and butter. You’ll end up with chalky, crumbly pieces that taste off.
How to store fudge after it hardens
Once your fudge is fully set, cut it into squares. Layer them in an airtight container with parchment paper between each layer. Keep it at room temperature, away from sunlight and heat. It will stay fresh for up to 3 weeks.
If you live in a hot climate, store it in the fridge-but bring it to room temperature before serving. Cold fudge tastes dull and feels waxy. Room temperature lets the chocolate melt just right on your tongue.
Common mistakes that ruin fudge texture
- Stirring after removing from heat
- Using chocolate chips instead of baking chocolate
- Not using a candy thermometer
- Putting hot fudge directly into the fridge
- Using old or stale ingredients
- Trying to cut it before it’s fully set
Each of these can turn a smooth, rich fudge into a sticky, grainy disappointment. The fix? Patience and precision.
Why is my fudge still soft after 4 hours?
If your fudge is still soft after 4 hours, it likely wasn’t cooked to the right temperature. Fudge needs to reach 234-240°F (112-116°C) to form the correct sugar syrup. Use a candy thermometer next time. If you didn’t, your batch may need to be reheated and cooked again-though texture will suffer. To prevent this, always measure temperature, not time.
Can I microwave fudge to harden it?
No. Microwaving won’t help fudge harden-it will just melt it again. Fudge sets through controlled cooling, not reheating. If it’s too soft, give it more time at room temperature. If it’s been sitting too long and turned grainy, you can melt it down, reheat it to 234-240°F, and pour it into a fresh pan. But this is a last resort.
Does humidity affect fudge setting?
Yes, badly. High humidity adds moisture to the air, which interferes with sugar crystallization. Fudge may never harden properly on a rainy day. If you’re making fudge in humid weather, turn on your air conditioner or use a dehumidifier in the kitchen. Store finished fudge in an airtight container with a silica gel packet to keep it dry.
How long does fudge last after it hardens?
Properly stored fudge lasts 2 to 3 weeks at room temperature in an airtight container. If refrigerated, it can last up to a month-but it loses its creamy texture. For best flavor and mouthfeel, eat it within two weeks. Freeze it only if you need to store it longer than a month-and thaw slowly in the fridge.
Should I grease the pan before pouring fudge?
Yes, but don’t just use butter. Grease the pan with shortening or line it with parchment paper. Butter can brown or burn at the edges and make removal messy. Parchment paper is the easiest method-it lets you lift the whole block out and cut it cleanly on the counter.