Fudge Rescue & Temperature Calculator
Enter your details and click "Calculate" to get your personalized rescue plan.
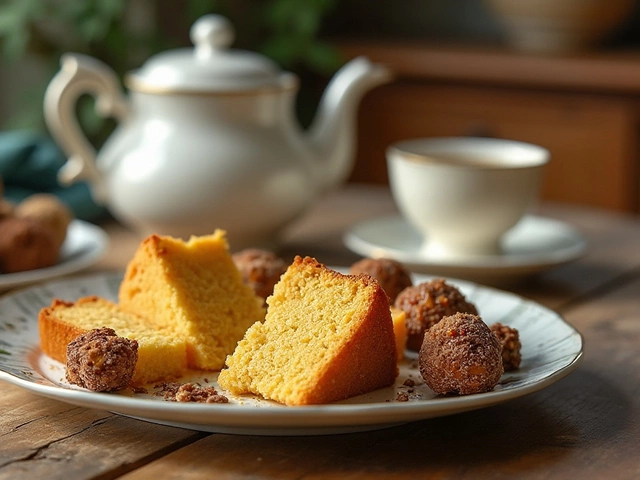
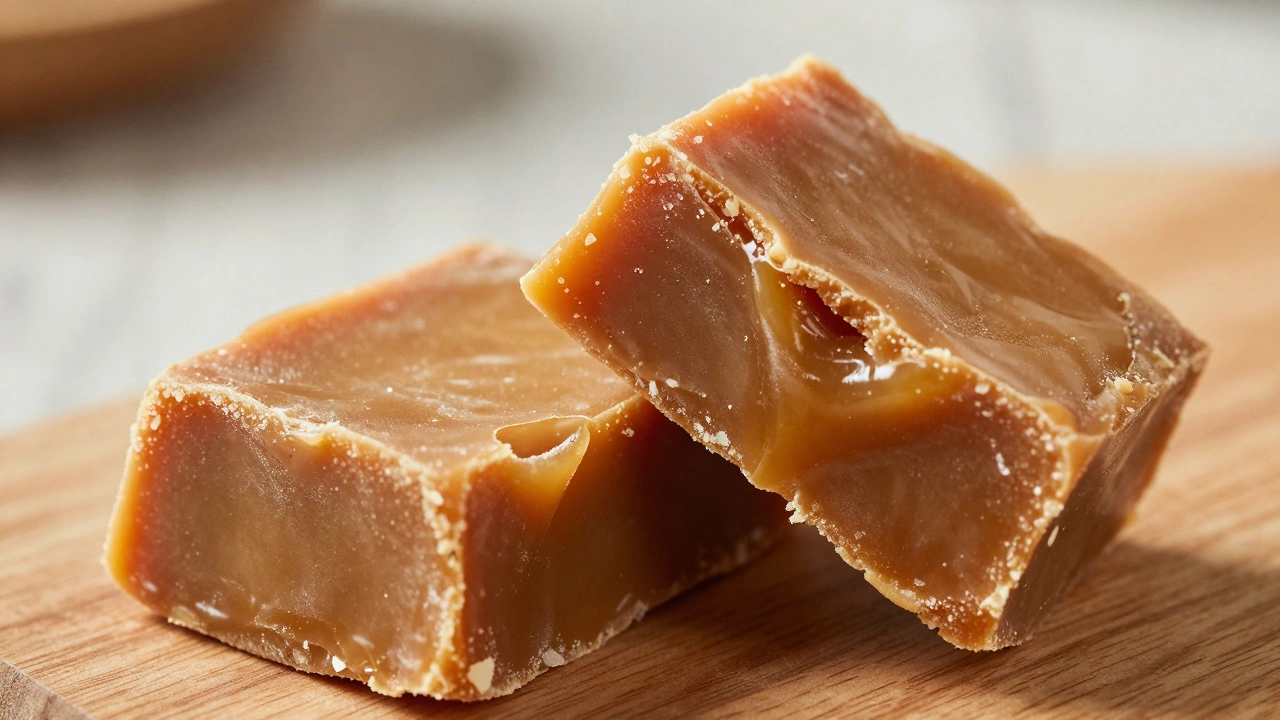
You’ve just pulled a batch of homemade fudge from the fridge, ready for that soft, creamy bite. Instead, you hear a loud *crack*. It’s hard as a rock. It snaps like brittle. It tastes less like dessert and more like a piece of toffee. If you didn’t use condensed milk in your recipe, you’re likely dealing with a classic temperature mishap. The good news? You can almost always save it.
Fudge is essentially controlled chaos. It relies on precise sugar chemistry to create its signature texture. When things go wrong, they usually go wrong in one of two directions: too grainy or too hard. Since your fudge is hard like toffee, you overshot the cooking temperature. But before we dive into the rescue mission, let’s look at why this happens so you don’t repeat the mistake next time.
Why Your Fudge Turned Into Toffee
To understand the fix, you need to know what broke. Fudge isn’t just melted butter and sugar; it’s a supersaturated sugar solution. The texture depends entirely on how much water remains in that mixture after boiling.
When you boil sugar syrup, water evaporates. As the concentration of sugar increases, the temperature rises. For perfect fudge, you need to reach the "soft-ball stage," which sits between 234°F and 240°F (112°C - 116°C). At this temperature, enough water has evaporated to thicken the mixture, but not so much that it becomes rigid when cool.
If you cook it beyond 240°F, you enter the firm-ball or even hard-crack stages. This is where fudge turns into toffee or caramel. The sugar molecules have bonded too tightly because there’s simply not enough water left to keep them flexible. Without condensed milk-which adds extra moisture and proteins to buffer against this hardness-standard butter-and-sugar recipes are unforgiving. A few seconds too long on the stove, and your dessert becomes a doorstop.
| Stage | Temperature (°F) | Temperature (°C) | Resulting Texture |
|---|---|---|---|
| Soft-Ball | 234-240°F | 112-116°C | Perfect Fudge (Creamy) |
| Firm-Ball | 245-250°F | 118-121°C | Hard Fudge / Brittle |
| Hard-Crack | 300-310°F | 149-154°C | Toffee / Caramel Glass |
The Rescue Method: Re-Melting and Diluting
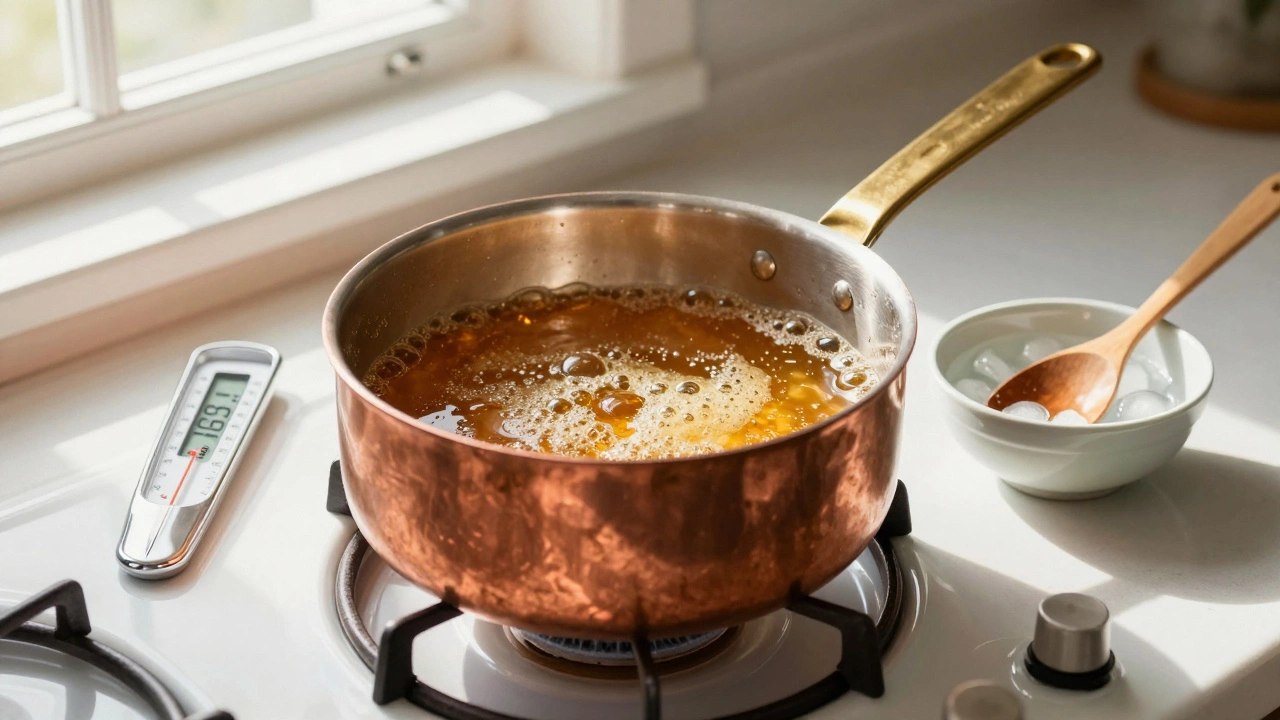
Since you cannot un-boil water out of the mixture, you have to add it back in. This process requires patience and a bit of science, but it works reliably if you follow the steps carefully. You will need a heavy-bottomed saucepan, a wooden spoon, and ideally, a candy thermometer.
- Cut it up: Take your hardened block of fudge and chop it into small cubes. The smaller the pieces, the faster and more evenly they will melt. Aim for chunks about half an inch wide.
- Add liquid: Place the cubes in a heavy saucepan. Add a splash of water. Start with 1 to 2 tablespoons per cup of original ingredients. If you had 2 cups of sugar in the original recipe, start with ¼ cup of water. Do not add milk yet; water is neutral and easier to control.
- Melt gently: Heat the pan over low heat. Stir constantly until the fudge melts completely into a smooth liquid. Do not let it boil yet. We are just reversing the solidification.
- Bring to a boil: Once melted, increase the heat to medium-high. Bring the mixture to a rolling boil. Attach your candy thermometer now. If you don’t have one, you’ll need to rely on the cold water test (explained below).
- Cook to the right temp: Boil the mixture until it reaches exactly 238°F (114°C). This is the sweet spot. Watch it closely. Sugar syrups rise in temperature rapidly once they hit the boiling point. Remove from heat immediately when it hits 238°F.
- Cool without stirring: Let the pan sit undisturbed on the counter until the mixture cools to body temperature (around 110°F or 43°C). This takes about 15-20 minutes. Do not stir it. Stirring now encourages large crystals to form, leading to grainy fudge.
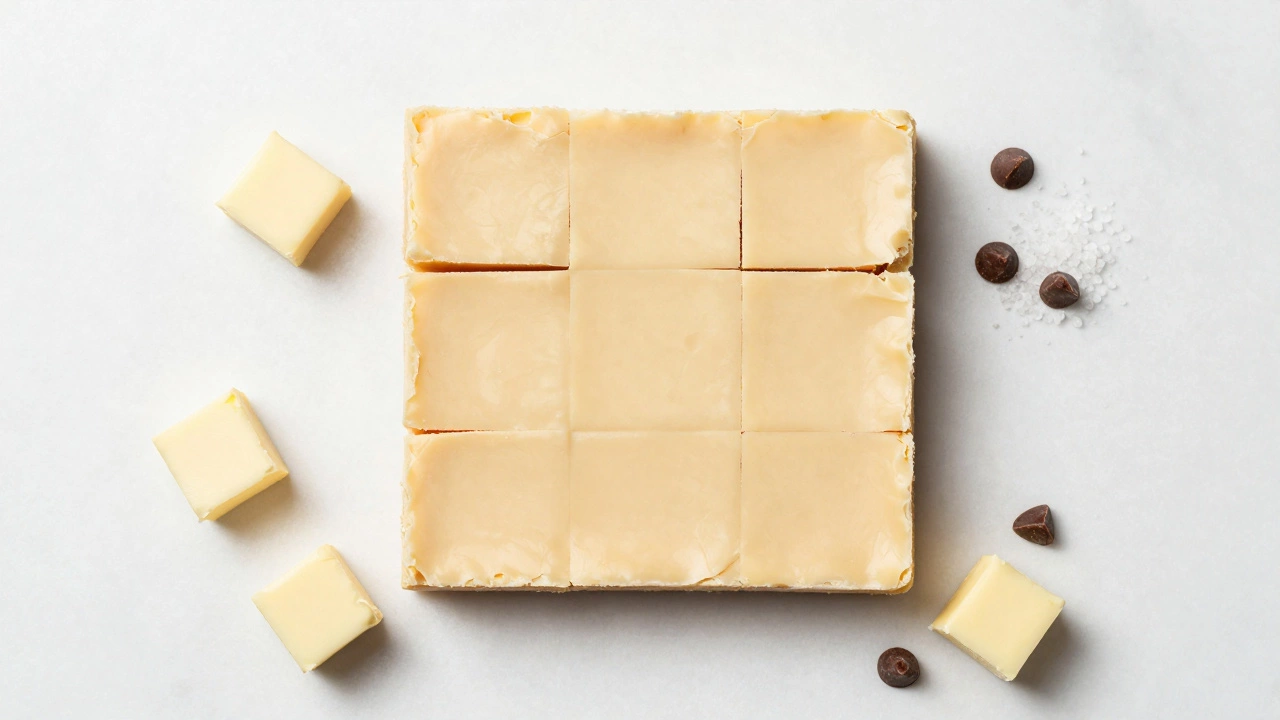
- Beat it: Once cooled, beat the mixture vigorously with a wooden spoon or electric mixer. You want to introduce air and encourage tiny sugar crystals to form. The mixture will lose its glossy shine and become opaque and thick. This usually takes 5-10 minutes of beating.
- Set it: Pour the beaten fudge into a buttered pan. Smooth the top. Let it set at room temperature for several hours or overnight.
What If You Don’t Have a Candy Thermometer?
Not everyone owns a candy thermometer, and that’s fine. You can use the "cold water test" to gauge the temperature accurately. This method has been used by bakers for centuries and is surprisingly reliable if done correctly.
Fill a small bowl with ice water. Drop a teaspoon of the boiling syrup into the water. Retrieve the droplet with your fingers (be careful, it’s hot!). Here is what to look for:
- Thread Stage (230°F): The syrup forms a thin thread that breaks easily. Too soft for fudge.
- Soft-Ball Stage (234-240°F): The syrup forms a soft, pliable ball that flattens when you take it out of the water. This is your target zone.
- Firm-Ball Stage (245°F+): The ball holds its shape firmly and doesn’t flatten. If you get here, you’ve made toffee again. Keep boiling longer to dissolve, then re-test.
If you overshoot again during the rescue, simply add another tablespoon of water, re-melt, and try again. It’s tedious, but better than throwing away good ingredients.
Preventing Graininess During the Rescue
While fixing hardness is the primary goal, rescuing fudge introduces a new risk: graininess. When you re-melt sugar, you disrupt the crystal structure. If you stir too early or too aggressively while cooling, large crystals form, resulting in a sandy texture.
To prevent this, ensure your pan is clean. Any sugar crystals stuck to the sides of the pan can act as "seed crystals," causing the entire batch to crystallize prematurely. If you see sugar grains on the side of the pan while boiling, wash them down with a wet pastry brush dipped in water.
Also, consider adding a tablespoon of corn syrup or cream of tartar to the mixture before re-boiling. These invert sugars interfere with crystal formation, helping to keep the final product smooth. Since you aren’t using condensed milk, which naturally contains some stabilizing proteins, these additives help mimic that stability.
Alternative Uses for Unsalvageable Fudge
Sometimes, despite your best efforts, the fudge is too far gone. Maybe it burned slightly, or the texture is irreversibly gritty. Before tossing it, consider these alternatives:
- Brownie Mix-In: Chop the hard fudge into tiny bits and fold them into brownie batter. The baking process will soften the bits, creating delicious pockets of crunch.
- Ice Cream Topping: Grate the hard fudge over vanilla or chocolate ice cream. The contrast between the cold cream and the crunchy toffee-like shards is delightful.
- Coffee Sweetener: Drop a small cube into hot coffee. It will dissolve slowly, sweetening and flavoring your drink. It’s like a gourmet version of a sugar cube.
Pro Tips for Future Batches
Now that you’ve saved this batch, how do you ensure the next one succeeds? First, invest in a digital instant-read thermometer. They are inexpensive and eliminate guesswork. Second, account for altitude. If you live above 1,000 feet, water boils at a lower temperature, meaning sugar concentrates slower. For every 500 feet above sea level, subtract 1°F from your target temperature. If you’re in Halifax, sea level adjustments aren’t necessary, but if you’re visiting family in the mountains, keep this in mind.
Finally, remember that humidity affects fudge. On very humid days, sugar absorbs moisture from the air, making it harder to set properly. On dry days, it sets faster. Adjust your cooling time accordingly. Patience is the most important ingredient in confectionery.
Can I add milk to fix hard fudge?
Yes, you can add milk instead of water, but be cautious. Milk contains proteins and fats that can curdle if heated too quickly. If you choose milk, add it gradually while melting and keep the heat low. Water is safer for pure sugar correction, but milk will restore some creaminess lost in the original recipe.
Why did my fudge turn out hard?
Hard fudge is caused by cooking the sugar syrup to a temperature higher than the soft-ball stage (above 240°F). This evaporates too much water, leaving a rigid sugar structure. Lack of accurate temperature measurement is the most common culprit.
How many times can I re-cook fudge?
You can re-cook fudge multiple times, but each cycle degrades the quality. Repeated heating can lead to burnt flavors or excessive graininess. Try to aim for the correct temperature on the first attempt during the rescue process.
Does altitude affect fudge making?
Yes. At higher altitudes, water boils at a lower temperature, so sugar solutions take longer to concentrate. You must lower your target temperature by 1°F for every 500 feet above sea level to achieve the same texture.
Can I use a microwave to melt hard fudge?
Microwaves heat unevenly, which can cause parts of the sugar to burn while other parts remain hard. It is difficult to monitor the temperature accurately in a microwave. Using a saucepan on the stovetop gives you better control over the melting and re-boiling process.