Fudge Temperature Calculator
Most people think fudge is just melted chocolate and sugar. But if you’ve ever bitten into a piece that’s grainy, greasy, or too hard, you know that’s not true. Making good fudge isn’t about fancy ingredients or expensive tools. It’s about one thing: controlling the sugar crystals. That’s the key.
Why Your Fudge Turns Grainy (And How to Fix It)
Grainy fudge happens when sugar crystals grow too big. Sugar dissolves when you heat it with liquid-usually cream or butter. But if you stir it too much while it’s heating, or if you let it cool too fast, those sugar molecules clump together into rough, crunchy bits instead of smooth, creamy ones.
Think of it like this: when you make syrup for pancakes, you don’t stir it once it’s boiling. You let it sit. Fudge works the same way. The moment you take the mixture off the heat, you stop stirring. That’s the first rule.
People often think stirring helps it blend better. It doesn’t. It ruins it. Even a few extra swirls with a wooden spoon after it’s off the stove can turn your fudge into sand.
The Right Temperature Matters More Than You Think
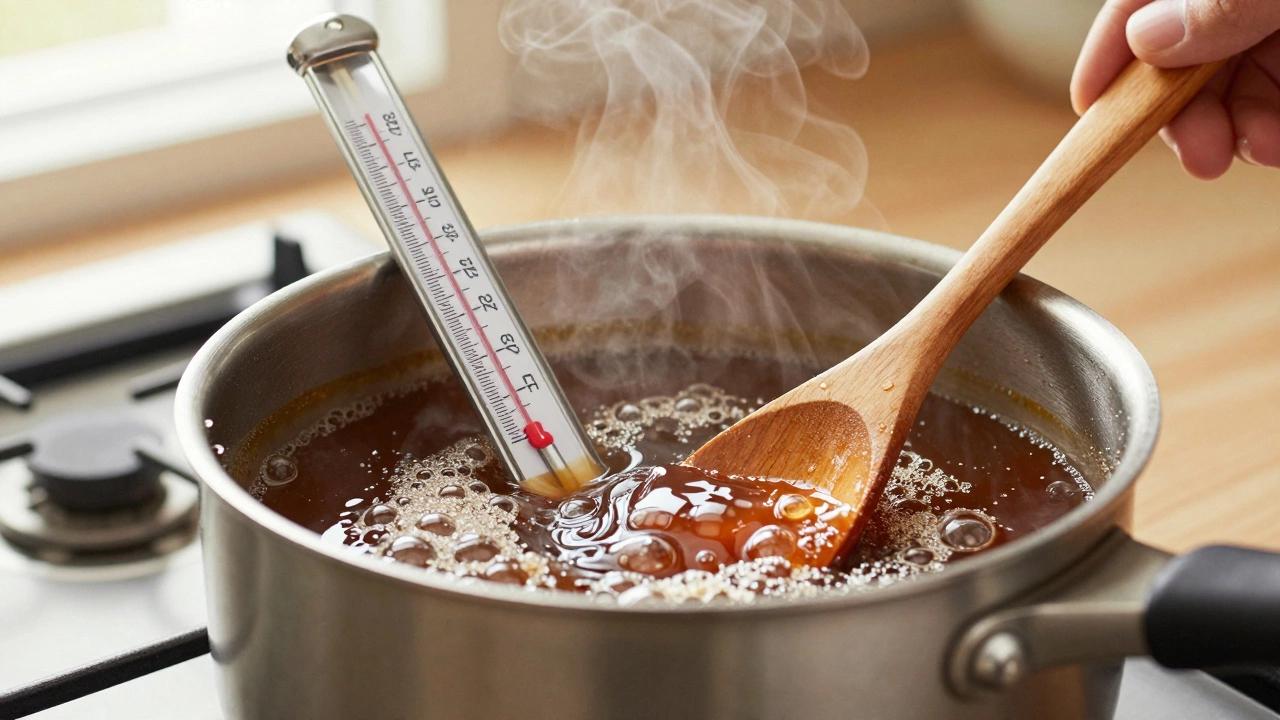
Good fudge needs to hit the soft-ball stage. That’s 234°F to 240°F (112°C to 116°C). If you don’t use a candy thermometer, you’re guessing-and guessing is how you get failed batches.
Some say you can test it by dropping a spoonful into cold water. If it forms a soft, bendable ball, you’re good. But that method is unreliable. Humidity, pot material, even altitude can throw it off. A $12 digital thermometer? That’s your insurance policy.
Go past 240°F? You’ll get hard, crumbly fudge. Stay under 234°F? It won’t set right. You’ll end up with sticky, gooey mess that won’t slice. There’s no wiggle room. Hit the range. Exactly.
What Ingredients Actually Make a Difference
You don’t need premium chocolate. But you do need the right kind. Use real chocolate bars-chips won’t cut it. Chocolate chips have stabilizers to keep their shape in cookies. Those same stabilizers prevent smooth melting and even setting in fudge.
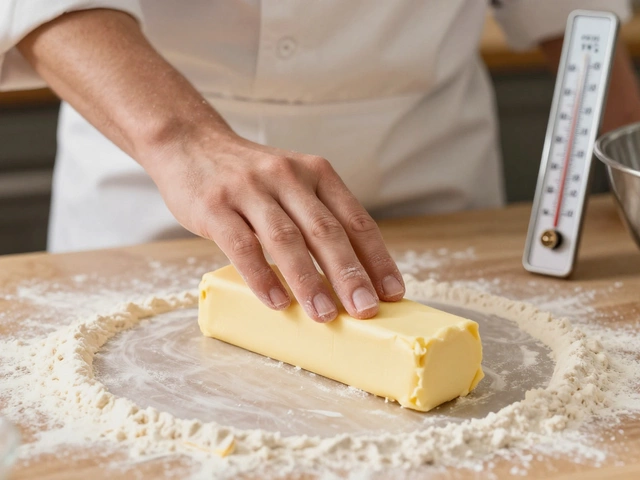
Same goes for sweetened condensed milk. Some recipes use it as a shortcut. It works, sure. But it makes fudge taste more like caramel than chocolate. For true fudge flavor, use heavy cream, granulated sugar, and unsweetened chocolate. The cream gives richness. The sugar gives structure. The chocolate gives depth.
Butter? Always use unsalted. Salted butter varies too much in sodium content. That throws off flavor balance. And don’t skip the vanilla. A teaspoon isn’t just for taste-it helps smooth the texture by slightly lowering the surface tension as it cools.
The Cooling Process Is Where Most People Fail
Once your mixture hits 234-240°F, you take it off the heat. Then you do nothing. Nothing. No stirring. No tapping the pot. No peeking. Just let it sit for 10 to 15 minutes until it cools to about 110°F (43°C).
This is the silent magic step. While it cools, tiny sugar crystals begin to form-uniform, microscopic, and perfectly distributed. If you stir now, you’re introducing big crystals. You’re breaking the process.
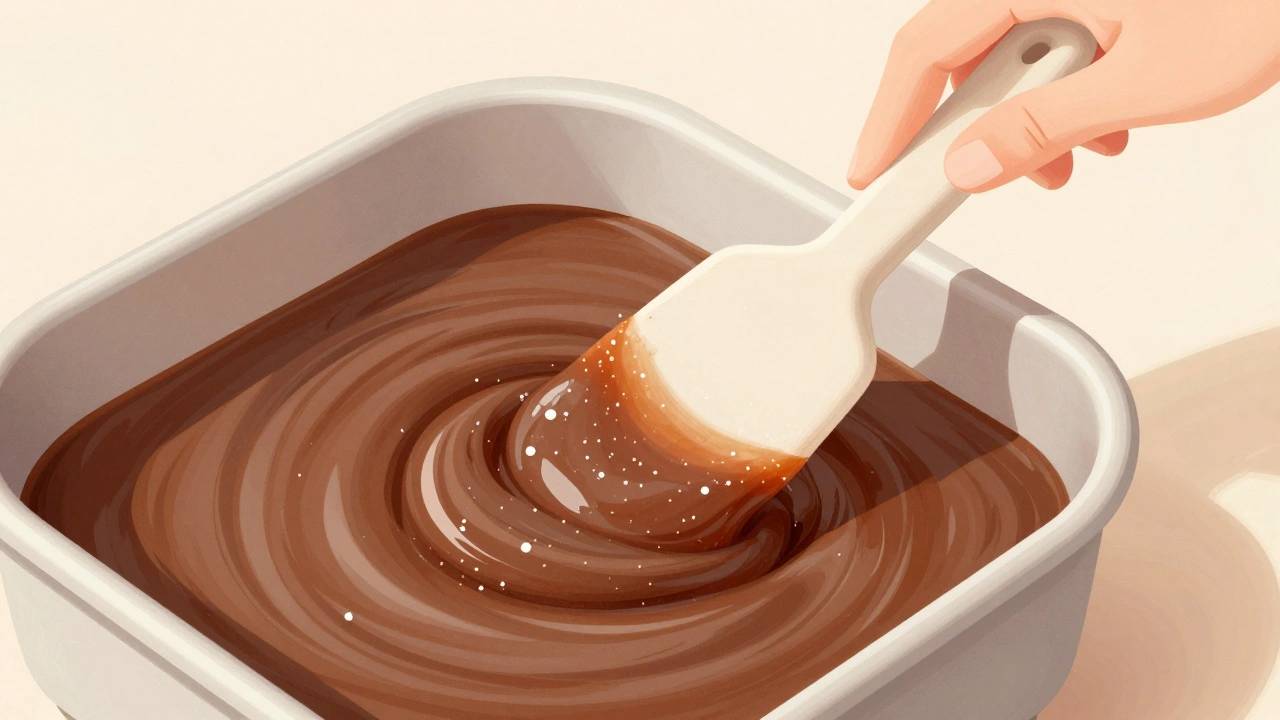
After that 10-15 minutes, you start stirring. Slowly. Gently. Just until the fudge thickens and loses its shine. That’s when you pour it into the pan. The moment it loses its glossy look? That’s your cue. Too early? It won’t set. Too late? It’s already grainy.
Tools You Don’t Need (And One You Do)
You don’t need a marble slab. You don’t need a double boiler. You don’t even need a stand mixer. A heavy-bottomed saucepan is enough. Why heavy-bottomed? Thin pans heat unevenly. That creates hot spots. Hot spots mean sugar burns in patches. Burnt sugar = bitter fudge.
The one tool you can’t skip? A silicone spatula. Metal spoons scrape the bottom and sides of the pan and can scratch off tiny bits of burnt sugar. Silicone doesn’t. It gently folds the mixture without disturbing the surface.
And line your pan. Always. Parchment paper or foil with a little butter on top. Fudge sticks like glue. Trying to pry it out without lining? You’ll lose half of it.
Common Mistakes and How to Avoid Them
- Stirring while heating → Stops sugar from dissolving evenly. Only stir until sugar dissolves at the start.
- Using chocolate chips → Contains additives that block smooth texture. Use baking chocolate or chopped bars.
- Skipping the thermometer → You’re flying blind. Temperature is non-negotiable.
- Stirring too soon after removing from heat → Triggers crystal growth. Wait until 110°F.
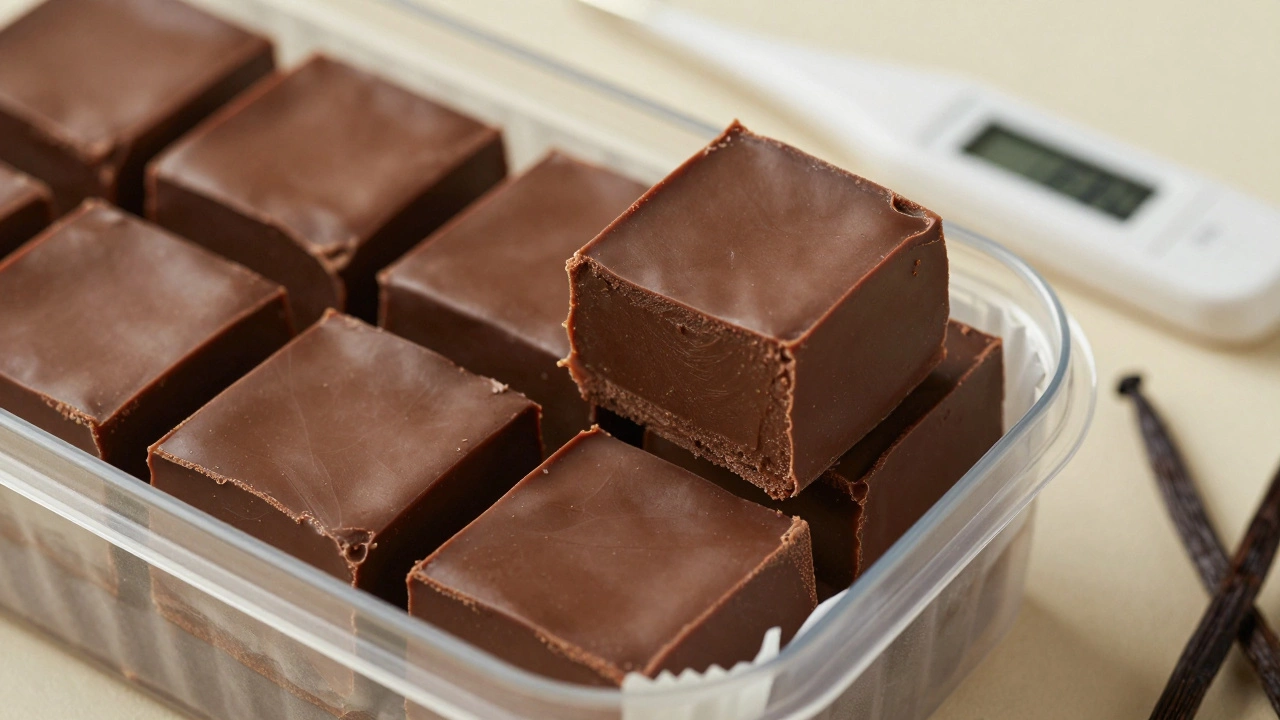
- Not letting it cool enough before cutting → Fudge crumbles. Wait at least 2 hours, preferably overnight.
Storage: Keep It Fresh, Not Sticky
Good fudge lasts two weeks at room temperature-if you store it right. Layer it between parchment paper in an airtight container. Don’t stack it directly. The sugar on top will stick to the bottom of the next piece.
Refrigeration? Only if it’s humid. Cold makes fudge dry out faster. If you do refrigerate, bring it to room temperature before eating. Cold fudge tastes flat. Room temperature lets the chocolate bloom and the butter soften just enough.
Freezing? Yes. Wrap individual squares in plastic, then put them in a freezer bag. They’ll keep for three months. Thaw at room temperature for an hour. You won’t taste the difference.
What Makes Fudge Taste Like Fudge
It’s not the chocolate. It’s the texture. The way it melts slowly on your tongue. The way it holds its shape but gives just a little. That’s the magic. That’s what separates fudge from chocolate candy.
People chase flavor. But flavor is easy. Vanilla, espresso, sea salt, peanut butter-all of those can be added after the fudge has cooled enough to stir. The real challenge is the body. The mouthfeel. The smoothness.
Once you nail that, you can add anything. But if the base is grainy? No amount of mint extract or crushed pretzels will save it.
Good fudge doesn’t need bells and whistles. It needs patience. Precision. And respect for sugar.