Fudge Temperature Checker
Grainy fudge happens when sugar crystals grow too large. The key is to stop stirring while boiling (234-240°F) and wait until your mixture cools to 110°F before stirring again. This lets sugar form tiny, uniform crystals for that smooth texture.
Enter your current fudge temperature above.
There’s nothing worse than biting into fudge that feels like sand in your mouth. You’ve melted the chocolate, stirred in the sugar, waited for it to reach the right temperature-and then it turns out grainy, crumbly, and disappointing. The good news? Grainy fudge isn’t a mystery. It’s not bad luck. It’s not your fault for being clumsy. It’s usually one simple mistake, repeated over and over. And once you fix it, your fudge will be silk-smooth every single time.
The Real Enemy: Sugar Crystals
Grainy fudge happens because sugar crystals grow too big. When you heat sugar and water together, they dissolve into a syrup. That’s good. But if you stir that syrup too much while it’s cooling-or if you introduce a stray crystal-you trigger a chain reaction. Those tiny crystals start multiplying. Before you know it, you’ve got hundreds of microscopic sugar shards instead of a creamy, melt-in-your-mouth texture.
This isn’t about the recipe. It’s about technique. Even the most famous fudge recipes-whether they use condensed milk, marshmallow fluff, or raw sugar-can turn grainy if you handle them wrong after the boil.
Step One: Don’t Stir Until It’s Off the Heat
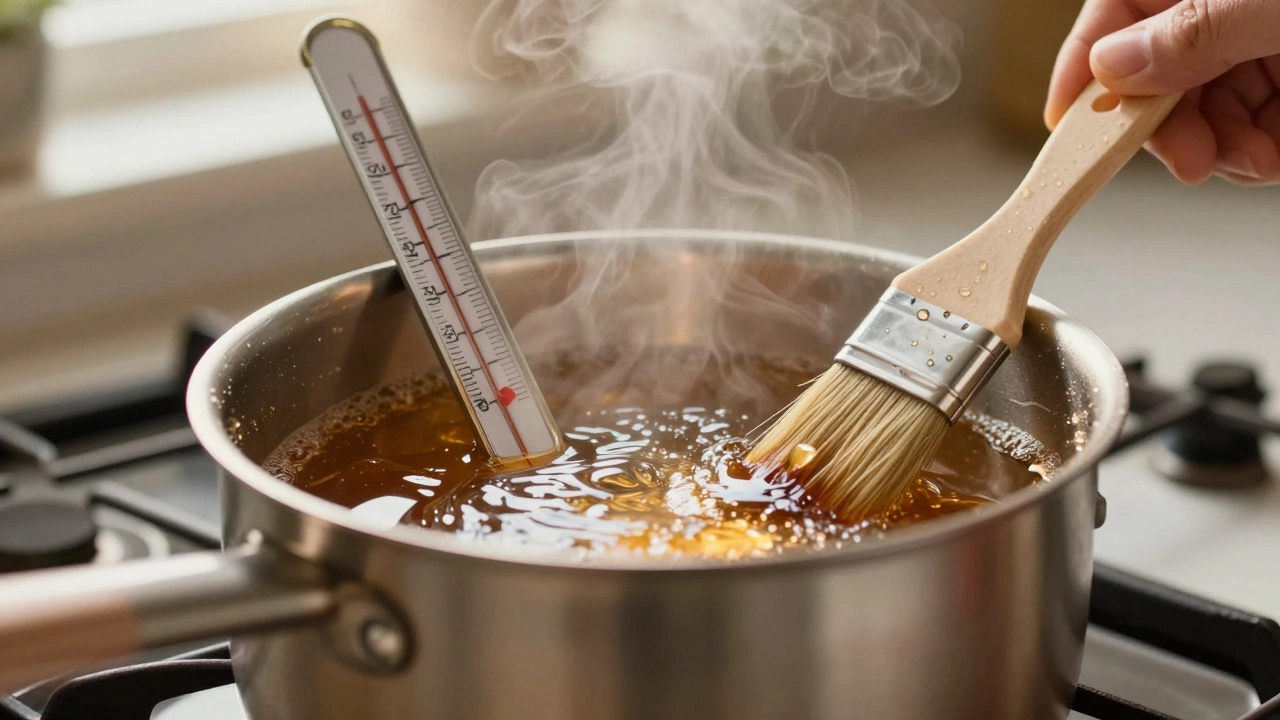
Most people think stirring helps things mix better. In fudge, it does the opposite. When your sugar mixture is boiling-say, at 234°F (112°C) on a candy thermometer-stirring introduces air and agitates the syrup. That’s how stray crystals form. Even a spoonful of sugar stuck to the side of the pan can fall in and start the whole problem.
Here’s what you do: Mix your ingredients (sugar, butter, milk, chocolate) over medium heat until everything dissolves. Then, stop stirring. Let it boil undisturbed until it hits the soft-ball stage. Use a clean pastry brush dipped in water to wash down any sugar crystals clinging to the sides of the pot. That’s your only allowed intervention during boiling.
Step Two: Wait Until It Cools Before Stirring Again
Once your syrup hits the right temperature, take it off the heat. Now comes the part most people mess up: they start stirring right away. Big mistake.
Let the mixture cool to about 110°F (43°C). That’s when it’s warm but no longer hot enough to keep dissolving sugar. You can test this by touching the side of the pot-it should feel warm, not scalding. Some people even put the pot in a sink of cold water to speed this up, stirring gently around the edges to help it cool evenly.
Only then do you start stirring. And when you do, stir steadily for 3 to 5 minutes until it thickens and loses its shine. That’s when the sugar forms tiny, uniform crystals-so small your tongue can’t feel them. That’s the smooth fudge you want.

Step Three: Use the Right Ingredients
Not all sugars behave the same. Granulated white sugar works best. Brown sugar has molasses, which can interfere with crystallization and make fudge sticky or dense. Powdered sugar? Don’t use it. It’s already got cornstarch in it, which will make your fudge gummy.
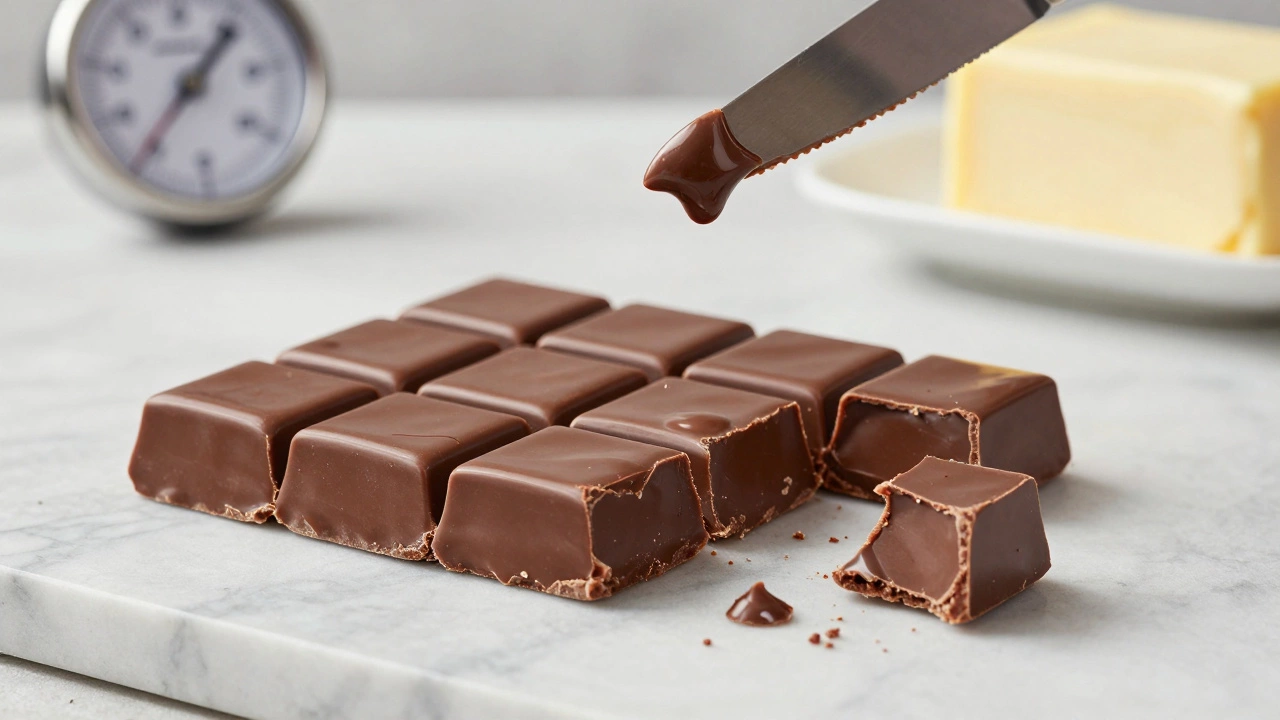
Chocolate matters too. Use real chocolate bars-chips won’t cut it. Chocolate chips are designed not to melt evenly. They have stabilizers that keep them from melting smoothly. That’s why your fudge might look grainy even if you followed every step. Look for chocolate with at least 60% cocoa solids. Dark, milk, or semi-sweet-it doesn’t matter, as long as it’s real chocolate.
And don’t skip the butter. It’s not just flavor. Butter helps control crystal size. It coats the sugar molecules and keeps them from clumping. Use unsalted butter so you control the salt level. If you’re using salted butter, cut back on added salt in the recipe.
Step Four: Don’t Rush the Cooling
Fudge needs time. If you pour it into the pan and shove it into the fridge to hurry things along, you’re asking for trouble. Cold temperatures make sugar crystallize too fast and unevenly. You’ll get patches of graininess.
Let it set at room temperature, covered with a clean towel. This takes 2 to 3 hours. If you’re in a hurry, put it in the fridge-but only after it’s already cooled to room temperature. And don’t leave it in there longer than 2 hours. Take it out, let it warm up slightly, then cut it. That’s the trick to clean, even slices.
Common Mistakes That Make Fudge Grainy
- Stirring during boiling → triggers crystal growth
- Using chocolate chips instead of chopped chocolate → uneven melting
- Adding flavorings (like vanilla) too early → can interfere with temperature control
- Not using a candy thermometer → guessing the temperature leads to under- or over-cooking
- Scraping the bottom of the pot → you might pull in burnt sugar or undissolved crystals
One last tip: If you’ve ever made grainy fudge and thought, “I’ll just reheat it,” you’re setting yourself up for failure. Reheating doesn’t fix big crystals-it just makes them bigger. Start over. Clean pan, fresh ingredients, and patience.
Why This Works: The Science Behind Smooth Fudge
Fudge is a controlled crystallization process. You want thousands of tiny crystals, not a few large ones. The difference between grainy and smooth is like comparing coarse salt to powdered sugar. One you feel. The other you don’t.
By not stirring during boiling, you prevent nucleation-the moment a crystal starts forming. By cooling slowly, you give the sugar time to form many small crystals instead of a few big ones. By stirring only after cooling, you force those crystals to form uniformly. That’s the magic.
It’s not about fancy tools. You don’t need a marble slab or a stand mixer. Just a heavy-bottomed saucepan, a candy thermometer (they cost less than $10), and the discipline to leave it alone.
What to Do If Your Fudge Already Turned Grainy
Let’s say you made it, tasted it, and it’s gritty. Don’t throw it out. You can fix it.
Put the fudge back in a saucepan with 1/4 cup of heavy cream. Heat it gently over low heat, stirring until it melts completely. Let it cool again to 110°F, then stir vigorously for 5 minutes until it thickens. Pour it into a fresh pan. It won’t be perfect, but it’ll be miles better than before.
This works because the cream redissolves the big crystals. You’re resetting the process. It’s not ideal, but it’s better than wasting chocolate and sugar.
Final Tip: Make It Once, Remember It Forever
The first time you make non-grainy fudge, you’ll feel like a wizard. The second time, you’ll know why. And after that, you’ll never make it any other way. This isn’t a recipe you memorize-it’s a rhythm you learn. Silence during boiling. Patience during cooling. Purposeful stirring at the right moment.
Once you get it right, you’ll make fudge for holidays, gifts, and just because. People will ask for your secret. You’ll smile and say, ‘I didn’t stir it while it boiled.’
Why does my fudge turn out grainy even when I follow the recipe?
Most recipes don’t mention the most important part: not stirring during boiling. Grainy fudge happens because sugar crystals form too early. Stirring too soon-even just once-can trigger this. Wait until the mixture cools to 110°F before stirring. That’s the key.
Can I use microwave fudge to avoid graininess?
Microwave fudge is easier, but it’s not foolproof. The problem isn’t the method-it’s timing. If you microwave too long or stir before it cools enough, you’ll still get graininess. Always let microwave fudge cool to 110°F before stirring, no matter the recipe.
Do I need a candy thermometer?
Yes. Guessing the temperature is the #1 reason fudge fails. The soft-ball stage (234°F-240°F) is critical. Without a thermometer, you can’t know when to stop boiling. A basic digital candy thermometer costs under $15 and will save you dozens of failed batches.
Can I substitute evaporated milk for regular milk?
Yes, but it changes the texture. Evaporated milk has less water, so your fudge will be denser and richer. It’s fine if you like that, but it won’t be as light. Stick to regular milk unless you’re following a recipe specifically designed for evaporated milk.
Why does my fudge sometimes get oily on top?
That’s usually because the chocolate was overheated or the butter separated. Make sure you’re using real chocolate, not chips, and don’t let the mixture get above 120°F after adding chocolate. Stir gently and slowly when you add it in.