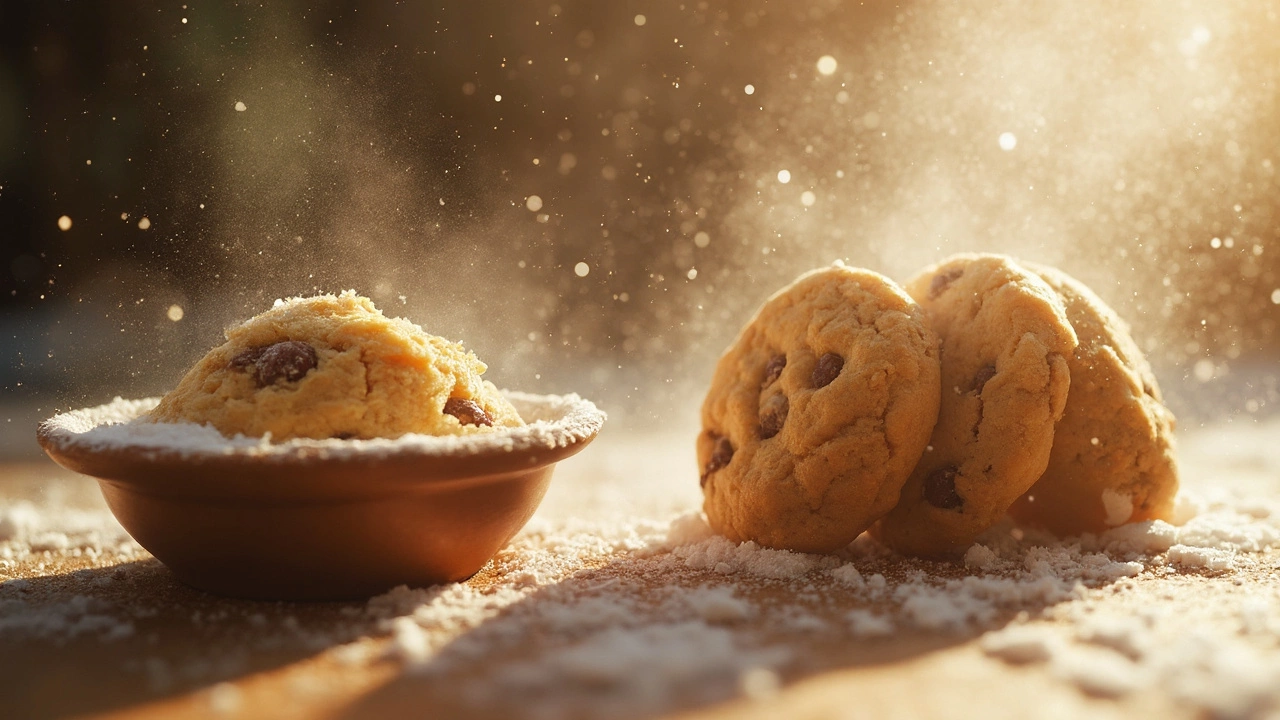
Baking cookies seems simple enough, right? But even the most seasoned bakers can slip up without realizing it. Let's talk about some common cookie-making mistakes that can turn your sweet treat dreams into crumbly annoyances.
First off, don’t underestimate the power of quality ingredients. Using fresh butter, good vanilla, and proper flour can make or break your cookies. Ever wonder why some cookies taste like cardboard? It might just be the quality of the basics.
Next, resist the temptation to skip chilling your dough. I know, it's hard to wait, but this step is crucial. Chilling helps control spread during baking, ensuring that your cookies maintain their shape and don’t become thin, crispy discs when they’re supposed to be chewy gobs of heaven.
- Neglecting Ingredient Quality
- Skipping Dough Chilling
- Overmixing the Dough
- Baking at the Wrong Temperature
- Ignoring Baking Sheet Prep
Neglecting Ingredient Quality
If you're aiming for that perfect cookie, the kind that practically melts in your mouth, then let's not gloss over the importance of using quality ingredients. This is one of those cookie mistakes that might seem small but can have a huge impact on your baking results.
Why Quality Matters
The ingredients you use are the building blocks of flavor. For instance, fresh butter compared to margarine provides that creamy richness cookies need. Also, using real vanilla extract instead of artificial flavoring can take your cookies from flat to fabulous.
Picking the Right Flour
Not all flour is created equal. All-purpose flour is a solid choice for most recipes, but make sure it's fresh. Stale flour loses its potency, affecting the texture and rise of your cookies.
Don't Skimp on Chocolate
If you’re making chocolate chip cookies, invest in good quality chocolate. Those generic chocolate chips might save you a buck, but they won't have the same rich taste that real, high-cacao chocolate chunks will.
A Note on Sugar
White sugar and brown sugar can deliver different textures and flavors. A balanced mix often delivers soft centers and slightly crispy edges. Experiment to find what ratio suits your taste.
- Butter: Always use unsalted, and let it reach room temperature for easier mixing.
- Vanilla Extract: Real is always better than imitation—trust me, you'll taste the difference.
- Flour: Keep it fresh and stored properly to prevent moisture.
- Chocolate: Aim for at least 60% cacao for deeper flavor.
Skipping Dough Chilling
You might think skipping the dough-chilling step isn't a big deal, but it can really mess up your homemade cookies. Chilling the dough isn't just about making you wait longer to satisfy your cookie craving—it actually plays a big role in how your cookies turn out.
When you refrigerate the dough, the fats inside it solidify. This means that when you bake them, the cookies spread less in the oven, allowing them to keep their shape. Plus, a cooler dough can give you that perfect chewy center, avoiding flat, lifeless cookies.
"Chilling dough helps to enhance flavor and control the cookie's spread during baking," says Mary Smith, author of The Cookie Companion.
The Science Behind the Chill
There’s some neat science behind chilling your dough, too. When dough rests, the flour slowly absorbs all the liquid in the mix. This makes your cookie structure more stable during baking. And the flavor? It’s intensified, giving you a richer, more developed taste.
How Long Should You Chill?
Wondering how long to chill your cookie dough? As a rule of thumb, a minimum of 30 minutes is necessary. Overnight chilling can be even better, particularly if you're after complex flavors. If you're in a rush, even a short chill can still make a difference.
Tips for Chilling
- Wrap your dough tightly in plastic wrap or use an airtight container to prevent it from drying out in the fridge.
- Allow dough to warm up a bit before scooping it, so it's easier to handle.
- Break your batch into smaller portions. This way, you don't have to wait too long before baking.
By taking the time to properly chill the dough, you’re investing in homemade cookies that not only look the part but taste incredible too. So next time, be patient; your taste buds will thank you!

Overmixing the Dough
One of the sneakiest cookie mistakes you can make is overmixing the dough. It sounds harmless, but a few extra turns with that spoon or mixer could transform your homemade cookies from tender delights into chewy, tough disks.
Why does overmixing occur? Well, when you mix flour into the dough, the gluten inside starts developing. And while gluten gives bread its chewy texture, it's not what you want for your cookies. That's why it's crucial to mix just until everything is combined. No need to be a hero with the arm workout here!
Think of it like this: you want your dough to be harmonious, not overly enthusiastic. It should look combined, with all ingredients just incorporated rather than thoroughly squashed together into a single, sticky mass.
How to Avoid Overmixing
- Use a spoon or spatula for best control, and dump the electric mixer once ingredients are mostly combined.
- If you're using a mixer, opt for the lowest setting to ensure gentleness.
- Stop mixing as soon as you no longer see streaks of loose flour.
- Try folding in the mix-ins like chocolate chips or nuts instead of stirring.
This isn't just a matter of theory, either. A study from the Cookie Enthusiasts Guild found that cookies mixed for even one extra minute beyond the necessary mixing time had a 15% increase in toughness—nobody wants that!
So, next time you're making those delightful treats, take it easy on the mixing. Remember, a light touch goes a long way toward achieving that perfect cookie baking texture.
Baking at the Wrong Temperature
Alright, let’s cut to the chase—temperature matters a lot in cookie making. It's one of those sneaky details that can really mess things up without you realizing it. Baking at the wrong temperature can entirely change the texture and even the flavor of your cookies.
Most cookie recipes call for a temperature between 325°F and 375°F. Why? Because these temperatures help achieve the perfect consistency by allowing the butter to melt and the sugar to caramelize just right. Baking at the Wrong Temperature might turn your dream batch into a miniature science experiment gone wrong.
Too Hot: If your oven is too hot, the cookies are likely to spread too rapidly, turning into thin, crispy discs instead of being deliciously chewy. High temps can also cause the edges to burn while the center remains undercooked.
Too Cool: On the flip side, if the temperature is too low, you might end up with cookies that don't spread properly. They could end up being too stiff or doughy, robbing them of that melt-in-your-mouth goodness.
Steps to Ensure Correct Temperature
- Always preheat the oven for at least 10 minutes before placing your cookies inside.
- It's worth investing in an oven thermometer. Most ovens aren't perfectly calibrated, and this little tool can help ensure your oven’s inside matches the temperature you set.
- Follow the recipe's temperature settings, especially if it’s a tried-and-true family recipe. Grandma’s cookies are legendary for a reason!
Pro tip: If your recipe allows a range, say 350 to 375°F, start at the lower end and increase only if needed. This gives you more control over the baking process.

Ignoring Baking Sheet Prep
This might come as a surprise, but your baking sheet plays a critical role in cookie making. Neglecting this step can turn your baking ambitions upside down. Why does it matter so much? Let's break it down.
Grease or No Grease?
If you're using non-stick baking sheets, you might assume you're in the clear, but that's not always the case. Over time, even non-stick surfaces lose their efficiency. Sometimes, a light coat of cooking spray can help. But if your cookie sheet is crying for some help, consider using parchment paper or baking mats. Not only will they prevent sticking, but they also make clean-up a breeze.
Consider Your Cookie's Touchdown
Cookie sheet color and material matter more than you think. Dark sheets can absorb more heat, potentially leading to burnt bottoms. A lighter, aluminum sheet ensures even heating. It might seem trivial, but it can influence your cookie baking game.
Spacing and Layout
Don't cram too many cookies on one sheet. Overcrowding means uneven heat distribution, leaving you with undercooked centers or burned edges. Stick to spacing cookies about two inches apart. It's like giving them a personal space bubble, crucial to achieving that perfect bake.
Consider a handy tip: If you often bake at home, invest in good-quality sheets. They might cost a little upfront, but the results are worth it.


