Gluten-Free Cake Success Simulator
Stop guessing with your gluten-free batter. Select your primary flour type and current issues below to get instant scientific fixes for a perfect bake.
Your Custom Fix Plan
Pro Tip for This Bake:
You spent three hours mixing batter, carefully measuring every gram of almond flour and rice flour, only to pull a dense, gummy brick out of the oven. Sound familiar? Gluten-free baking isn't just about swapping wheat flour for something else; it’s about understanding that you’re removing the structural backbone of traditional baking. Without gluten, which provides elasticity and structure in wheat-based doughs, your cake has no safety net. One wrong move-like using the wrong liquid ratio or skipping a binder-and the whole thing collapses.
Most people fail at gluten-free cakes because they treat them like regular cakes with a different dust. They don’t. The chemistry is completely different. If you want fluffy, moist layers instead of sad pancakes, you need to stop making these five critical errors. Let’s break down exactly what kills gluten-free bakes and how to fix it before you preheat that oven again.
The Binder Blind Spot: Ignoring Xanthan Gum
Here is the biggest mistake beginners make: assuming flour blends already have enough stabilizer. While many store-bought "1-to-1" gluten-free flours include xanthan gum, which acts as a substitute for gluten by trapping air bubbles and providing viscosity, they often don’t include enough for heavy batters like chocolate cake or banana bread. If you skip this step, your cake will crumble into sand when you try to slice it.
Xanthan gum creates a network that holds gas produced by leavening agents. Without it, those bubbles escape, and the cake sinks. A good rule of thumb? Add 1/4 teaspoon of xanthan gum per cup of flour if your blend doesn’t explicitly state it’s included. For heavier mixes involving nut flours, bump that up to 1/2 teaspoon. It feels insignificant, but that tiny amount is the difference between a sliceable cake and a pile of crumbs.
| Flour Type | Suggested Xanthan Gum (per cup) | Best Use Case |
|---|---|---|
| Rice Flour | 1/4 tsp | Light sponges, vanilla cake |
| Almond Flour | 1/2 tsp | Dense cakes, brownies |
| Coconut Flour | 1/2 - 1 tsp | Highly absorbent, needs extra eggs |
| Tapioca Starch | 0 (usually blended) | Chewy texture, add to blends |
Hydration Horror: Getting the Liquid Ratio Wrong
Gluten-free flours are thirsty. Unlike wheat flour, which absorbs water gradually, rice and tapioca starches can absorb significantly more moisture, sometimes up to twice their weight. If you use the exact same amount of milk or oil from a standard recipe, your batter will be too dry, resulting in a gritty, crumbly texture. Conversely, if you overcompensate and add too much liquid without adjusting the dry ingredients, you get a pudding-like center that never sets.
The trick isn't guessing; it's observing. Your batter should look thicker than a traditional yellow cake batter but looser than cookie dough. If it looks like paste, add an extra tablespoon of yogurt or applesauce. These ingredients not only add moisture but also contain pectin, which helps bind the structure. Pro tip: Let your batter rest for 30 minutes before baking. This allows the starches to fully hydrate, reducing that gritty mouthfeel that plagues so many gluten-free attempts.
Overmixing: Treating Batter Like Wheat Dough
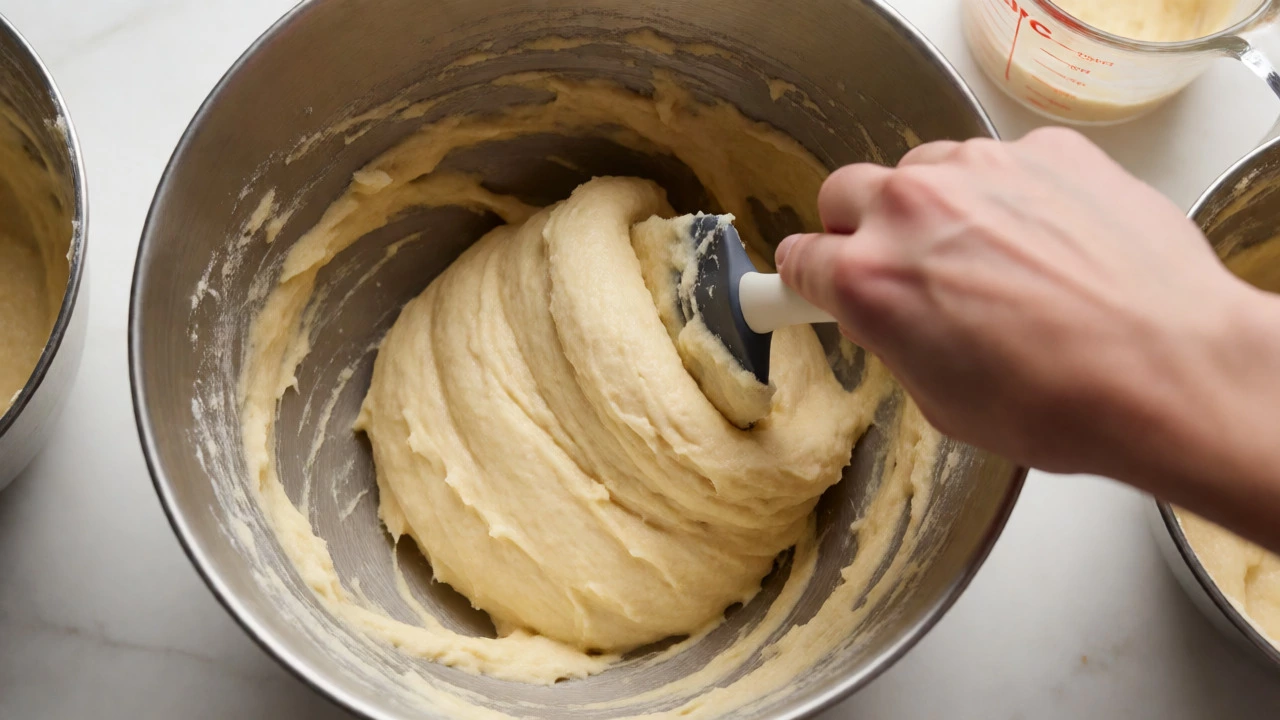
In wheat baking, we mix until smooth to develop gluten. In gluten-free baking, there is no gluten to develop. Overmixing introduces too many large air bubbles that expand rapidly in the heat and then collapse, causing the cake to fall in the middle. You want to mix just until combined. Stop when you see no streaks of dry flour left. Even if it looks slightly lumpy, that’s fine. Those lumps will dissolve during baking.
This is especially true when using egg whites, which are often whipped separately to provide lift in gluten-free recipes. If you fold them in aggressively, you deflate the foam. Gently fold with a spatula, rotating the bowl, until just incorporated. Respect the air bubbles-they are your only source of lift now that gluten isn’t holding the structure together.
Temperature Trouble: Opening the Oven Too Early
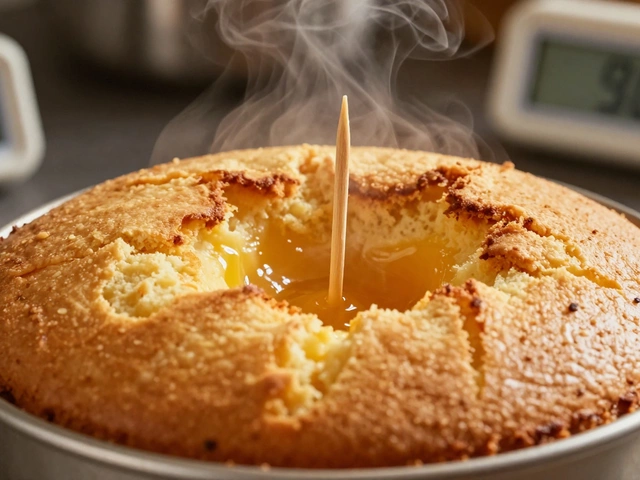
Gluten-free cakes are structurally weaker than their wheat counterparts. They rely on the setting of proteins and starches rather than a strong elastic network. Opening the oven door before the cake has set causes a sudden drop in temperature. The steam inside the cake condenses, the structure collapses under its own weight, and you get a sunken crater in the center.
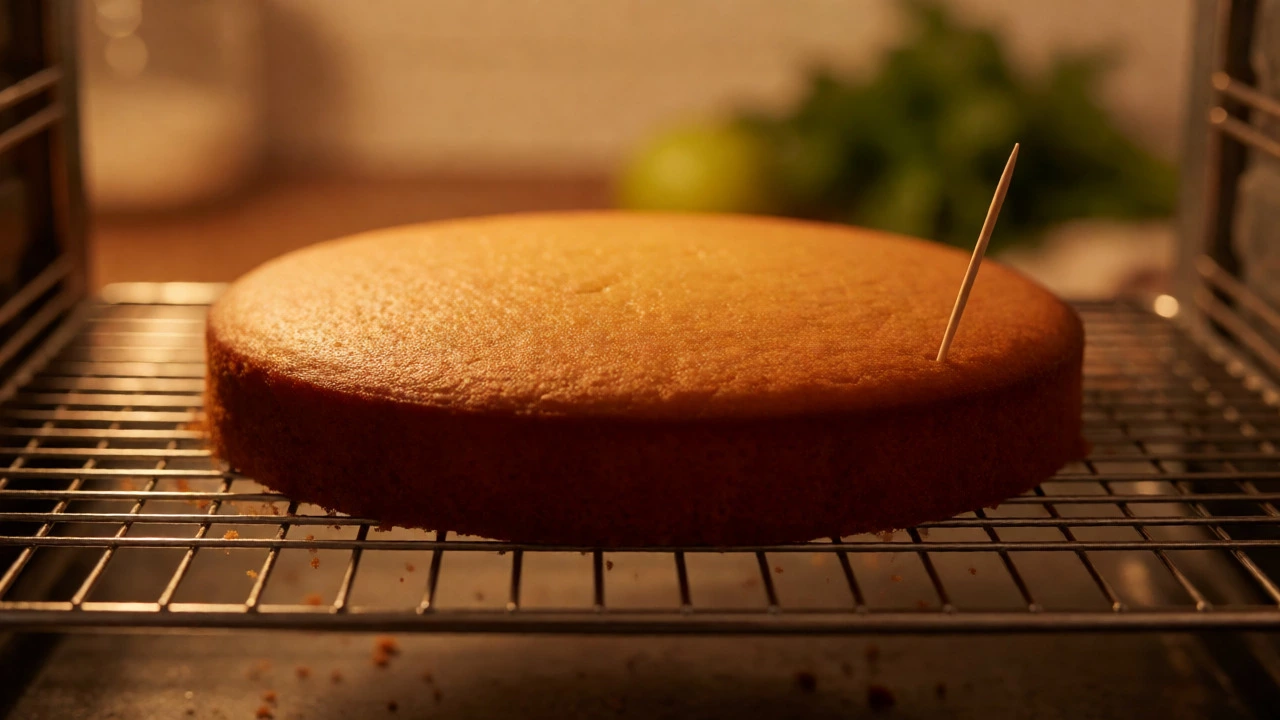
Wait at least 75% of the baking time before checking for doneness. Use a toothpick inserted into the center-it should come out with a few moist crumbs, not wet batter. If it’s wet, close the door and wait another 5 minutes. Patience here saves the entire bake. Also, ensure your oven is truly at temperature. Many home ovens run cool. An oven thermometer is a $10 investment that pays for itself in saved ingredients.
Flour Blend Failures: Using Single-Grain Flours
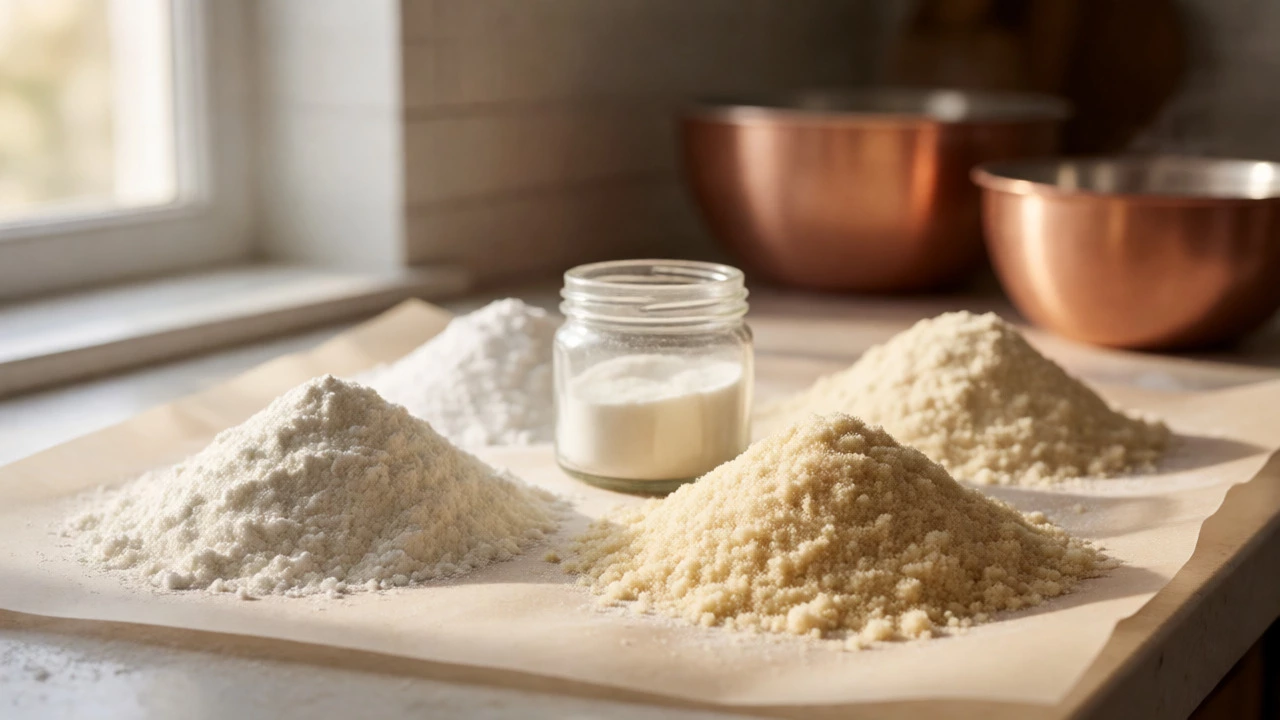
Novices often buy one bag of rice flour and think they’re done. But single-grain flours rarely work alone. Rice flour is gritty; coconut flour is dry; almond flour is oily. Successful gluten-free baking requires a blend that balances these properties. A typical successful blend might consist of 60% rice flour, 20% potato starch, and 20% tapioca starch. This combination mimics the lightness and neutral flavor of wheat flour.
If you are buying a pre-made blend, check the label. Does it contain bean flour? Some people find the aftertaste unpleasant in sweet cakes. Does it contain cornstarch? Cornstarch can make cakes feel waxy if used in excess. Experimentation is key, but starting with a balanced commercial blend labeled "for cakes" is safer than trying to engineer your own from scratch on day one.
Common Pitfalls Checklist
- Skipping the rest period: Always let batter sit for 20-30 minutes to hydrate starches.
- Using cold ingredients: Room temperature eggs and butter emulsify better, creating a smoother batter.
- Ignoring pan prep: Gluten-free cakes stick more easily. Grease pans thoroughly and line with parchment paper.
- Underbaking: GF cakes often look done on the outside while remaining raw inside. Trust the internal temperature (200-210°F / 93-99°C).
Frequently Asked Questions
Why is my gluten-free cake gummy?
Gumminess usually results from too much starch relative to protein, or insufficient baking time. Tapioca and potato starches become gelatinous if not cooked through. Ensure your cake reaches an internal temperature of 205°F (96°C) and consider reducing starch content slightly in favor of protein-rich flours like almond or soy.
Can I use all-purpose gluten-free flour 1:1 in any cake recipe?
Not always. While 1:1 blends are convenient, they often lack the specific hydration levels needed for delicate cakes. You may need to adjust liquid amounts or add extra leavening agents. Always check if the blend contains xanthan gum; if not, add 1/4 teaspoon per cup of flour.
How do I keep gluten-free cakes moist?
Use fats like butter or oil generously, and incorporate hygroscopic ingredients like honey, maple syrup, or sour cream. These attract and hold moisture. Additionally, brushing simple syrup onto cooled cake layers adds immediate moisture and prevents drying out during storage.
Do gluten-free cakes taste different?
They can, depending on the flour blend. Rice flour can be gritty, and bean flours can have a metallic aftertaste. High-quality blends using sorghum or millet offer a milder, sweeter flavor closer to wheat. Adding spices like cinnamon or vanilla extract can also mask any residual off-flavors.
Is almond flour suitable for all gluten-free cakes?
No. Almond flour is high in fat and lacks starch, so it doesn't provide structure on its own. It works best in dense cakes, brownies, or when mixed with lighter flours. Using 100% almond flour in a sponge cake will result in a greasy, flat disc rather than a fluffy layer.