Fudge Stirring Simulator
Select a phase below to see the correct action, timing, and scientific reason behind it.
Why this matters?
At this stage, the mixture is cool enough that agitation won't trigger premature crystallization. Your goal is simply to ensure all sugar granules are fully dissolved in the liquid before heating begins.
Key Indicator
- Syrup looks clear, not cloudy.
- No grittiness when rubbed between fingers.
You’re standing over a pot of bubbling sugar and condensed milk, spoon in hand, wondering if you should stir it now or wait. It’s a common panic moment for home cooks. The truth is, stirring fudge isn’t just about mixing ingredients; it’s a critical step that determines whether your batch turns out creamy and smooth or grainy and gritty. If you stir at the wrong time, you can ruin hours of work in seconds.
So, how often should you actually stir? For most traditional fudge, you don’t stir while the mixture is boiling up to temperature. Once it hits the target heat (usually 234°F-240°F), you take it off the heat and begin beating it vigorously until it thickens and loses its shine. That’s the golden rule. But let’s break down why this matters and how to nail it every time.
The Science Behind the Stir
To understand when to stir, you have to understand what’s happening inside the pot. Fudge is essentially a supersaturated sugar solution. When you heat sugar and water (or milk), the sugar dissolves. As the water evaporates, the concentration of sugar increases. If you introduce crystals too early or agitate the mixture while it’s still hot and fluid, you encourage large sugar crystals to form. These large crystals are what make fudge feel sandy on your tongue.
Sugar crystallization is the enemy of smooth fudge. Your goal is to create millions of tiny, microscopic crystals that you can’t feel. This process, called nucleation, happens best when the syrup cools slightly and becomes viscous. Stirring during the boil introduces air bubbles and can cause premature crystallization on the sides of the pan. Once those crystals form, they act as seeds, causing the rest of the sugar to snap onto them, resulting in a coarse texture.
Phase 1: The Boil (Do Not Stir)
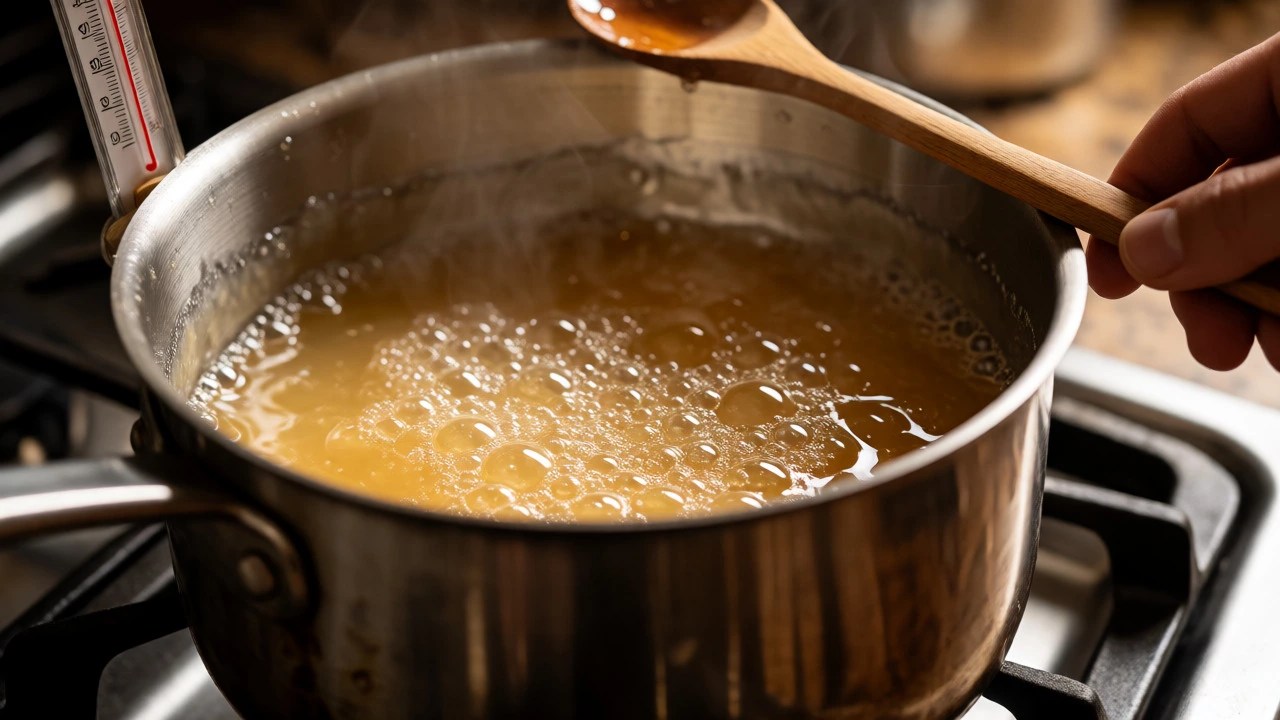
When you first combine your sugar, butter, and milk, you stir gently to ensure the sugar dissolves completely. This is fine because the mixture is cool enough that crystals won’t form yet. However, once the mixture comes to a full rolling boil, put the spoon down. Seriously, walk away from it.
- Why stop? Stirring during the boil creates turbulence. This turbulence can splash syrup onto the cooler sides of the pan, where it hardens into crystals. Those crystals then fall back into the mix, ruining your batch.
- What to do instead: Use a pastry brush dipped in water to wash down any sugar crystals from the sides of the pan in the first few minutes of boiling. After that, leave it alone.
- Temperature check: Insert a candy thermometer carefully. Do not touch the bottom of the pan with the tip, or you’ll get a false high reading due to direct heat conduction.
If you’re using a microwave method, the rules change slightly. Microwave fudge recipes often require stirring every minute or two to ensure even heating since microwaves don’t distribute heat uniformly like a stovetop burner does. But for the classic stovetop method, patience is key.
Phase 2: The Beat (Stir Aggressively)
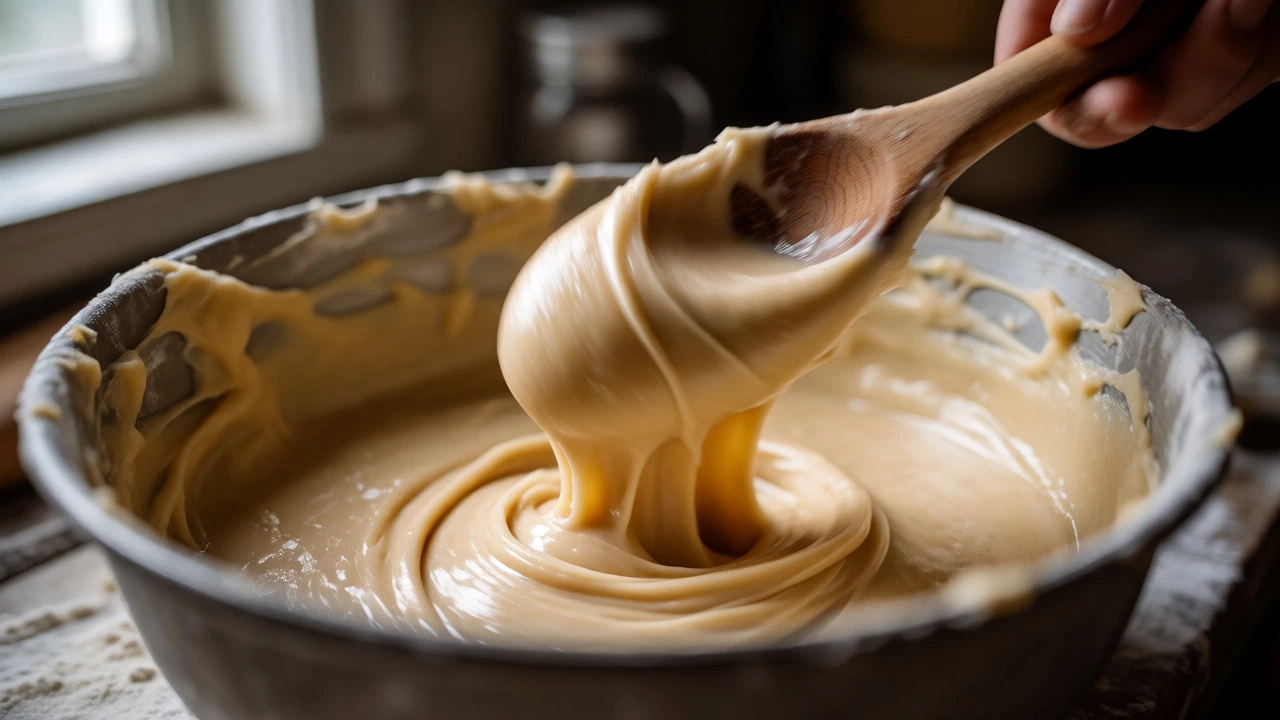
Once your thermometer reads between 234°F and 240°F (the soft-ball stage), remove the pot from the heat. Let it sit undisturbed for about 10 minutes. This cooling period allows the syrup to reach the ideal temperature for crystal formation without triggering large grains. Then, start beating.
This is where the phrase "beat until thick" comes from. You aren’t just stirring; you’re incorporating air and encouraging rapid nucleation. Here’s what to look for:
- Color change: The glossy, translucent shine will turn dull and matte.
- Texture shift: The mixture will thicken significantly and become difficult to beat.
- Consistency: It should hold a trail when you lift the spoon, similar to thick ribbon.
Beating usually takes 5 to 10 minutes by hand. It’s hard work, but stopping too early leaves the fudge runny and shiny. Stopping too late makes it crumbly and dry. The window is narrow, so keep an eye on the texture rather than the clock.
| Phase | Action | Frequency | Goal |
|---|---|---|---|
| Dissolving | Gentle Stirring | Continuous until boil | Dissolve all sugar granules |
| Boiling | No Stirring | None | Evaporate water without forming crystals |
| Cooling | Resting | 10 mins (no action) | Lower temp to safe crystallization zone |
| Beating | Vigorous Beating | Constant motion | Create tiny crystals for creamy texture |
Troubleshooting Common Stirring Mistakes
Even experienced bakers mess up fudge occasionally. Here’s how to diagnose issues based on your stirring habits.
Grainy Fudge: Did you stir while it was boiling? Or did you scrape the sides of the pan with a dry spoon, introducing crystals? Next time, use a wet brush and keep the spoon out of the pot during the boil. Also, ensure you beat the mixture long enough after cooling. Under-beating can also lead to a coarse texture because the crystals haven’t been broken down sufficiently.
Crumbly or Dry Fudge: This usually means you beat it too much or cooked it to too high a temperature. Over-beating drives out too much moisture and creates too many crystals, making the structure brittle. Try pulling the pot off the heat at 234°F instead of 240°F next time, and stop beating as soon as it loses its shine.
Runny Fudge: You likely didn’t cook it long enough or didn’t beat it sufficiently. If it hasn’t set after a few hours, you can sometimes re-melt it gently, add a tablespoon of cream, and try beating again, though results vary.
Equipment Matters
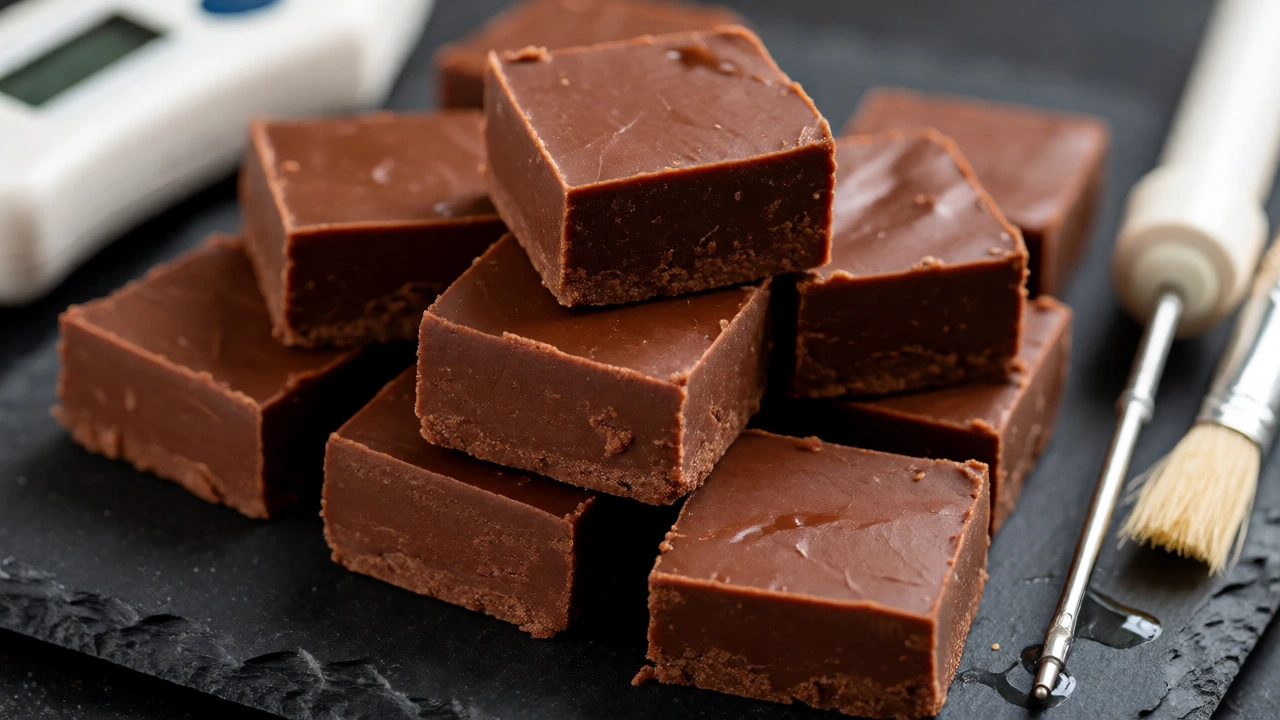
Your tools play a huge role in how easy stirring is. A heavy-bottomed saucepan distributes heat evenly, preventing hot spots that burn sugar. A wooden spoon is traditionally recommended because it doesn’t conduct heat like metal, keeping your hands safer. However, some chefs prefer silicone spatulas because they scrape the bowl clean and are heat-resistant up to 400°F.
A reliable instant-read thermometer is non-negotiable. Guessing the "soft-ball stage" by dropping syrup into cold water works, but it’s subjective. A digital probe gives you precise data, removing the guesswork from the boiling phase.
Final Thoughts on Texture
Making fudge is equal parts chemistry and craftsmanship. There’s no magic number of stirs-there’s only the right physical state of the sugar syrup. Trust your eyes and your thermometer more than a timer. Once you master the rhythm of "boil without touching, cool without disturbing, beat until matte," you’ll never have grainy fudge again.
Can I stir fudge while it is boiling?
Generally, no. Stirring during the active boil can cause sugar crystals to form on the sides of the pan and fall back into the mixture, leading to grainy fudge. Only stir gently at the very beginning to dissolve the sugar before the boil starts.
How do I know when to stop beating fudge?
Stop beating when the fudge changes from a shiny, liquid appearance to a dull, matte finish and thickens significantly. It should hold a 'ribbon' or trail when you lift the spoon. This usually takes 5-10 minutes of vigorous beating.
Why is my fudge grainy?
Graininess is caused by large sugar crystals. This happens if you stirred too much during the boiling phase, introduced crystals from the pan sides, or failed to beat the mixture thoroughly after it cooled. Ensuring proper nucleation through vigorous beating helps prevent this.
Does microwave fudge need stirring?
Yes, microwave fudge recipes typically require stirring every 1-2 minutes during the cooking process to ensure even heating and complete sugar dissolution, unlike stovetop methods which rely on no-stir boiling.
What temperature should fudge be cooked to?
Traditional fudge is cooked to the soft-ball stage, which is between 234°F and 240°F (112°C - 116°C). Using a candy thermometer ensures accuracy better than visual cues.