Fudge Temperature Calculator
Critical Fudge Temperatures
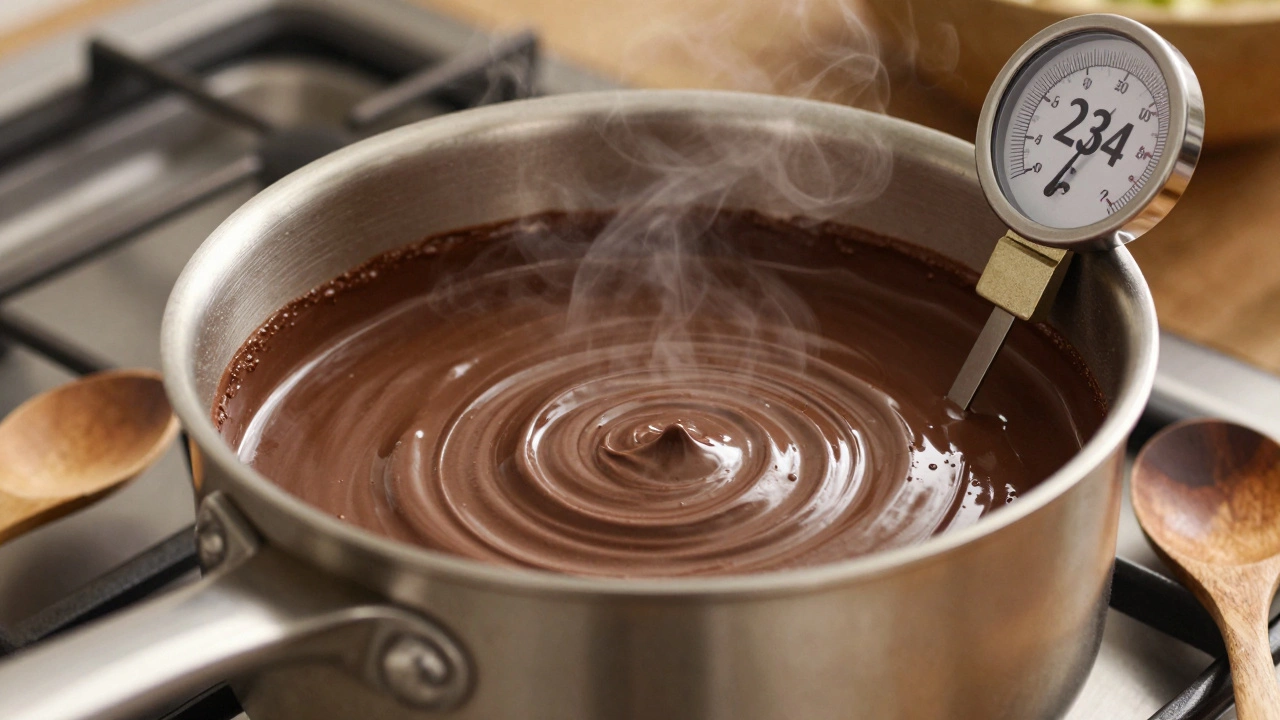
This calculator helps you achieve perfect fudge texture by monitoring the critical temperature ranges. The ideal setting temperature is 234-237°F (112-114°C).
Temperature Analysis
Ideal Cooling Time
2-3 hours
Safe to Stir
At 110°F (43°C)
Pro Tip: Stirring while boiling is the #1 cause of grainy fudge. Wait until 110°F before stirring to prevent sugar crystallization.
Ever bitten into a piece of fudge only to have it stick to your teeth like hard candy? You didn’t mess up the recipe-you just missed one key step that turns sugary, grainy fudge into rich, velvety chocolate. It’s not about using more cocoa or less sugar. It’s about control. Control over heat, timing, and agitation. And once you understand it, you’ll never make sugary fudge again.
Why fudge turns sugary
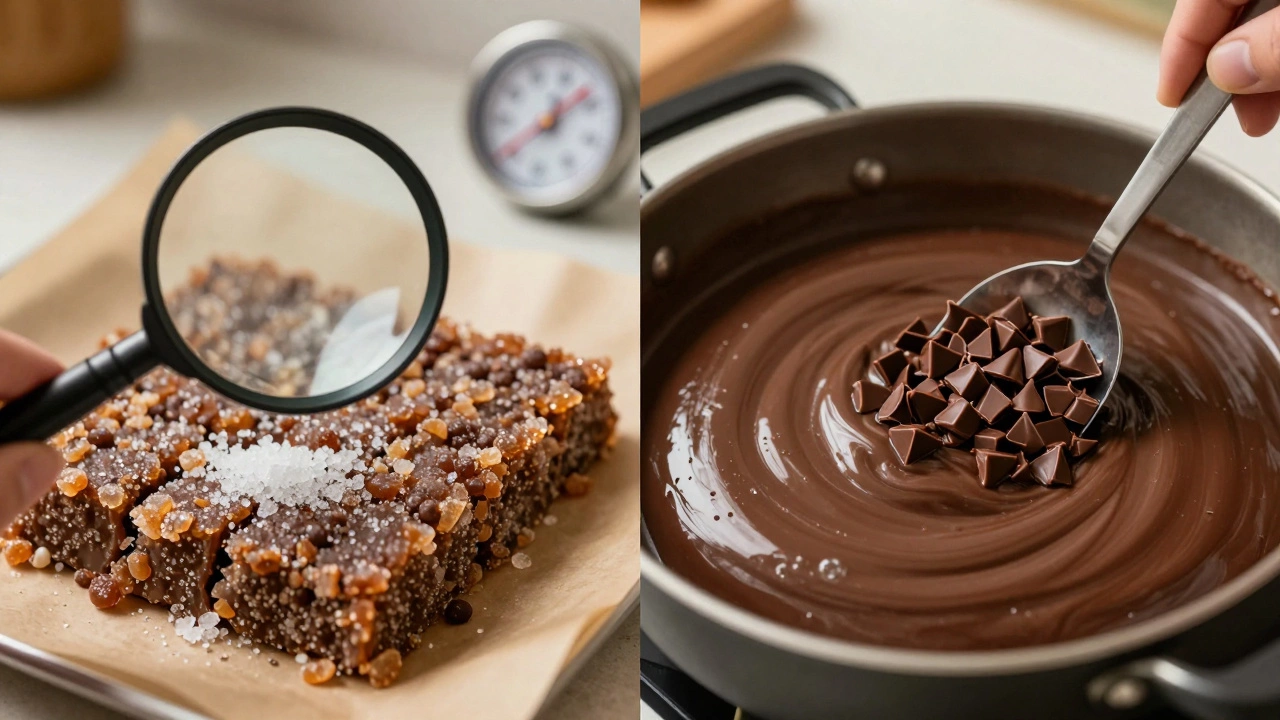
Fudge isn’t candy you just melt and pour. It’s a sugar suspension, and sugar has a nasty habit of crystallizing if you don’t handle it right. When sugar crystals form, they grow into large, grainy clumps. That’s why your fudge feels sandy instead of smooth. It’s not overcooked. It’s not undercooked. It’s disturbed.
The problem starts when you stir the mixture while it’s still hot. Even a single stir while the sugar is dissolving can trigger crystallization. A tiny grain of sugar on the side of the pot? That’s all it takes. The sugar molecules latch onto it and start multiplying. By the time you pour it into the pan, the whole batch is full of crystals. That’s the sugary texture you hate.
There’s also the issue of temperature. If you don’t heat the mixture to the right point-234°F to 237°F (112°C to 114°C)-the sugar won’t dissolve fully. Too low, and you’re left with undissolved granules. Too high, and the mixture burns or turns brittle. There’s no middle ground here. Precision matters.
The foolproof method
Here’s how to fix it, step by step. No guesswork. No stirring too soon. Just clean, quiet control.
- Use a heavy-bottomed saucepan. Thin pans heat unevenly and create hot spots that cause sugar to scorch or crystallize prematurely.
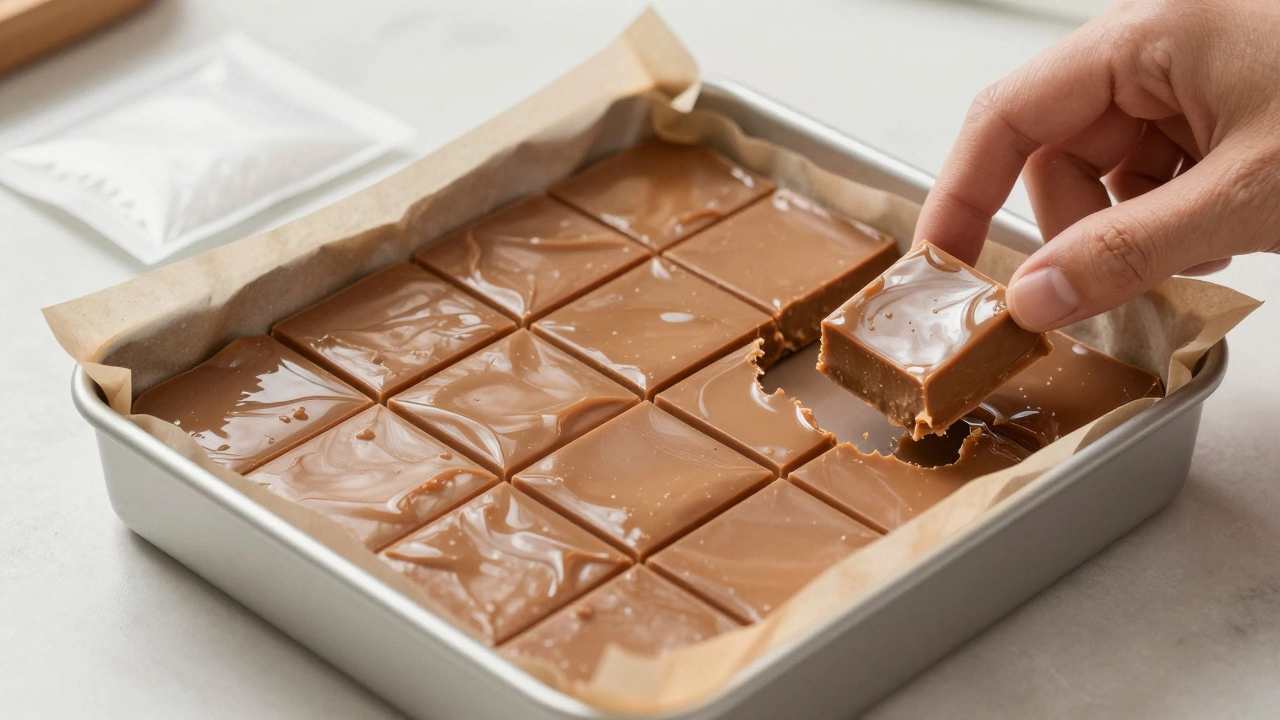
- Line your pan with parchment paper. This makes cleanup easier and gives the fudge a clean edge when it sets.
- Measure ingredients precisely. A tablespoon too much butter or cream changes how the sugar behaves. Use a kitchen scale if you can.
- Combine sugar, butter, cream, and cocoa in the pan. Stir gently over low heat until the sugar dissolves completely. Don’t rush this. It can take 5-7 minutes. You’ll know it’s done when no granules cling to the spoon.
- Attach a candy thermometer. Clip it to the side of the pan so the tip doesn’t touch the bottom. This is non-negotiable. You need to know the exact temperature.
- Bring the mixture to a boil. Once it starts bubbling, stop stirring. Never stir again until it hits 234°F. Let it boil undisturbed. Bubbles are fine. Stirring is not.
- When it hits 234°F, remove it from heat immediately. Let it cool to 110°F without moving it. This cooling phase is critical. The sugar molecules need time to settle into a smooth, amorphous structure instead of forming crystals.
- Once it’s cooled, stir in vanilla and chocolate chips. Stir vigorously-this is the only time you want to stir. It’s now safe. The texture will turn glossy and thick within a minute.
- Pour into the lined pan. Let it sit uncovered at room temperature for 2-3 hours. Don’t refrigerate it. Cold air causes condensation, which makes the surface sticky and dull.
What not to do
Here are the three mistakes 90% of home cooks make:
- Stirring while boiling - This is the #1 cause of grainy fudge. Even if you think you’re just checking the texture, you’re seeding crystals.
- Using a wooden spoon - Wood can harbor tiny sugar crystals from past batches. Use a silicone spatula or stainless steel spoon.
- Skipping the thermometer - Guessing temperature is like guessing how long to bake a cake. You might get lucky once. But you’ll ruin more batches than you save.
And don’t try to speed things up. Putting the fudge in the fridge to cool faster doesn’t help-it makes it worse. The rapid temperature drop forces sugar to crystallize. Room temperature cooling is slow, but it’s the only way to get that perfect melt-in-your-mouth texture.
What if it’s already grainy?
Don’t throw it out. You can fix it.
Place the grainy fudge back in a saucepan with 1/4 cup of heavy cream. Heat it gently over low heat, stirring just enough to melt the fudge. Don’t let it boil. Once it’s liquid, bring it back up to 234°F, then let it cool again without stirring. Pour it into a fresh pan. You’ll be amazed how it transforms.
This trick works because the extra cream resets the sugar structure. It’s like hitting undo on your mistake.
Storage tips
Once your fudge sets, cut it into squares with a sharp knife dipped in hot water. Wipe the knife between cuts. Store it in an airtight container with parchment paper between layers. Keep it at room temperature for up to two weeks. If you live in a humid climate like Halifax, add a silica gel packet to the container. It pulls moisture and keeps the fudge from getting sticky.
Never freeze fudge. The moisture inside changes structure and turns it crumbly. If you must store it long-term, wrap each piece in plastic wrap, then place them in a sealed container in the fridge-but only for up to a month. Bring it to room temperature before serving.
Why this works
This method isn’t magic. It’s science. Sugar behaves predictably under heat. When you dissolve it fully, control the temperature, and avoid agitation until the right moment, you’re giving the sugar molecules time to arrange themselves into a smooth, glassy matrix instead of a jagged crystal lattice.
It’s the same reason professional candy makers use copper pots and thermometers. They don’t rely on instinct. They rely on data. You don’t need fancy tools-just a saucepan, a thermometer, and patience.
Once you nail this, you’ll notice something else: your fudge tastes richer. That’s because without graininess, the chocolate and butter flavors come through cleanly. The texture lets the flavor linger instead of getting stuck on your teeth.
Try it once. Follow the steps exactly. No shortcuts. Then taste the difference.
Why does stirring fudge while it's hot make it grainy?
Stirring introduces tiny sugar crystals into the mixture, which act as seeds for more crystals to grow. Once one crystal forms, others latch onto it rapidly. This creates a sandy, grainy texture instead of the smooth, melt-in-your-mouth consistency you want. The solution? Don’t stir at all until the mixture has cooled to 110°F.
Can I use a microwave to make fudge?
You can, but it’s risky. Microwaves heat unevenly, which makes it hard to dissolve sugar fully. You might get pockets of undissolved granules that turn grainy. If you try it, heat in 30-second bursts, stirring gently between each. Stop when the sugar dissolves and the mixture reaches 234°F. But a stovetop with a thermometer is far more reliable.
What’s the best chocolate to use for fudge?
Use high-quality semi-sweet or bittersweet chocolate with at least 60% cocoa solids. Cheap chocolate chips often contain stabilizers that prevent smooth melting and can leave a waxy aftertaste. Bars from brands like Ghirardelli, Valrhona, or Lindt melt cleanly and give fudge a deep, rich flavor.
Can I make fudge without cream?
Yes, but it changes the texture. Heavy cream gives fudge its silkiness. You can substitute evaporated milk or coconut cream, but the fudge will be slightly less rich and may set firmer. Avoid water or milk-they don’t have enough fat to prevent crystallization and will make the fudge more prone to becoming sugary.
Why does my fudge sometimes stick to the pan?
That usually happens if you didn’t line the pan with parchment paper or if the fudge didn’t cool fully. Always use parchment paper with a little overhang to lift the fudge out. And let it sit at room temperature for at least 2 hours. If you cut it too soon, it’ll be too soft and stick. Patience is part of the recipe.