Fudge Temperature Guide
This tool helps you determine if your fudge mixture is at the correct temperature for stirring. Proper timing is crucial for smooth, non-grainy fudge.
Soft-ball stage
Ideal for stirring
Enter a temperature to check if it's safe to stir.
Stirring fudge too early is the number one reason homemade fudge turns out grainy, greasy, or worse-completely useless. You followed the recipe, measured the sugar perfectly, even used a candy thermometer. But when you take that first bite, it’s not smooth. It’s crumbly. Or sticky. Or worse, it tastes like sugary sand. That’s not your fault. It’s timing.
Why fudge needs to cool before stirring
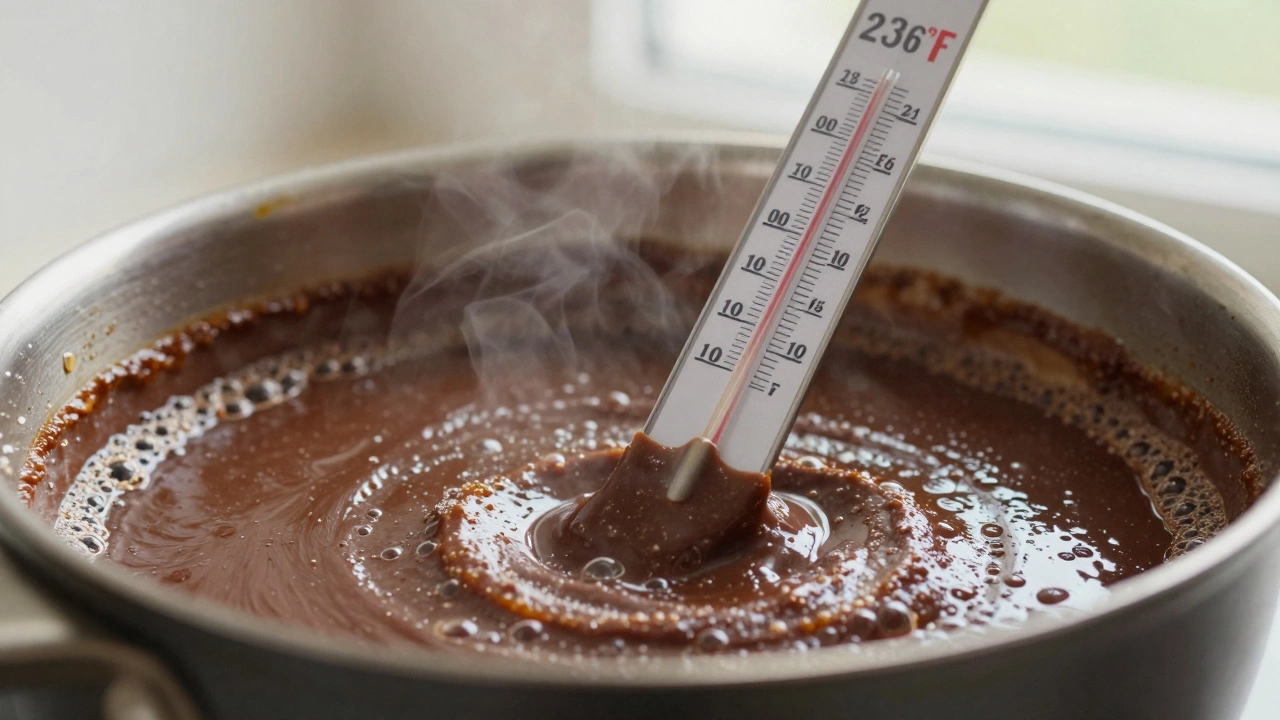
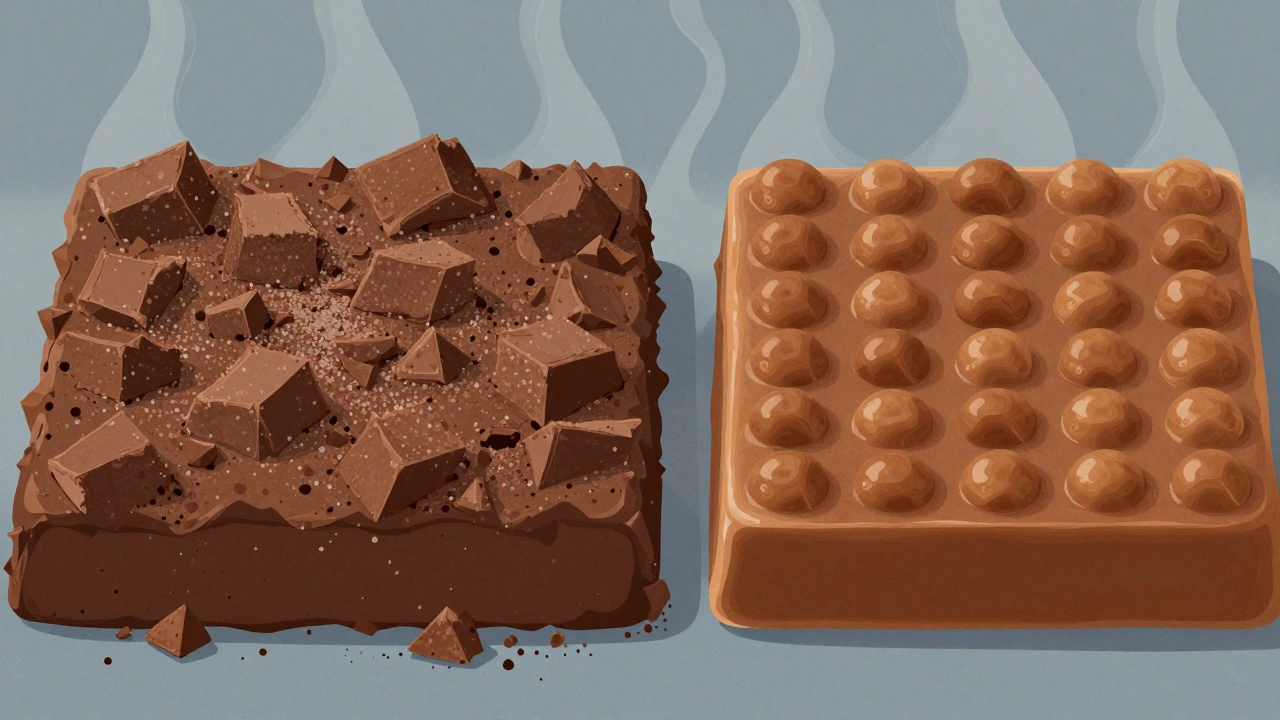
Fudge isn’t just melted sugar and chocolate. It’s a delicate crystal structure you’re trying to build. When you heat sugar, water, milk, and butter to around 234-238°F (112-114°C), you’re making a supersaturated sugar solution. That means you’ve dissolved way more sugar than water could normally hold at room temperature. As it cools, the sugar wants to come out of solution-but not all at once. You need to control how and when those sugar crystals form.Stirring too early-while the mixture is still hot-forces sugar crystals to form all over the place. Instead of one big, smooth cluster of crystals, you get hundreds of tiny ones. That’s what makes fudge grainy. It’s like shaking a snow globe while the snow is still falling. You end up with a messy cloud instead of a soft, even blanket.
Professional candy makers wait until the mixture hits about 110°F (43°C) before they start stirring. That’s when the sugar solution is cool enough for crystals to form slowly and uniformly. If you stir before then, you’re basically sabotaging the texture from the start.
What happens if you stir too early
If you stir your fudge while it’s still hot, here’s exactly what you’ll get:- Grainy texture-Tiny sugar crystals form everywhere, making the fudge feel sandy in your mouth.
- Greasy or oily surface-The fat in the butter and chocolate separates because the emulsion hasn’t had time to stabilize.
- Failure to set-The sugar doesn’t crystallize properly, so the fudge stays too soft or even runny.
- Uneven flavor-The chocolate and butter don’t blend smoothly, leaving pockets of raw cocoa or buttery spots.
One baker in Vermont tried stirring her fudge after just 10 minutes of cooling. She used the same recipe her grandmother swore by. The result? A pan of crumbly, sweet gravel. She thought she’d ruined the batch-until she realized she’d done exactly what every beginner does. The fix? She melted it back down, let it cool properly, and stirred only when the thermometer hit 110°F. Second try? Perfect.
How to know when it’s safe to stir
You don’t need to guess. You don’t need to wait for an hour. You need a candy thermometer.Here’s the exact process:
- Heat the mixture to 234-238°F (112-114°C)-this is the soft-ball stage.
- Remove it from heat immediately.
- Let it cool undisturbed until it reaches 110°F (43°C). This usually takes 15-20 minutes, depending on your pan and kitchen temperature.
- Now, stir vigorously for 3-5 minutes until it thickens and loses its shine.
- Pour into a greased pan and let it set at room temperature.
Don’t rely on color or consistency. Sugar solutions look similar at 150°F and 110°F. Only a thermometer tells you the truth. If you don’t have one, you can do the cold water test: drop a small amount into ice water. At the soft-ball stage, it should form a soft, pliable ball you can pinch between your fingers. But even then, you still need to wait for the 110°F mark before stirring.
Why some recipes say to stir right away
You might have seen old recipes that say, “Stir in vanilla and nuts as soon as you take it off the stove.” That’s outdated advice. Those recipes were written before candy thermometers were common. People guessed. Sometimes they got lucky. Most times, they got grainy fudge.Modern fudge recipes-especially those from trusted sources like the University of Georgia Extension or the USDA-explicitly warn against early stirring. The USDA’s guide to candy making says: “Stirring during cooling causes premature crystallization, leading to a coarse, grainy texture.” That’s not opinion. That’s food science.
Even famous brands like Ghirardelli and Baker’s now include cooling instructions in their fudge kits. They know the difference between a recipe that works and one that fails.
What to do if you already stirred too early
You messed up. You stirred at 160°F. Now the fudge is grainy. Don’t throw it out.Here’s what to do:
- Put the fudge back in a saucepan.
- Add 1/4 cup of heavy cream or evaporated milk.
- Heat gently over low heat, stirring until it melts completely.
- Bring it back to 234-238°F.
- Remove from heat and let it cool to 110°F again.
- Stir now-this time, properly.
This works because you’re resetting the sugar solution. The extra liquid gives you room to dissolve those unwanted crystals. When you reheat and cool it again, you get a fresh start. Many professional candy makers use this trick to fix batches that didn’t turn out right.
Pro tips for foolproof fudge every time
- Use a heavy-bottomed saucepan. It heats evenly and prevents hot spots that cause sugar to burn.
- Don’t scrape the sides of the pan while heating. Sugar crystals can cling there and fall into the mixture later.
- Use pure vanilla extract, not imitation. Fake vanilla can interfere with crystallization.
- Let fudge set at room temperature. Don’t put it in the fridge to speed things up-that can cause condensation and make the surface sticky.
- Cut it with a sharp knife dipped in hot water. Wipe the blade between cuts for clean edges.
One last thing: fudge doesn’t need to be perfect on the first try. Even experienced bakers have grainy batches. The difference? They know how to fix it. And now you do too.
Why fudge fails (and how to avoid it)
Most fudge failures come down to three things:- Stirring too early-The #1 mistake.
- Not reaching the right temperature-If you stop at 220°F, the fudge won’t set.
- Over-stirring after cooling-Once it thickens, stop. Keep stirring and it’ll turn into a dense, hard mass.
Master these, and your fudge will be smooth, rich, and melt-in-your-mouth every single time.
Can I stir fudge by hand instead of using a mixer?
Yes, hand stirring is actually preferred. A wooden spoon works best because it doesn’t conduct heat and gives you better control. You want to stir until the fudge loses its glossy sheen and starts to thicken-that usually takes 3 to 5 minutes. A mixer can overwork it and make it too dense.
Why does my fudge turn out too soft?
Soft fudge usually means the mixture didn’t reach the soft-ball stage (234-238°F). If it’s undercooked, the sugar concentration is too low, so it won’t set properly. Always use a thermometer. If you’re in a humid climate, you might need to cook it 1-2 degrees higher to compensate for moisture in the air.
Can I use microwave fudge recipes to avoid stirring issues?
Microwave fudge recipes skip the cooking-to-temperature step, so they’re easier for beginners. But they still require you to wait until the mixture cools before stirring. If you stir microwave fudge too soon, you’ll still get graininess. The microwave doesn’t change the science-it just changes how you heat it.
What if I don’t have a candy thermometer?
You can use the cold water test. Drop a small spoonful of the hot fudge mixture into a glass of ice water. If it forms a soft, pliable ball that you can pinch between your fingers, it’s at the soft-ball stage. But even then, you still need to wait until it cools to 110°F before stirring. The thermometer is more accurate, but the test works in a pinch.
Can I make fudge without cream or milk?
Traditional fudge needs dairy for the right texture and flavor. You can substitute with coconut milk or condensed coconut milk for a vegan version, but avoid water or juice-they won’t provide the fat or proteins needed for emulsification. The result will be dry or crumbly. Stick with dairy or tested vegan alternatives like full-fat coconut milk.