Fudge Temperature & Texture Calculator
Target Analysis
Enter your altitude to calculate the precise target temperature for silky fudge.
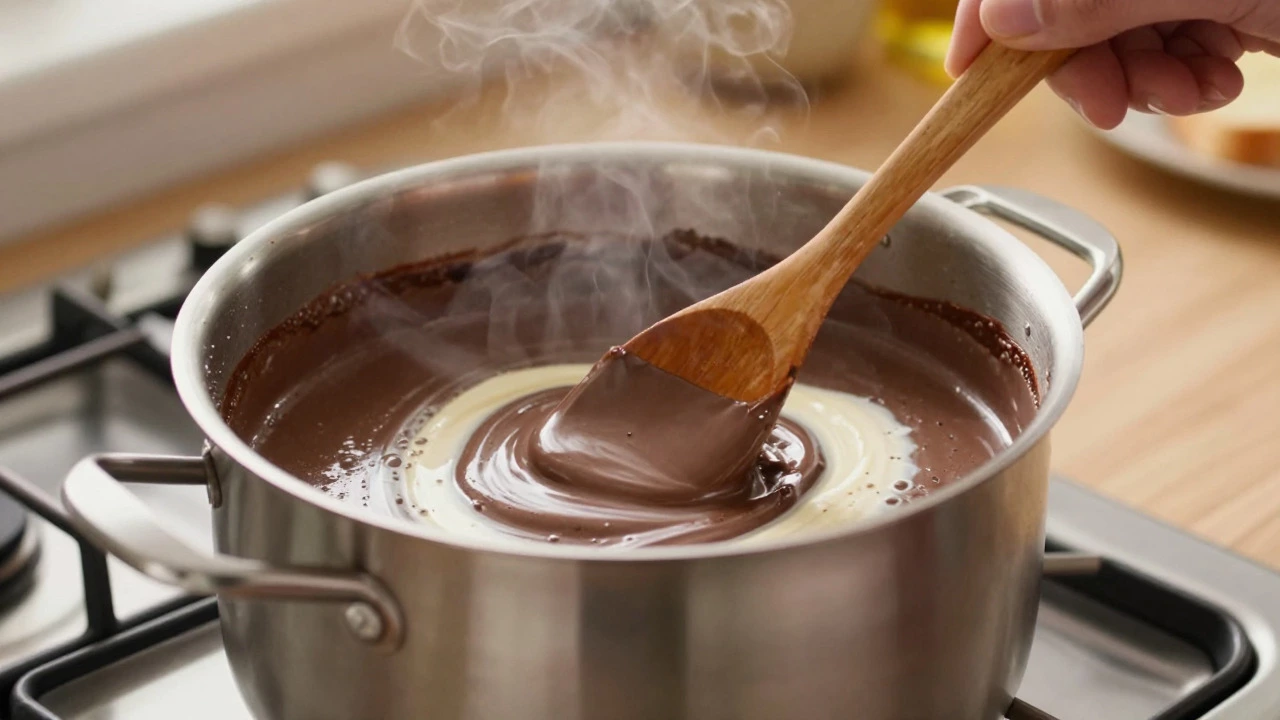
Imagine this: you’re standing over a pot of chocolate and cream, the kitchen smells amazing, and the mixture is bubbling away. Your hand hovers over the spoon, but you hesitate. If you stir now, will it break? If you don’t, will it burn? This single moment decides whether you get silky, smooth fudge or a grainy mess that tastes like wet sand.
The short answer is yes, but only in specific moments. Most home cooks get it wrong because they either stir too much or not enough. Understanding the physics of sugar crystallization saves hours of trial and error. Let’s break down exactly when to move that spoon and when to let it be.
Why Timing Changes Everything
Fudge isn't just melted chocolate; it's a supersaturated sugar solution. To make it work, you need to control how sugar crystals form. Too many tiny crystals give you that smooth texture we want. Too few large crystals result in a hard, chewy block. Stirring influences this process directly by introducing air and disrupting crystal growth.
When the mixture is cold, stirring helps dissolve ingredients evenly. But once it hits a boil, the rules change. At this point, you are looking for the "soft ball stage." This is a precise temperature range where the syrup becomes thick enough to form a soft ball when dropped into cold water. Hitting this target requires patience and minimal interference.
The Three Stages of Making Fudge
To understand when to stir, you have to look at the three distinct phases of the process. Each phase has different goals regarding heat and movement.
- The Dissolving Phase: Sugar, butter, and milk (or cream) are combined. Here, you stir constantly to ensure no lumps remain. The goal is a uniform liquid before any boiling starts.
- The Boiling Phase: The mixture reaches a rolling boil. This is where most people freeze up. You want the sugar to cook out excess water without burning on the sides.
- The Cooling/Seeding Phase: The hot syrup is removed from heat, cooled slightly, and then beaten vigorously to introduce air and start crystal formation.
Should You Stir While It Boils?
This is the core question. During the active boiling phase, you generally should not stir continuously. Why? Because vigorous stirring can cause premature crystallization. If you whip the liquid while it's hot, you might shock the sugar into forming small, uneven grains before it reaches the correct temperature.
However, leaving it completely untouched is also risky. Sugar syrup is sticky and prone to scorching if it touches the bottom of the pan for too long. So, what is the sweet spot? Gentle agitation. Every thirty seconds or so, give the pot a slight swirl or a very light stir with a wooden spoon. Do not beat it. Just keep the syrup moving off the bottom surface.
If you notice white spots forming on the side of the pot, that’s crystallization starting early. Dip your spoon in cold water and wipe those spots clean immediately. This prevents them from acting as seeds for unwanted graininess later.
The Role of Temperature and Tools
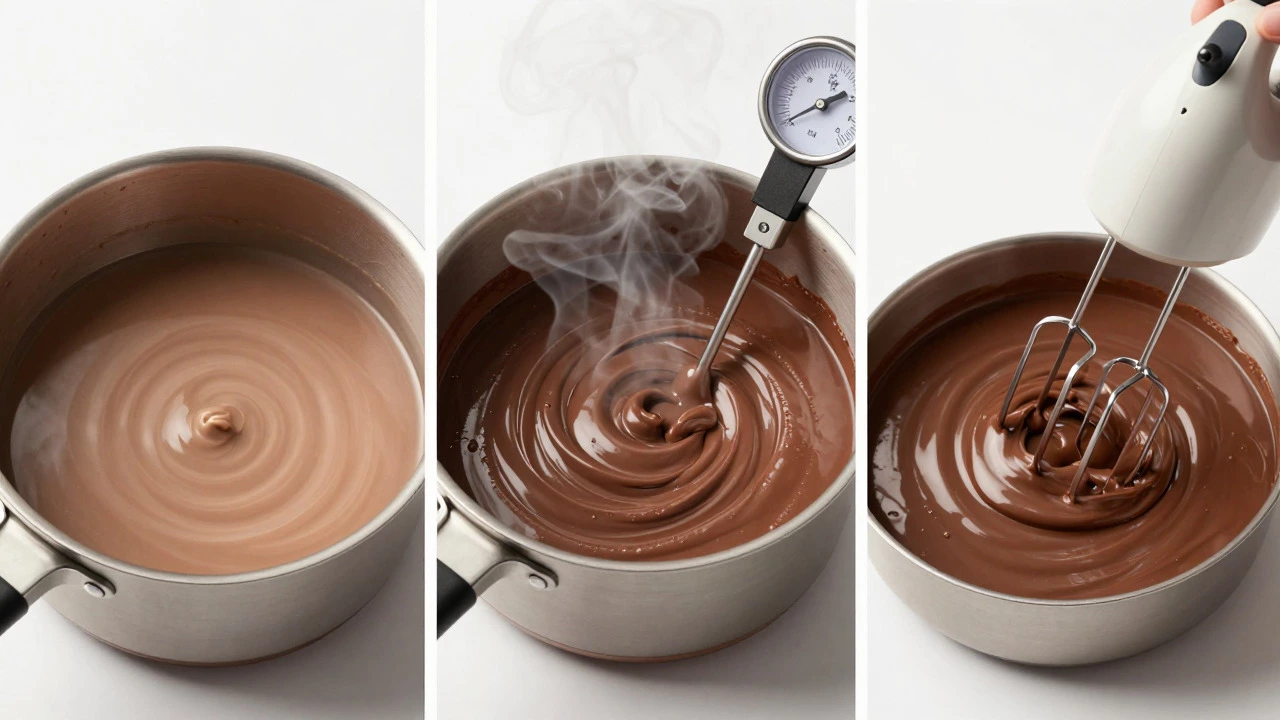
You cannot rely on guessing the temperature. A Candy Thermometer is a specialized tool designed to measure high temperatures accurately, essential for reaching the soft ball stage. It clips onto the side of the pot and gives you real-time data.
The target temperature for standard fudge is between 114°C and 116°C (237°F to 240°F). This is known as the soft ball stage. If you go higher, say to 120°C (250°F), you enter the firm ball stage, which results in harder, less creamy fudge. If you stop too early, the fudge will be gummy and won't set properly.
| Stage Name | Temperature Range | Texture Result | Stirring Action |
|---|---|---|---|
| Soft Ball | 114°C - 116°C (237°F - 240°F) | Silky, creamy, cuts cleanly | Gentle swirls only |
| Firm Ball | 120°C - 122°C (248°F - 252°F) | Harder, chewier, dense | Gentle swirls only |
| Hard Crack | 149°C - 150°C (300°F - 302°F) | Brittle, glass-like | No stirring (different recipe) |
Common Mistakes That Ruin Texture
Even with the right technique, a few simple errors can ruin a batch. The most common one is using a non-stick pan. Surprisingly, a heavy-bottomed aluminum or stainless steel pan works better. Non-stick coatings can prevent proper heat distribution and sometimes react with the acidic components in certain recipes, leading to off-flavors or inconsistent heating.
Another frequent mistake is rushing the cooling phase. Once you hit the target temperature, remove the pot from the heat immediately. Let it cool for about five minutes. If you start beating it while it’s still piping hot, the fat separates, and you end up with oily fudge. Wait until the edges start to thicken slightly before you begin the vigorous beating step.
Also, pay attention to your altitude. If you live in a high-altitude area, water boils at a lower temperature. This means your syrup needs to reach a slightly higher temperature to achieve the same concentration. For every 300 meters (1,000 feet) above sea level, add about 1°C (2°F) to your target temperature. Halifax residents don't usually worry about this, but if you're visiting friends in the mountains, adjust accordingly.
Flavor Variations and Additives
Once you master the base technique, experimenting with flavors becomes fun. Vanilla extract is the classic choice, but you can add almond extract, peppermint, or even espresso powder. These are added after the mixture comes off the heat, during the cooling period. Adding them while boiling can cause volatile aromas to evaporate, leaving you with a flat taste.
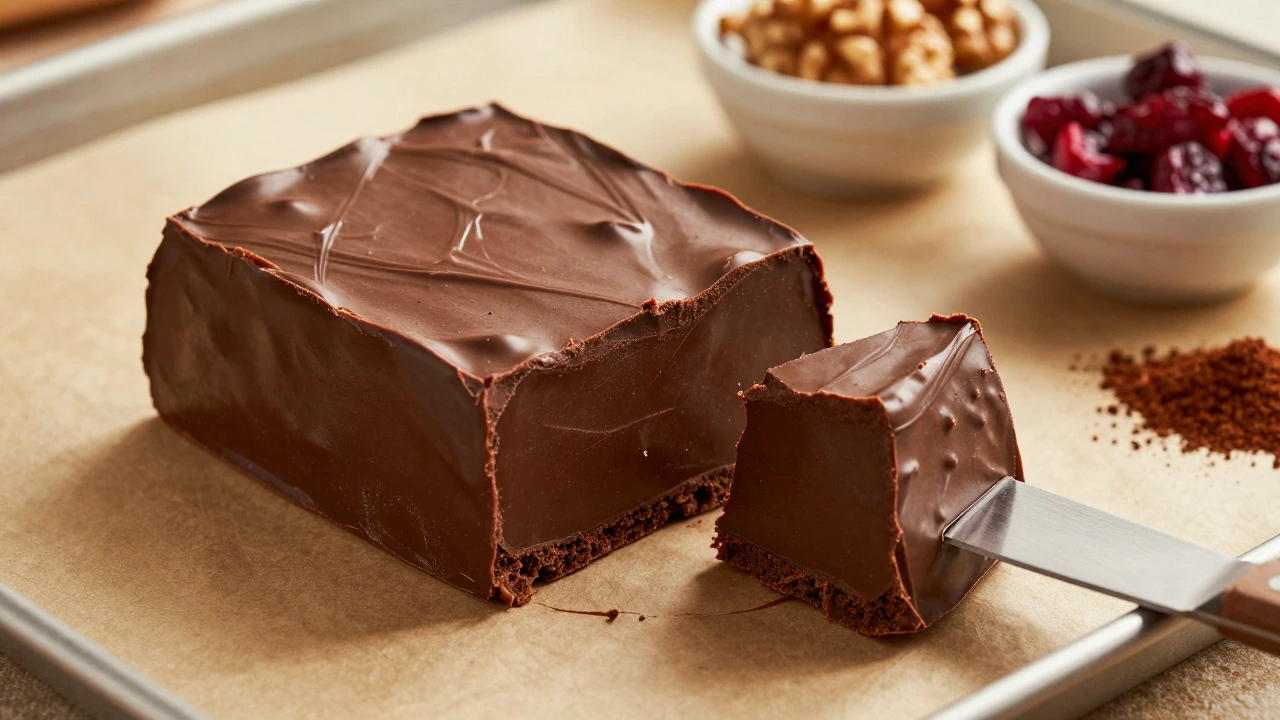
Mix-ins like chopped nuts, dried fruit, or coconut flakes are best folded in after the fudge has been beaten and is starting to stiffen. If you add them too early, they sink to the bottom. If you add them too late, they don't incorporate evenly. Aim for the moment when the mixture is thick but still spreadable.
For a richer texture, swap half the milk for heavy cream. This increases the fat content, which interferes with crystal formation slightly, resulting in an even smoother, more luxurious bite. However, be careful not to use too much fat, or the fudge may become greasy instead of creamy.
Troubleshooting Grainy or Gummy Fudge
What if you already made a batch and it turned out wrong? Don't throw it away yet. Grainy fudge usually means you stirred too much during boiling or didn't reach the correct temperature. Gummy fudge typically means you stopped the cooking process too early.
You can rescue both issues by remelting the fudge. Break the bad batch into chunks and place it back in a double boiler. Melt it slowly until it becomes a smooth liquid again. Then, return it to the pot and re-boil it to the correct soft ball stage. Be careful not to burn it during the second attempt. This method works surprisingly well and saves ingredients.
If the fudge is too hard, it likely went past the soft ball stage. Next time, monitor the thermometer closely and pull it off the heat at the first sign of hitting 114°C (237°F). Precision is key here.
FAQ
Can I use a regular kitchen thermometer for fudge?
It is possible, but not recommended. Regular kitchen thermometers often max out around 100°C (212°F), which is below the required soft ball stage of 114°C (237°F). A dedicated candy thermometer is inexpensive and far more accurate for this specific task.
Why did my fudge turn out crumbly?
Crumbly fudge usually indicates that the mixture was cooked too long, entering the firm ball or hard crack stage. Alternatively, it could mean the mixture wasn't beaten enough after cooling, failing to create the fine crystal network needed for smoothness.
Do I need to grease the pan before pouring?
Yes, always grease the pan with butter or use parchment paper. Fudge sticks aggressively as it cools. Without a release agent, you risk breaking the slab when trying to lift it out of the dish.
How long does fudge take to set?
Standard fudge takes about two to four hours to set at room temperature. You can speed this up by placing the pan in the refrigerator for 30 minutes, but avoid freezing it, as extreme cold can affect the texture negatively.
Can I make fudge without a thermometer?
You can use the cold water test. Drop a small amount of the boiling syrup into a bowl of ice water. If it forms a soft ball that flattens when pressed, you are ready. This method is less precise than a thermometer but works in a pinch.