
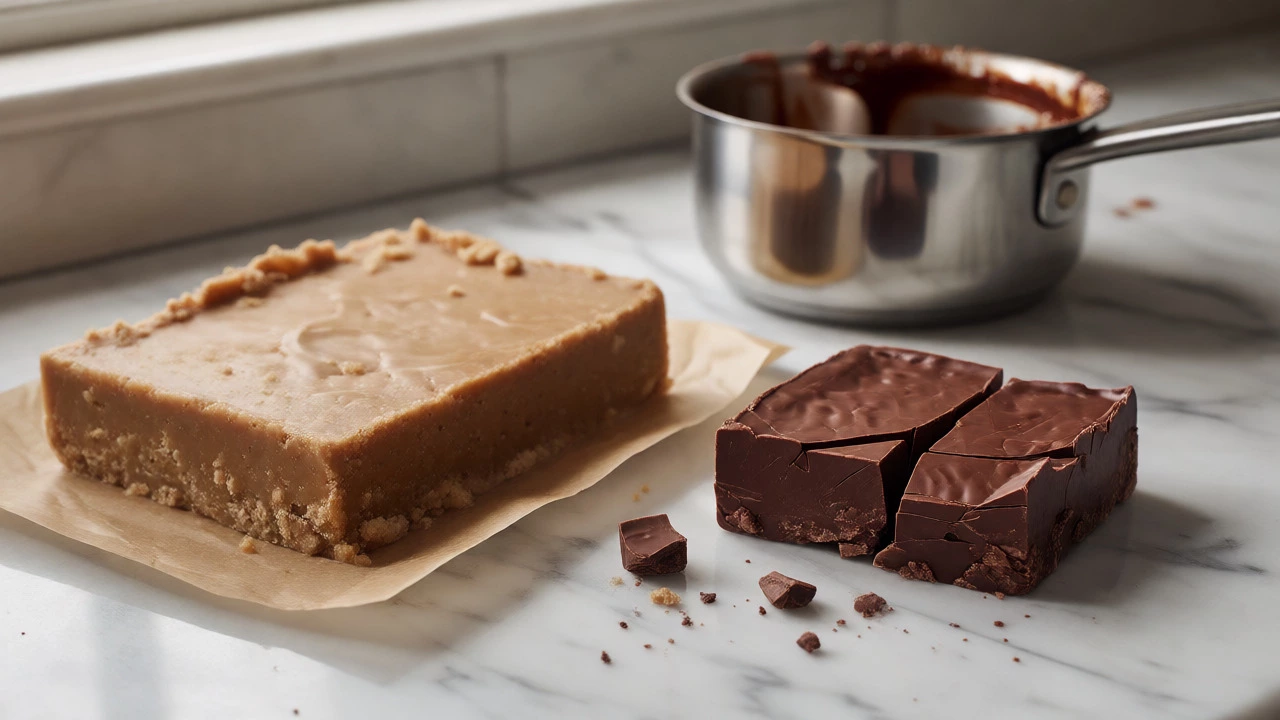
Fudge Temperature & Altitude Calculator
Use this tool to determine the exact target temperature for your fudge batch. Standard recipes assume sea level; if you are higher up, you must adjust to prevent undercooked (soft) or overcooked (hard) results.
Your Environment
Enter your altitude to calculate your custom target temperature range.
You pull your first batch of homemade fudge out of the pan, expecting smooth, creamy squares that melt on the tongue. Instead, you get a grainy, sandy mess or a rock-hard slab that shatters when you try to cut it. Sound familiar? It’s frustrating, but here’s the good news: fudge failures are rarely about bad ingredients. They’re almost always about technique.
Making a dense, sweet confection made from sugar, butter, and milk is a chemistry experiment disguised as cooking. One wrong move-like stirring too early or skipping a thermometer-can ruin hours of work. If you want perfect results every time, you need to know what *not* to do. Let’s break down the most common pitfalls so you can skip the trial-and-error phase and go straight to success.
Skipping the Candy Thermometer
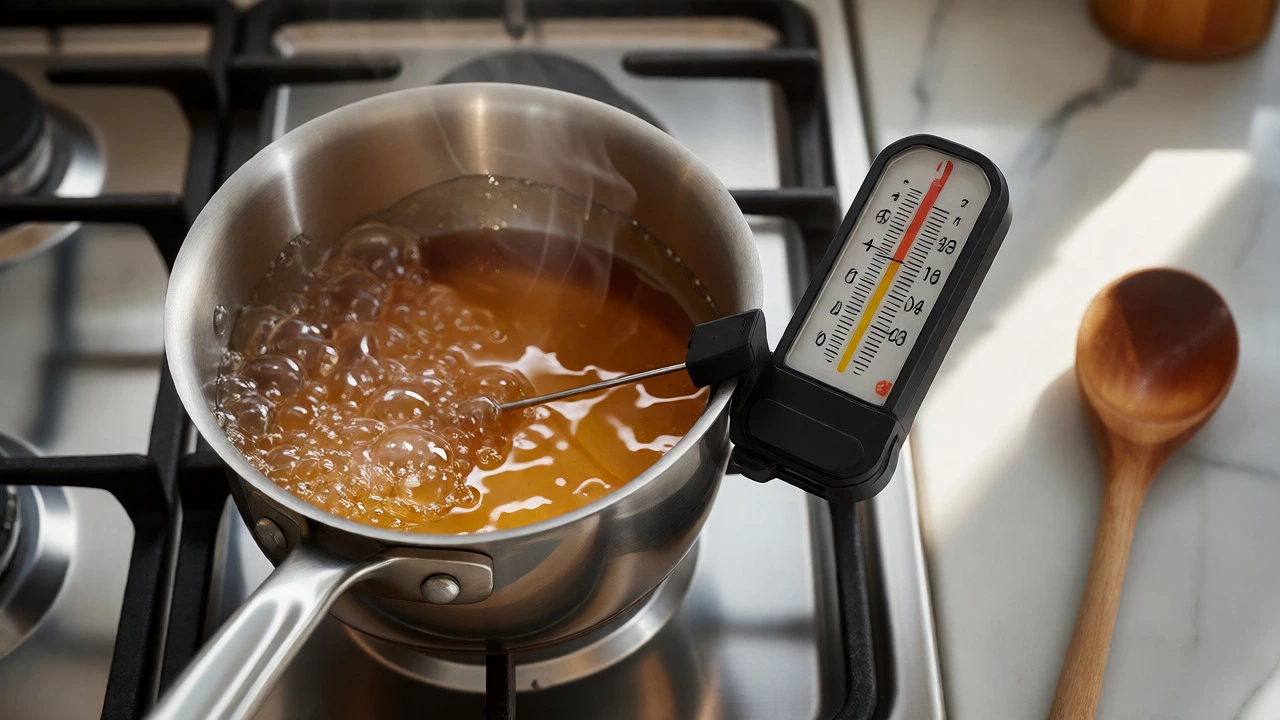
Can you make fudge without a thermometer? Technically, yes. Should you? Absolutely not. Relying on the "soft-ball stage" by dropping syrup into cold water is old-school, sure, but it’s inconsistent. Your kitchen humidity, altitude, and even how fast you boil the mixture affect the outcome. A digital or dial candy thermometer is non-negotiable for precision.
Fudge needs to hit exactly 234°F to 240°F (112°C to 116°C). If you stop at 225°F, your fudge will be too soft and won’t set. Go past 245°F, and you’ll end up with hard, brittle candy instead of tender fudge. The difference between a wobbly square and a jaw-breaker is just ten degrees. Don’t guess. Measure.
| Temperature | Resulting Texture | Cause |
|---|---|---|
| < 234°F | Soft, sticky, won't hold shape | Undercooked; too much moisture remains |
| 234-240°F | Creamy, smooth, sets firmly | Perfect balance of sugar crystals and fat |
| > 245°F | Hard, chewy, difficult to cut | Overcooked; sugar begins to caramelize |
Stirring Too Early (or Too Much)
This is the number one reason home cooks end up with sugary crystals rather than smooth fudge. When you stir the boiling sugar mixture, you encourage sugar molecules to bond together prematurely. You want those molecules to stay dissolved until the mixture cools slightly. Stirring while the pot is still boiling introduces air and agitation, triggering rapid crystallization.
The rule is simple: Do not stir once the mixture comes to a full boil. Put the spoon down. Walk away. Only start beating the fudge after it has cooled to around 110°F (43°C). At this point, the sugar solution becomes supersaturated and ready to form fine, microscopic crystals that give fudge its signature creaminess. Agitating it too soon creates large, coarse crystals that feel like sand in your mouth.
Using the Wrong Pan
Your choice of cookware matters more than you think. Thin aluminum pans heat unevenly, leading to hot spots that burn the bottom of your fudge before the rest reaches temperature. Non-stick coatings can sometimes interfere with the cooling process or scratch if you use metal spoons for beating.
Heavy-bottomed stainless steel saucepans are ideal because they distribute heat evenly and don’t react with acidic ingredients like lemon juice or fruit purees often added to modern recipes. Avoid copper unless it’s lined, as unlined copper reacts with acids and can discolor your fudge. Also, ensure your pan is deep enough. Fudge bubbles up significantly when boiling; a shallow pan risks overflow and messy cleanup.
Neglecting Altitude Adjustments
If you live in Halifax, Denver, or anywhere above sea level, standard recipe temperatures might fail you. Water boils at lower temperatures at higher altitudes, meaning your sugar syrup needs to reach a higher temperature to achieve the same concentration of sugar solids.
For every 1,000 feet above sea level, add approximately 2°F to your target cooking temperature. In Halifax, which is near sea level, you can stick to standard temps. But if you’re baking in the Rockies, failing to adjust means your fudge will be undercooked and soft. Check your local altitude online and tweak your thermometer settings accordingly. It’s a small step that saves the entire batch.
Adding Ingredients at the Wrong Time
Fudge is sensitive to timing. Adding chocolate chips, nuts, or flavor extracts too early ruins their texture and flavor. Chocolate burns if cooked in the boiling syrup. Vanilla loses its aroma if boiled. Nuts lose their crunch if soaked in hot liquid for too long.
Add mix-ins only after the fudge has been beaten and is thickening, just before pouring it into the mold. This ensures the chocolate melts gently from residual heat without seizing, and the vanilla stays fragrant. For nuts, consider toasting them separately and folding them in at the very end to preserve their crispness. Patience pays off here-rushing the additions leads to greasy or bland fudge.
Ignoring Humidity
Sugar is hygroscopic-it loves water. On a rainy day, ambient humidity can prevent fudge from setting properly, leaving it tacky or sticky even after hours in the fridge. While you can’t control the weather, you can mitigate its effects.
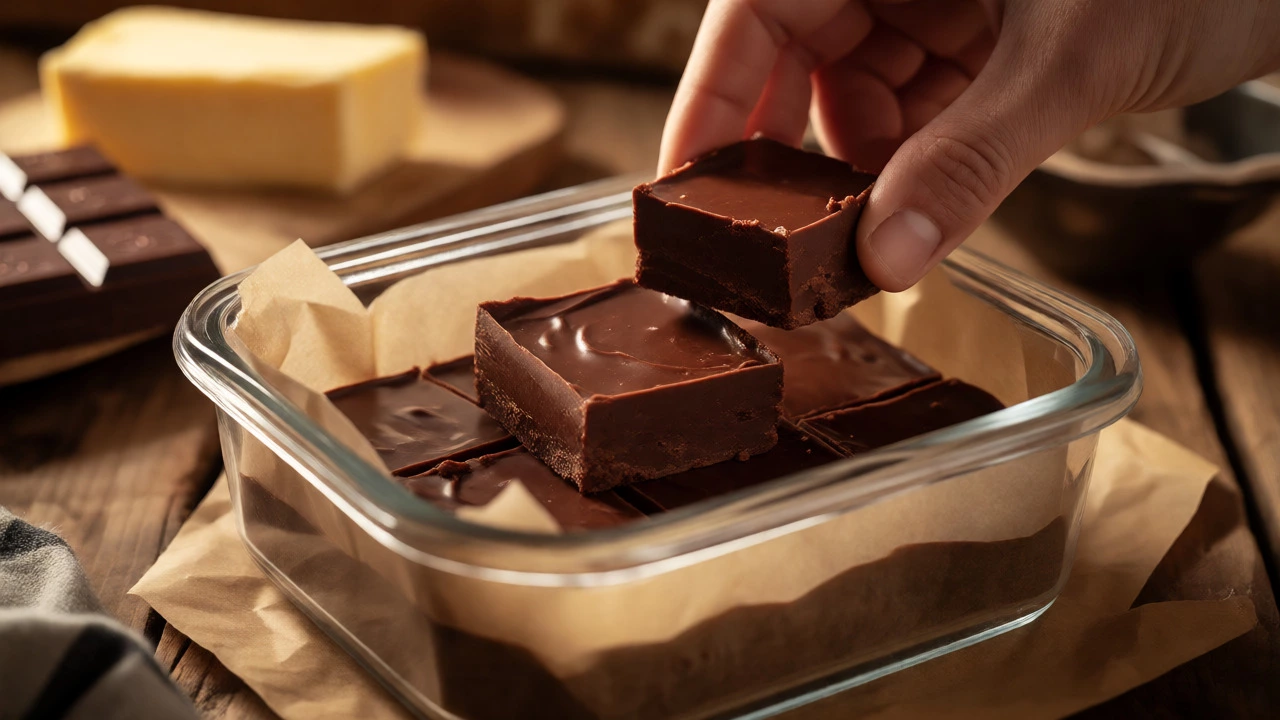
If it’s humid outside, extend the cooking time by a minute or two to evaporate extra moisture. Alternatively, store finished fudge in an airtight container with parchment paper between layers. Never store fudge in the refrigerator uncovered; it will absorb odors and moisture from other foods, altering both taste and texture. Keep it cool and dry, ideally at room temperature for short-term storage.
Choosing Low-Quality Ingredients
Fudge has few ingredients, so each one shines through. Using cheap chocolate with vegetable fats instead of cocoa butter results in a waxy mouthfeel. Margarine lacks the rich dairy notes of real butter, producing a flatter flavor profile.
Invest in high-quality unsweetened chocolate or couverture chocolate for better melting properties and depth of flavor. Use full-fat dairy milk or heavy cream for richness. Skim milk makes for watery fudge. Condensed milk works well for no-cook methods but alters the traditional taste. Quality ingredients don’t guarantee success, but poor ingredients guarantee mediocrity.
Improper Storage Techniques
You’ve made perfect fudge, then ruined it by storing it incorrectly. Wrapping warm fudge in plastic wrap traps steam, causing condensation that dissolves the surface and creates a sticky mess. Refrigerating fudge without protection dries it out, turning the edges hard and crumbly.
Let fudge cool completely at room temperature before cutting. Then, place pieces in an airtight container separated by wax paper or parchment. Store at room temperature for up to two weeks. For longer storage, freeze individual pieces wrapped tightly in plastic and foil. Thaw slowly in the fridge to prevent condensation buildup. Proper storage preserves the delicate crystal structure you worked so hard to create.
Frequently Asked Questions
Why is my fudge grainy?
Graininess usually results from stirring the sugar mixture while it was still boiling. This encourages large sugar crystals to form. To fix it next time, wait until the fudge cools to 110°F before beating it vigorously. If your current batch is grainy, you can re-melt it with a splash of cream and re-cook it carefully, avoiding early stirring.
Can I make fudge without a candy thermometer?
Yes, using the ice-water test. Drop a small amount of syrup into cold water. If it forms a soft ball that flattens when removed, it’s ready. However, this method is less precise than a thermometer, especially for beginners. A $15 digital thermometer is worth the investment for consistent results.
How long does homemade fudge last?
Stored in an airtight container at room temperature, fudge lasts 1-2 weeks. In the refrigerator, it keeps for 2-3 weeks but may dry out. Frozen fudge maintains quality for up to 3 months. Always use parchment paper between layers to prevent sticking.
What type of milk should I use for fudge?
Whole milk or heavy cream provides the best texture and flavor due to their high fat content. Low-fat or skim milk can result in a harder, less creamy fudge. Evaporated milk is also commonly used in traditional recipes for its concentrated sweetness and stability during cooking.
Why did my fudge turn out too hard?
Hard fudge is typically caused by overcooking. If the temperature exceeded 245°F, too much moisture evaporated, leaving a dense sugar matrix. Next time, remove the pan from heat immediately once it hits 238°F. Remember, residual heat continues cooking the mixture briefly.