Fudge Texture & Stirring Simulator
Current Status
Ready to Cook?
IDLE234°F
Current Temp
Why this matters:
Waiting for the right moment ensures smooth crystals form instead of gritty ones.
The Perfect Process Timeline
Phase 1: The Cool Down
Target: 234°F → 110°F
Pour into pan. Do NOT touch. Let it lose its shine.
Phase 2: The Grain Point
Target: ~110°F (Matte finish)
Beat vigorously! Agitate until opaque and creamy.
Phase 3: The Final Set
Target: Room Temp (Opaque)
Stop stirring immediately. Let sit undisturbed for 2+ hours.
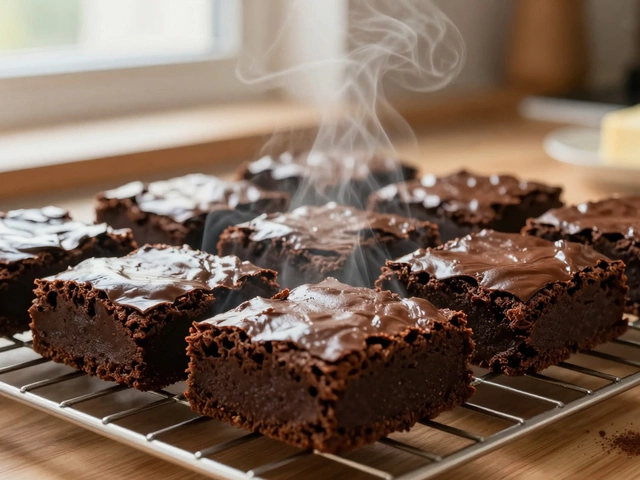
You’ve just finished boiling the sugar, butter, and milk to that perfect soft-ball stage. Your kitchen smells like heaven. Now comes the terrifying part: pouring it into a pan and waiting. But here is the question that haunts every home candy maker: do you stir it while it cools, or do you leave it alone? The answer isn’t just yes or no-it’s about when you stir.
If you stir too early, your fudge turns into a gritty mess. If you wait too long, it becomes a hard brick of glassy sugar. Getting this timing right is the single most important factor in making professional-quality fudge at home. Let’s break down exactly what happens to your sugar crystals during cooling and how to manipulate them for that melt-in-your-mouth texture everyone loves.
The Science Behind the Grain
To understand why stirring matters, you have to look at what fudge actually is. It is not just sweetened milk; it is a supersaturated sugar solution. When you boil water with sugar, you dissolve more sugar than normally possible at room temperature. As the mixture cools, that extra sugar wants to come out of the solution and form solid crystals.
Here is the catch: size matters. Large sugar crystals feel gritty on your tongue. Tiny, microscopic crystals feel smooth and creamy. Your goal is to encourage millions of tiny crystals to form rather than a few large ones. This process is called controlled crystallization. Stirring is the tool you use to control this process, but only at specific moments.
Think of it like ice skating. If you want a smooth rink, you need many small ice particles packed together. If you let one big chunk freeze first, you get bumps. In fudge, agitation (stirring) creates nucleation sites-places where crystals can start to grow. More sites mean more, smaller crystals. Fewer sites mean fewer, larger crystals.
Phase 1: The Cooling Period (Do Not Touch)
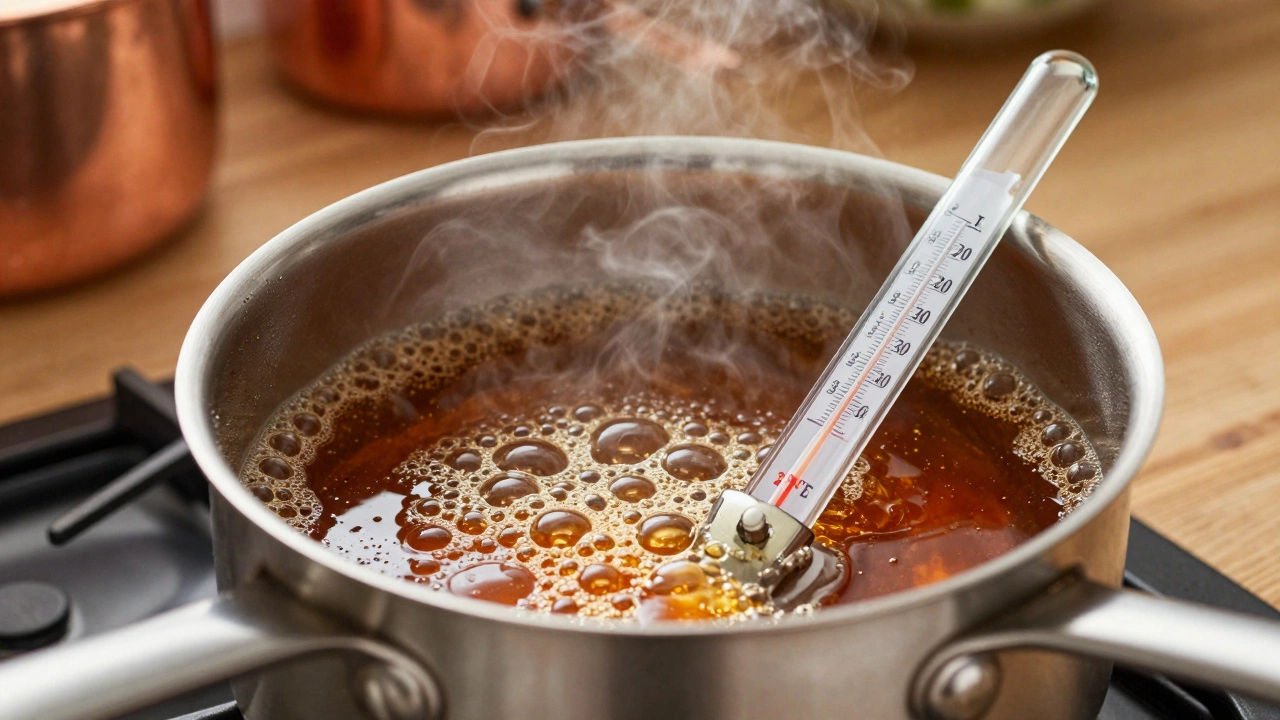
Once you pour the hot mixture into your prepared pan, the clock starts ticking. For the first 10 to 15 minutes, you must resist the urge to touch it. This is the passive cooling phase. During this time, the temperature drops from around 234°F (112°C) down to about 110°F (43°C).
Why shouldn't you stir now? Because the mixture is still liquid enough that any movement will create uneven crystal growth. If you stir while it’s hot, you risk creating 'hot spots' where crystals form irregularly. More importantly, if you stir before the mixture has reached the critical 'grain point,' you might introduce air bubbles that won't escape, leading to a foamy texture instead of a dense one.
During this phase, the sugar molecules are slowing down but haven't started locking into place yet. Leaving it undisturbed allows the temperature to equalize across the entire batch. Use a candy thermometer if you have one. If you don't, trust the visual cue: the surface should lose its glossy shine and look slightly matte.
Phase 2: The Grain Point (Start Beating)
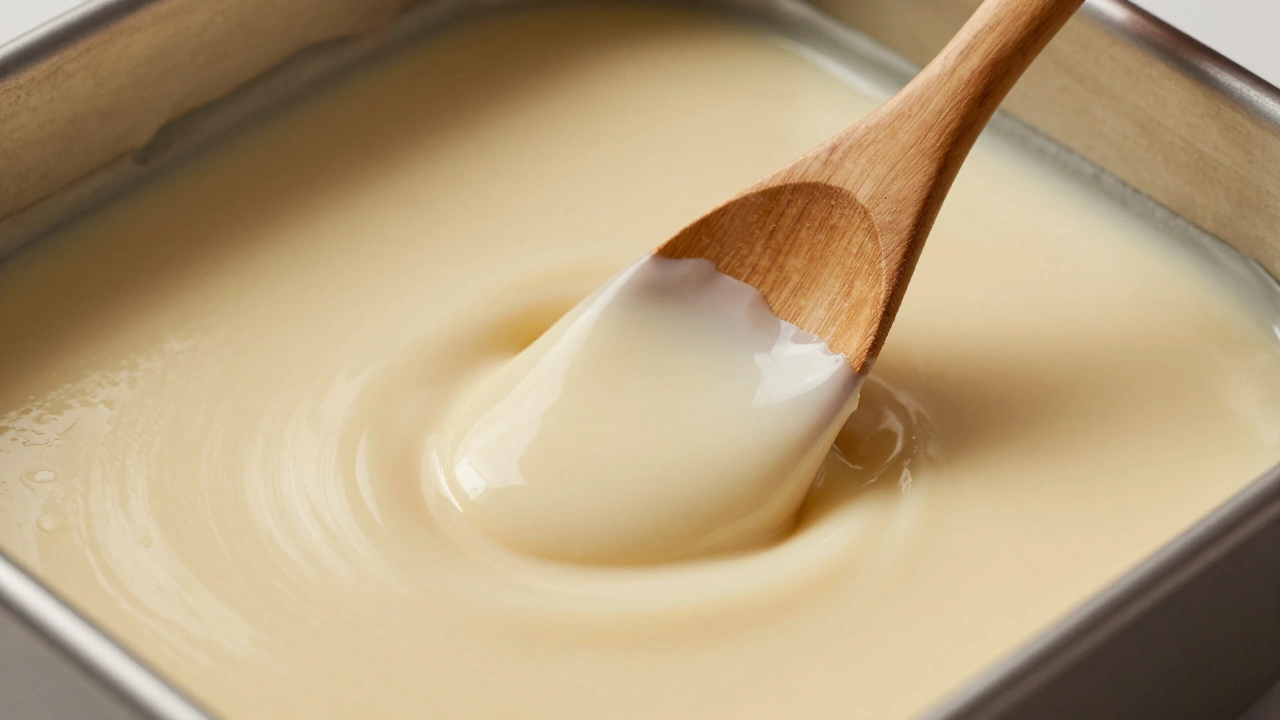
This is the moment of truth. You are looking for the 'grain point.' This happens when the fudge thickens enough that if you drag a wooden spoon through it, the tracks stay visible for a second before slowly filling back in. The mixture will also begin to pull away from the sides of the pan slightly.
At this exact moment, you start stirring vigorously. This is not a gentle fold; this is a beat. You are using a wooden spoon or an electric mixer to agitate the cooling mass. This agitation forces the formation of those tiny sugar crystals we talked about earlier. By moving the mixture constantly, you prevent large crystals from settling and growing.
Continue beating until the fudge loses its gloss completely and looks pale and creamy. It should be thick enough to hold its shape when you lift the spoon. This usually takes 5 to 10 minutes, depending on the volume of your batch. If you stop too early, the fudge will be runny and never set properly. If you beat it too long, you incorporate too much air, making it light and fluffy rather than dense and rich.
Phase 3: The Final Set (Hands Off Again)
Once the fudge reaches that creamy, opaque consistency, you stop stirring immediately. Spread it evenly in the pan if it hasn't already settled. From this point on, do not touch it again until it is fully cooled to room temperature. This final resting period allows the crystal structure to lock in. Any disturbance now could disrupt the delicate network of micro-crystals, potentially causing graininess later.
Let it sit undisturbed for at least two hours, or preferably overnight. This patience ensures the texture stabilizes. Cutting into warm fudge is a recipe for disaster-it will smear, stick to the knife, and ruin the clean edges you worked so hard to achieve.
Common Mistakes That Ruin Texture
Even if you get the stirring timing right, other factors can sabotage your fudge. Here are the top three pitfalls to avoid:
- Overcooking the Sugar: If you boil the mixture past the soft-ball stage (234-240°F), you remove too much water. The result is a hard, brittle candy that shatters instead of bending. Always use a candy thermometer for accuracy.
- Undercooling Before Beating: Starting to stir while the fudge is still above 110°F means the crystals haven't had time to nucleate properly. You’ll end up with a sticky, unformed mess that never sets.
- Using the Wrong Pan: Glass pans cool slower than metal ones. If you use glass, expect a longer cooling time before the grain point appears. Metal pans conduct heat away faster, speeding up the process.
How to Fix Grainy Fudge
Did you stir too late? Is your fudge gritty? Don’t throw it away. You can salvage it by re-melting. Place the grainy fudge back in a saucepan over low heat. Add a tablespoon of water or cream to help dissolve the crystals. Heat gently until it returns to a smooth liquid state. Then, repeat the cooling process, paying close attention to the grain point this time. This reset gives you a second chance to control the crystal size.
| Stage | Temperature | Action | Visual Cue |
|---|---|---|---|
| Cooling | 234°F to 110°F | Do Not Stir | Loses glossy shine |
| Grain Point | ~110°F | Beat Vigorously | Spoon leaves tracks |
| Setting | Room Temp | Do Not Stir | Opaque and creamy |
Variations and Add-Ins
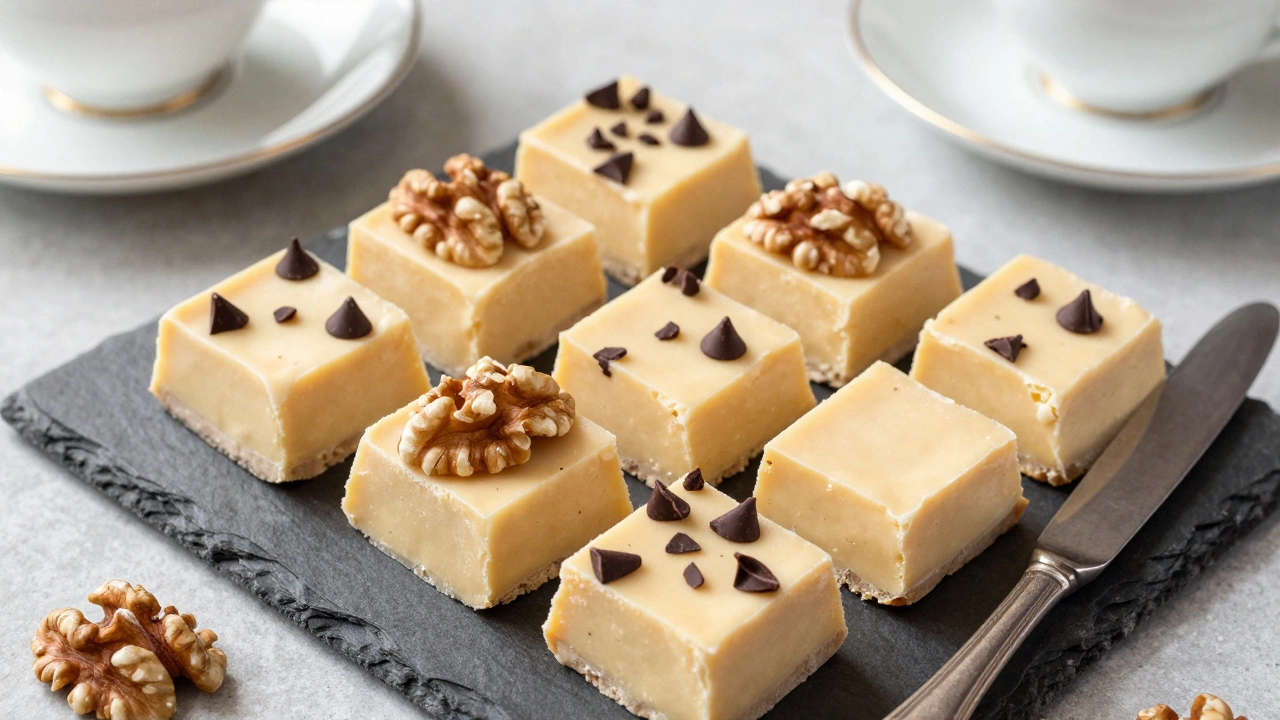
When adding mix-ins like nuts, chocolate chips, or dried fruit, timing is crucial. Add these ingredients during the beating phase, once the fudge has started to thicken but before it loses all its gloss. This ensures they are evenly distributed without sinking to the bottom. However, avoid adding wet ingredients like fresh fruit juice or marshmallow fluff after the grain point, as the extra moisture can interfere with the crystal structure, leading to a softer, less defined texture.
For peanut butter fudge, blend the peanut butter into the hot mixture before pouring it into the pan. This helps emulsify the fats, contributing to a smoother final product. For chocolate fudge, ensure your cocoa powder is sifted to prevent lumps, which can act as unwanted nucleation sites for large crystals.
What happens if I stir fudge while it's still hot?
Stirring hot fudge can cause uneven cooling and create large sugar crystals, resulting in a gritty texture. It may also introduce air bubbles, making the fudge foamy instead of dense. Wait until the mixture cools to around 110°F before starting to beat it.
How do I know when fudge has reached the grain point?
The grain point is reached when the fudge thickens enough that dragging a spoon through it leaves a clear path that stays open for a moment. The mixture will also look less shiny and more matte. This usually occurs around 110°F (43°C).
Can I use an electric mixer to beat fudge?
Yes, an electric hand mixer works well for beating fudge at the grain point. It saves effort and ensures consistent agitation. Just be careful not to overbeat, as this can incorporate too much air, making the fudge light and fluffy rather than dense.
Why did my fudge turn out hard and crunchy?
Hard, crunchy fudge usually means you cooked the sugar syrup to too high a temperature, removing too much water. Aim for the soft-ball stage (234-240°F). If it’s already hard, you can try re-melting it with a little extra liquid and reheating carefully.
Should I cover the fudge while it cools?
No, do not cover the fudge while it cools. Covering it traps steam, which can condense and drip back onto the surface, interfering with the crystal formation and potentially making the top sticky. Let it cool uncovered in a dry area.